
Reflect, evaluate and rework
Having printed tour images from the previous exercise, take the opportunity to view all of the pages, reflect on them and evaluate before moving on to the next step of collating and binding the pages together. Which pages are successful? Which pages have not turned out as well as you had hoped? Are there any visual surprises, or happy accidents? Given the experimental and open-ended nature of this exercise, the answers may be quite subjective, but it is important you reflect assessment of your own progress. You may want to re-work some of the images, and the printing process, and this is your opportunity to do that. You may end up with more and more pieces of printed paper.
Select and Collate
Evaluate the strengths and weaknesses in your work and then begin a process of selecting up to 16 pages that work well together as a whole. Do these pages have images on each side of the page, or will the images appear on facing pages only? If you want to create back-to-back images you can work manually to cut and paste images and pages, using spray mount or similar. Equally, you can collage elements of printed ephemera onto and into the pages. Again, the brief is to be experimental, so work inventively with the process, cutting, gluing, pasting and arranging as you see fit. Collate these pages, putting them into a running order from beginning to end.
Binding
Drawing on your understanding of bookbinding so far, bind your 16 pages into a small book format. How will the pages be held together? Consider how the pages might be bound and experiment with solutions. Will you create a cover? Will the pages be stitched, sewn, glued, stapled or will you use another inventive approach? There are may ways to bind a book, either by hand or by machine. A few examples of bookbinding are saddle stitch, Japanese binding, coptic binding or perfect binding. Consider which binding is most appropriate for your book. There are some good tutorials online of bookbinding and this might be useful for you to have a look at. Try to use one of the bookbinding techniques mentioned above for your own book.
Document the whole process, photograph the book and incorporate them into your learning log, accompanied by supporting work, including pages and images you choose not to include into the final book form.
Reflect, Evaluate and Rework
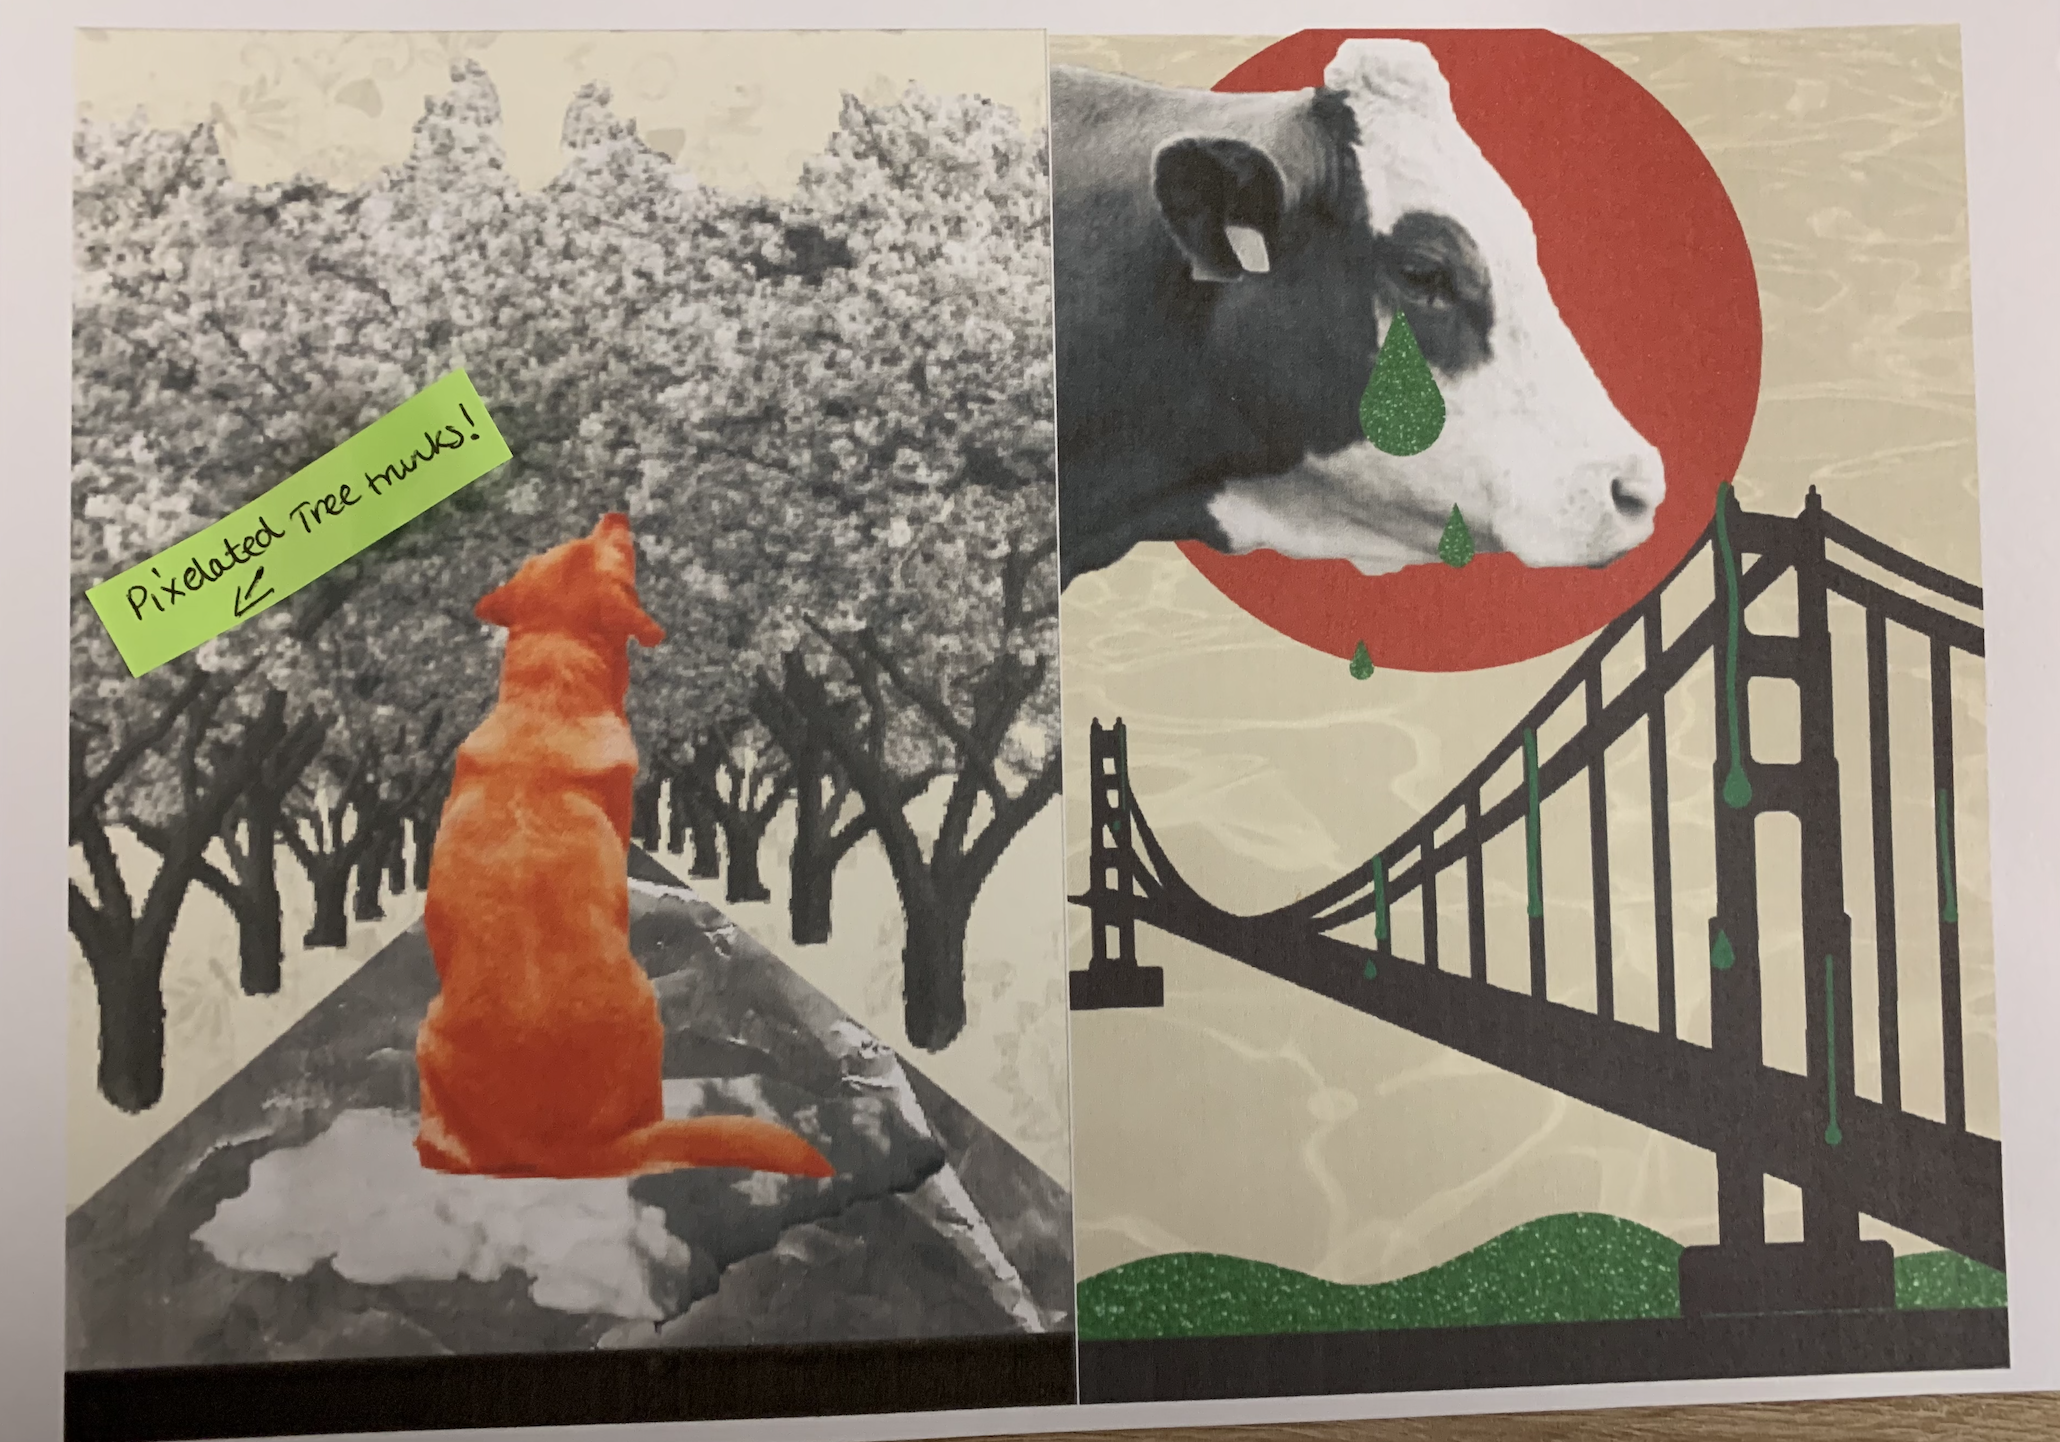
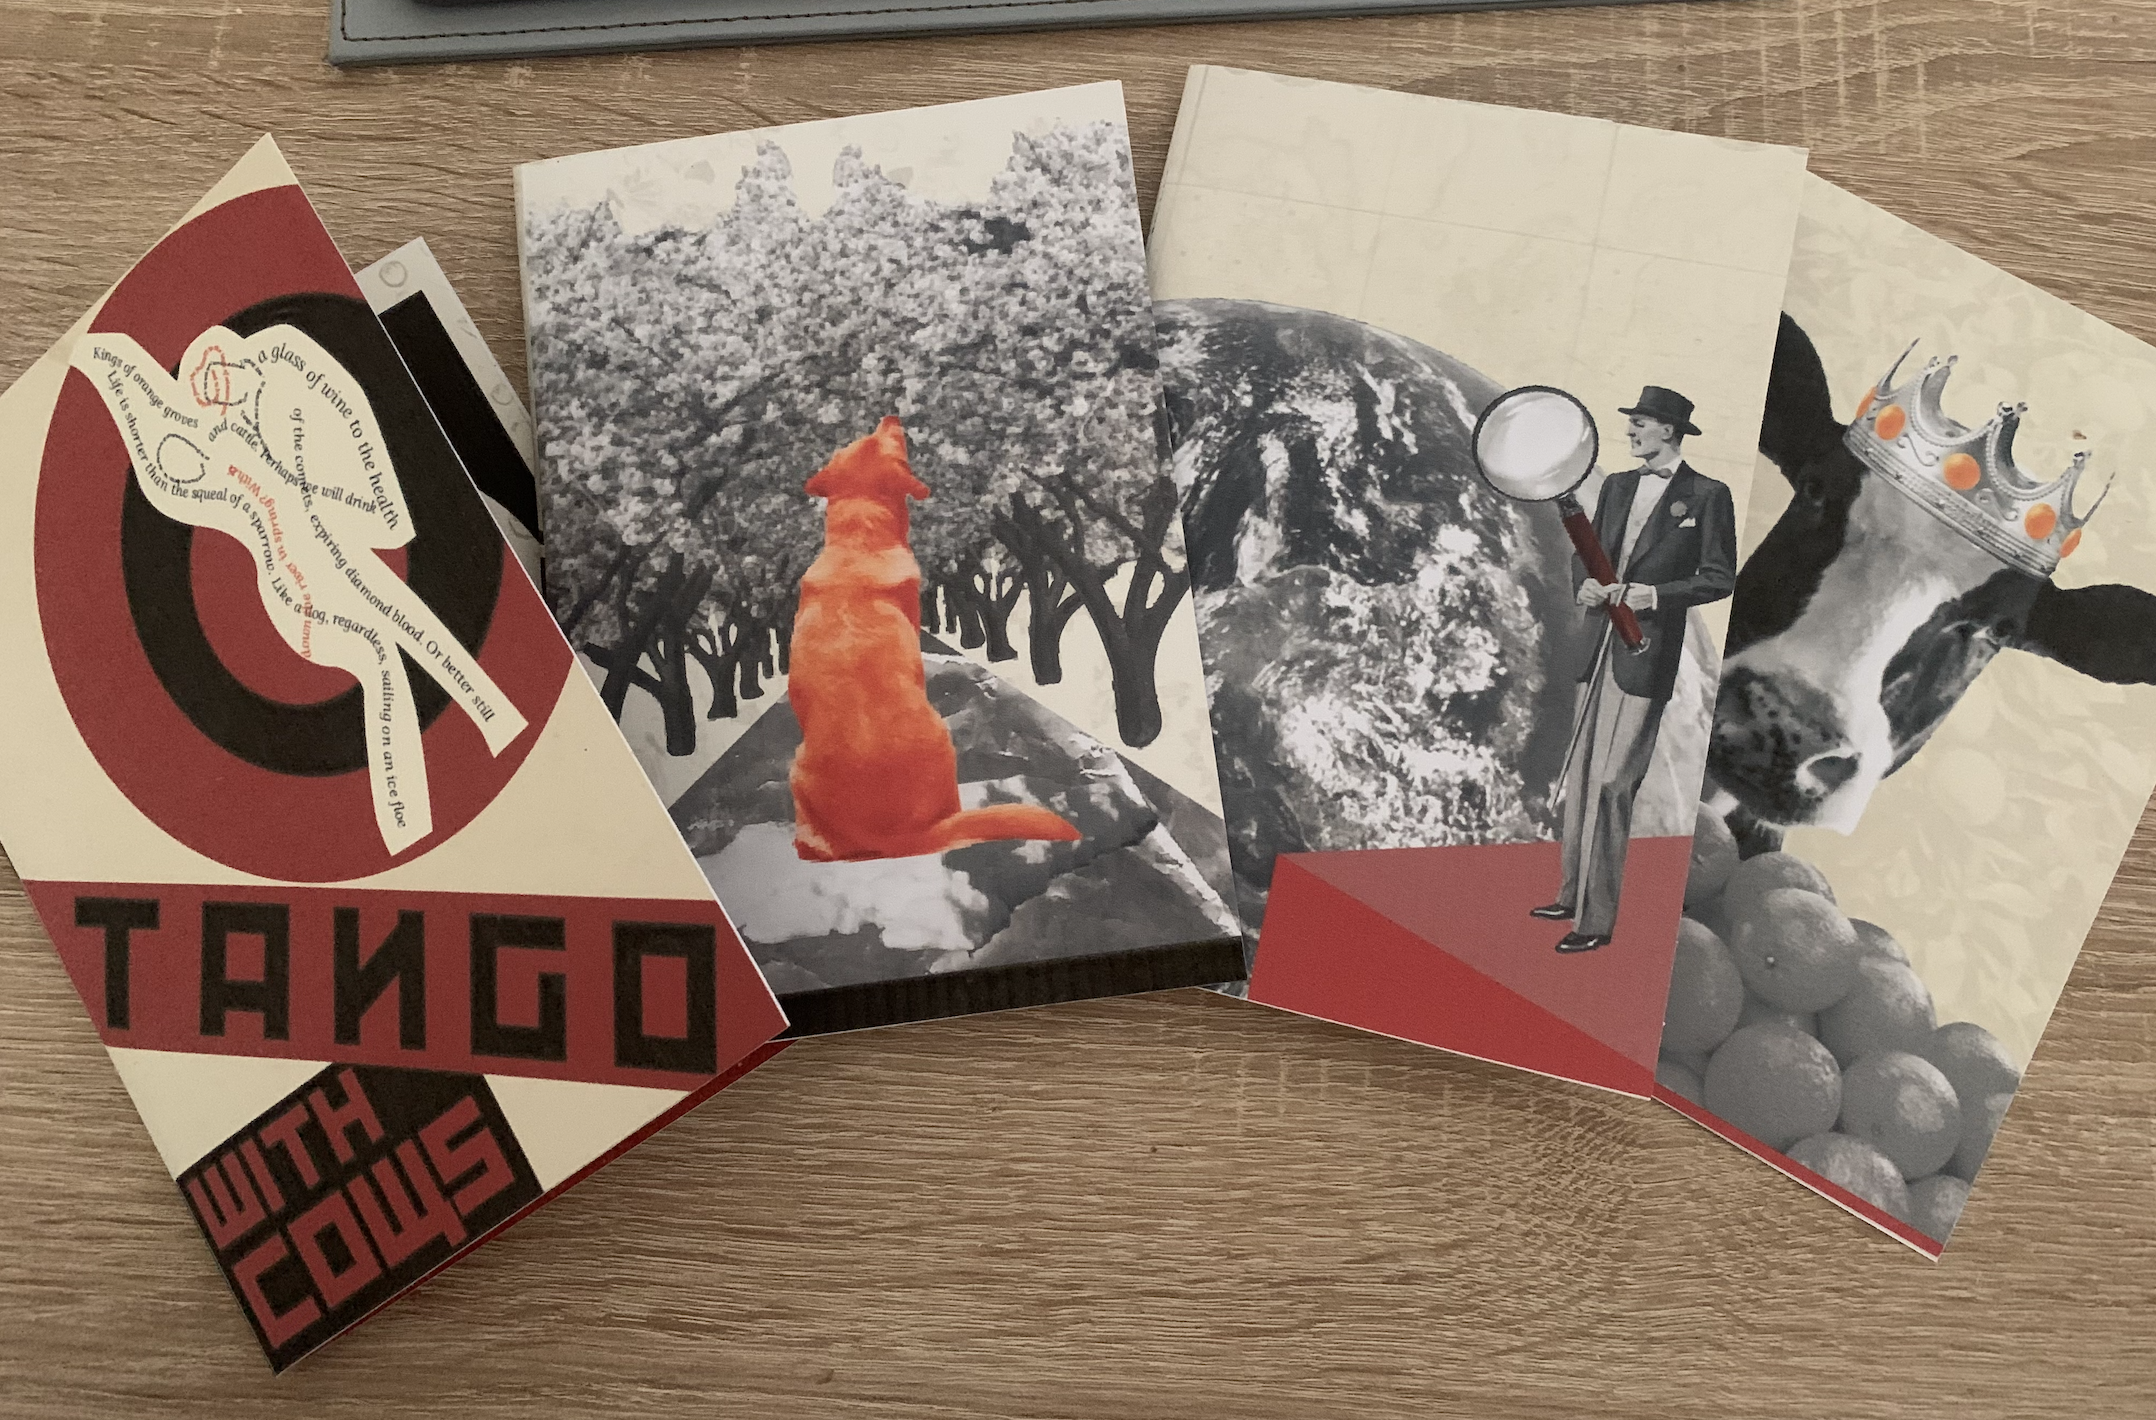
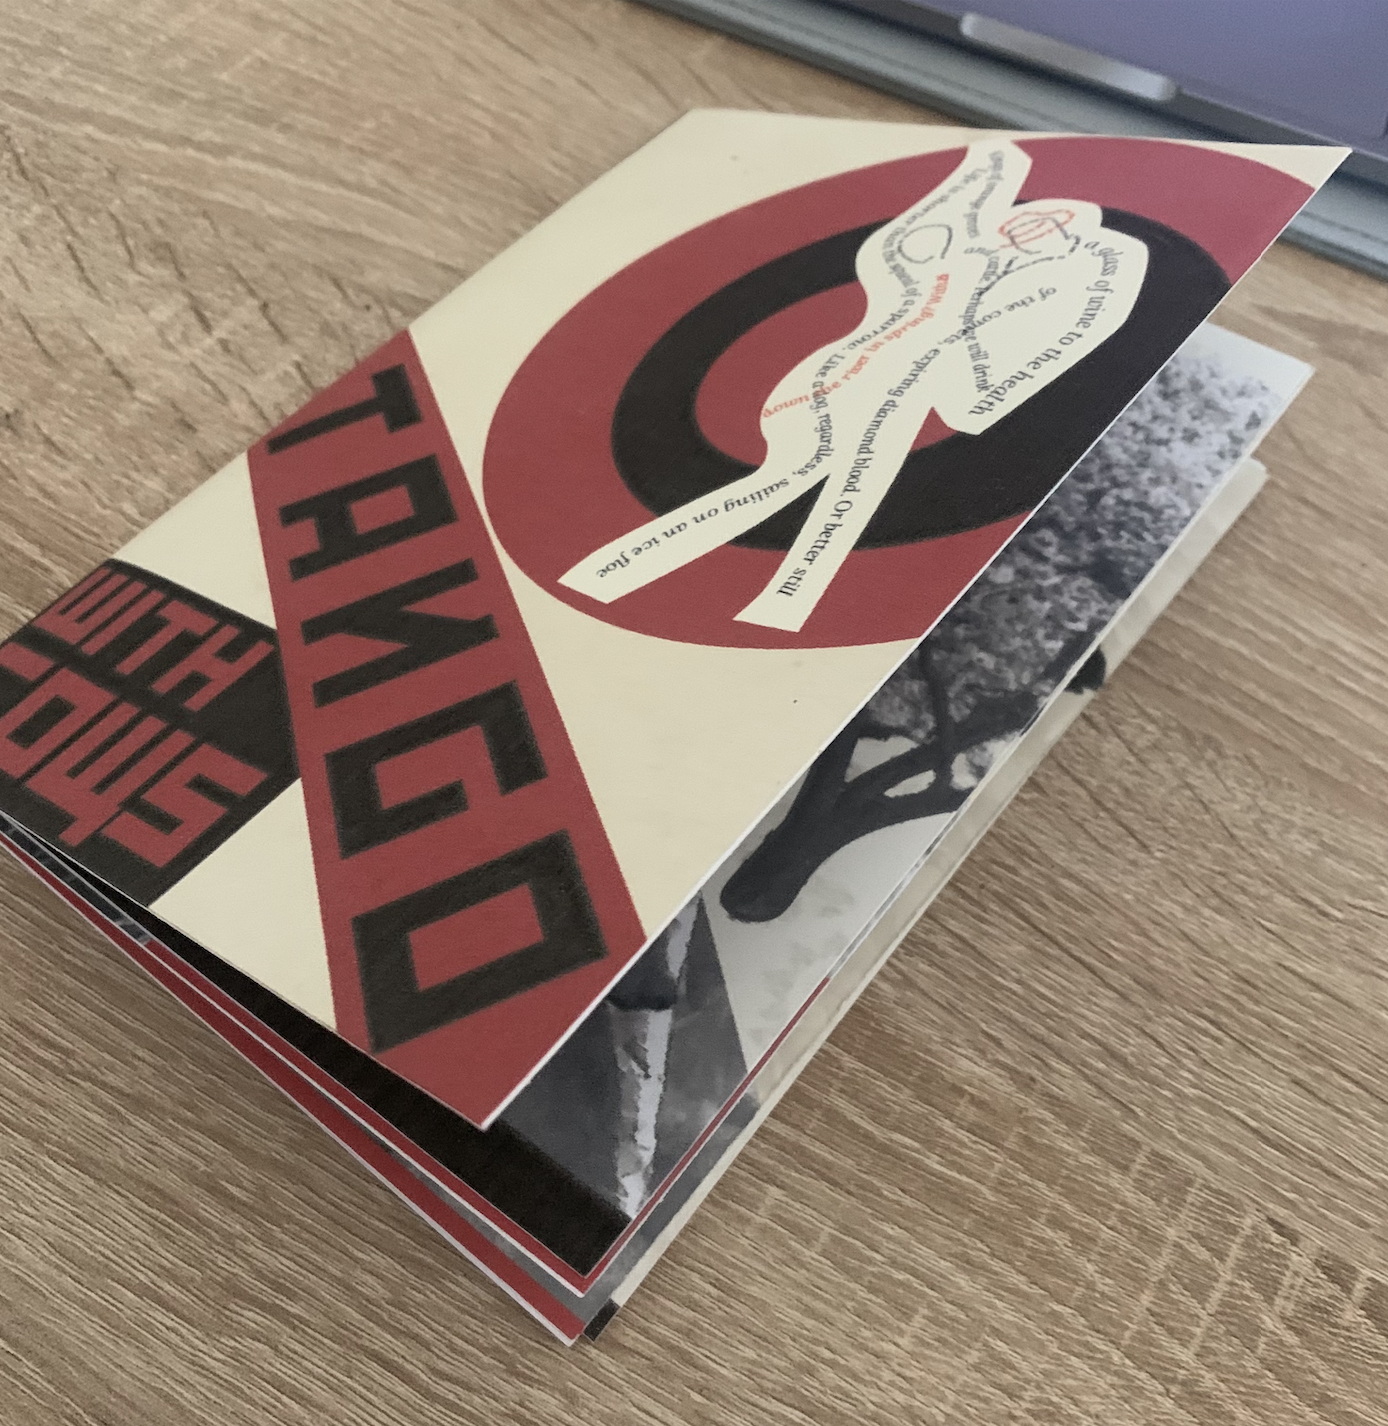
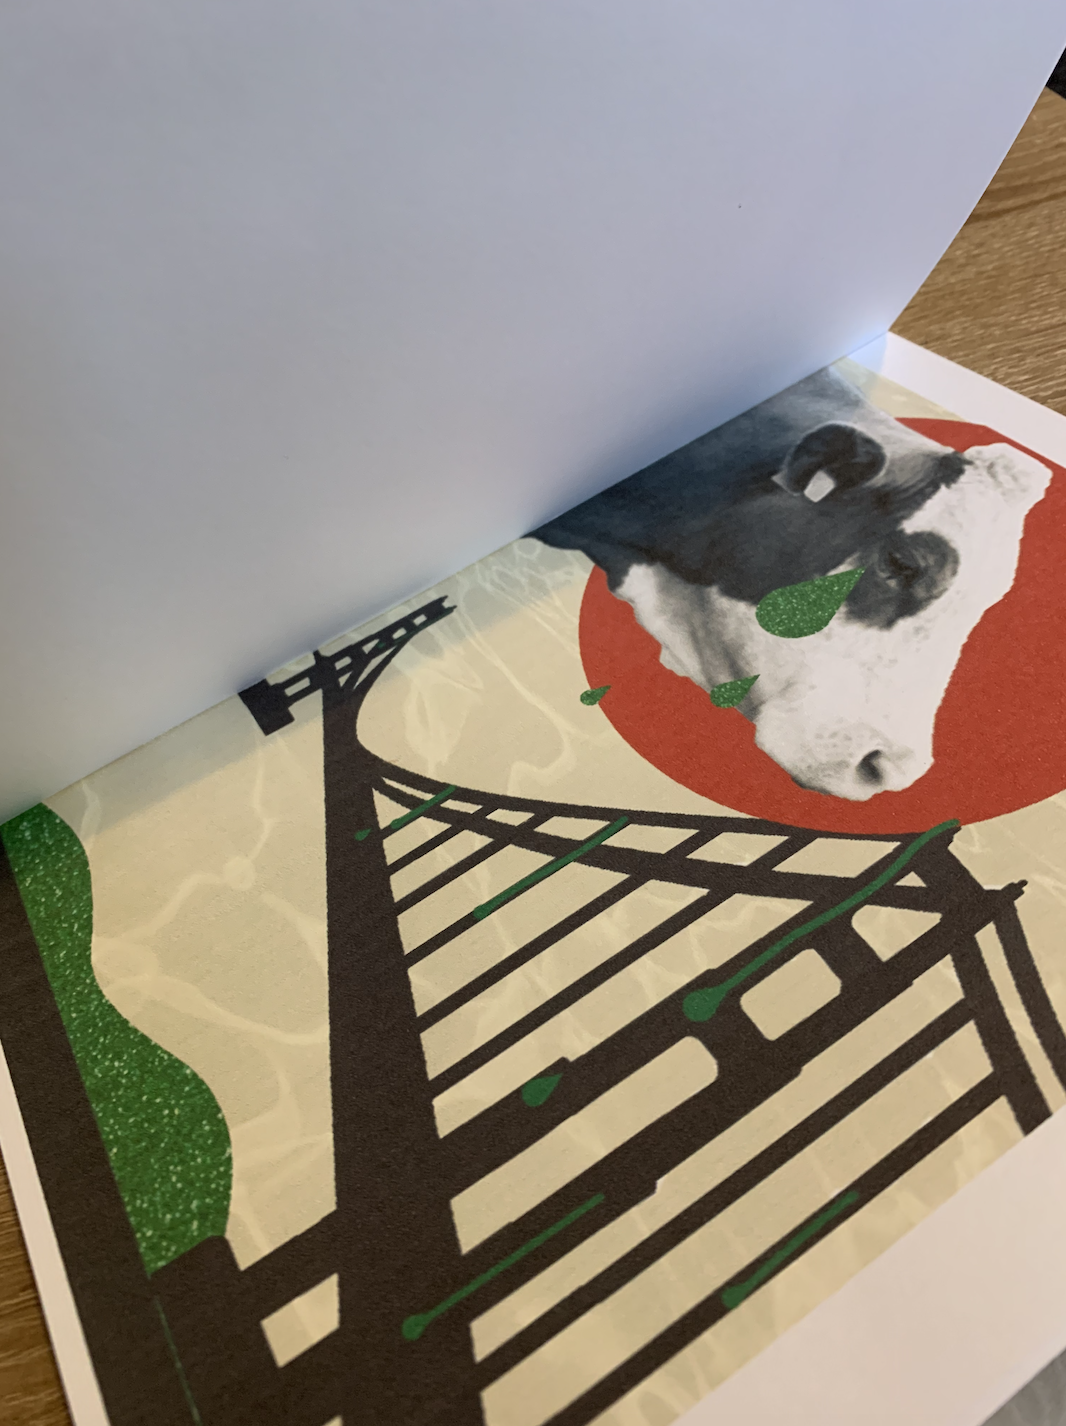
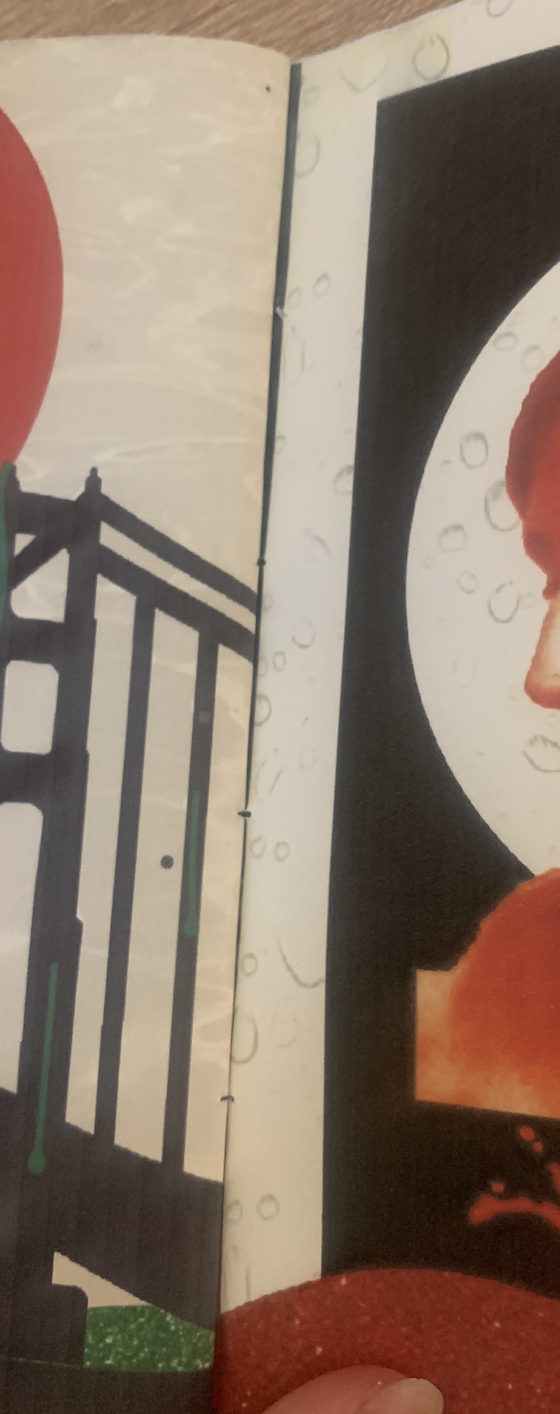
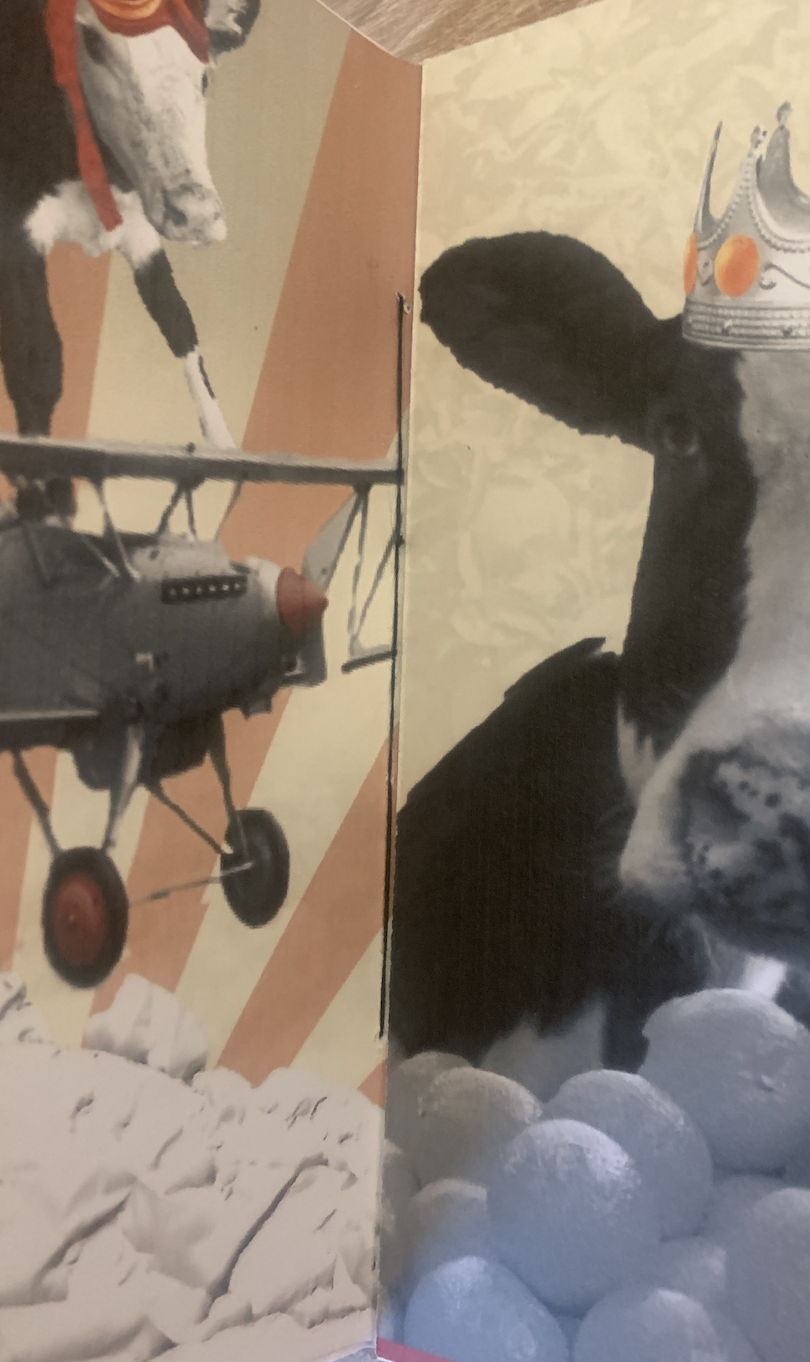
Looking back over my images I feel pleased and confident with each design. It wasn’t until I flicked through my booklet mockup that I realised I have unintentionally linked both facing pages when open, for example.. page 2 & 3 – Animal (Sparrow and dog) 4 & 5 – searching men (destiny and discoverers) 6 & 7 – cows (conquerors and kings) 8 & 9 – droplets (wine and blood) 10 & 11 – music (record play and tango) 12 & 13 – tears (bovine and crimson). I’m going to take this as a happy accident that I have created connections between the pages.
My only concern for my designs are if they are too similar – should I of stuck to the theme so strictly? I tried to differ each image, especially the backgrounds (speaking of, I need to lower the opacity on the yellow overlay on some of the designs as the background images aren’t seen as clearly as others). I am also hoping once my designs are printed out at a larger scale and on better quality paper that the finer details will be more apparent such as the use of printed mixed media so that the different textures can be seen etc.
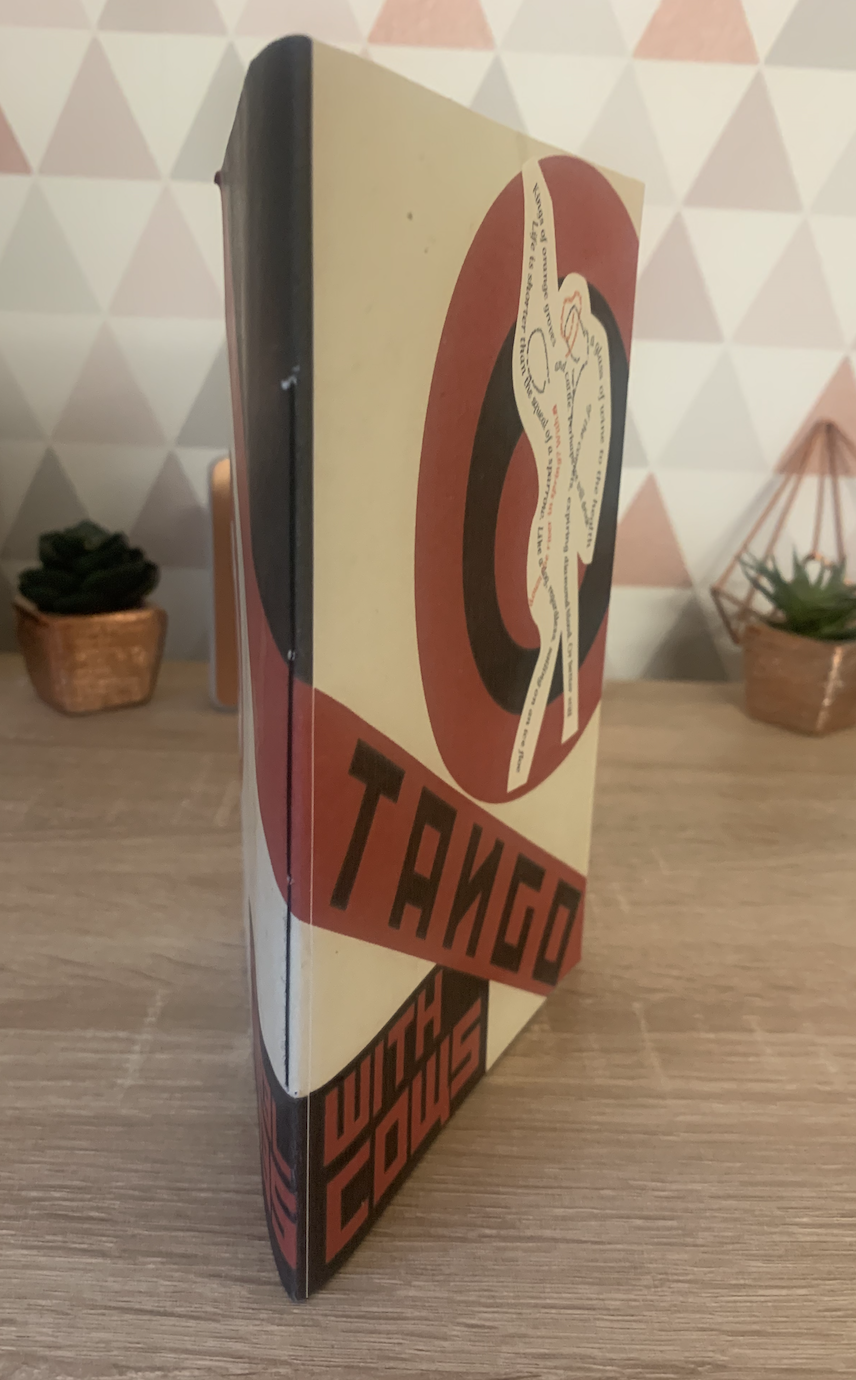
I was pleased that I was able to incorporate my concrete poem into the front cover of the booklet, I have tried to fit this in with the theme of constructivism art by creating a slight cut and paste technique, which surprisingly made this fit in well! it seemed a shame not to use it considering its about the same topic.
Originally I printed my images onto cheap 90 gsm printer paper, this left ink lines across the majority of the pages and also was created at such a small scale, with my amendments in place I wanted to print my images onto 210gsm white card at a larger scale of A5 rather than 5x7cm! This will enable me to analyse my images better to see them printed at a better quality.
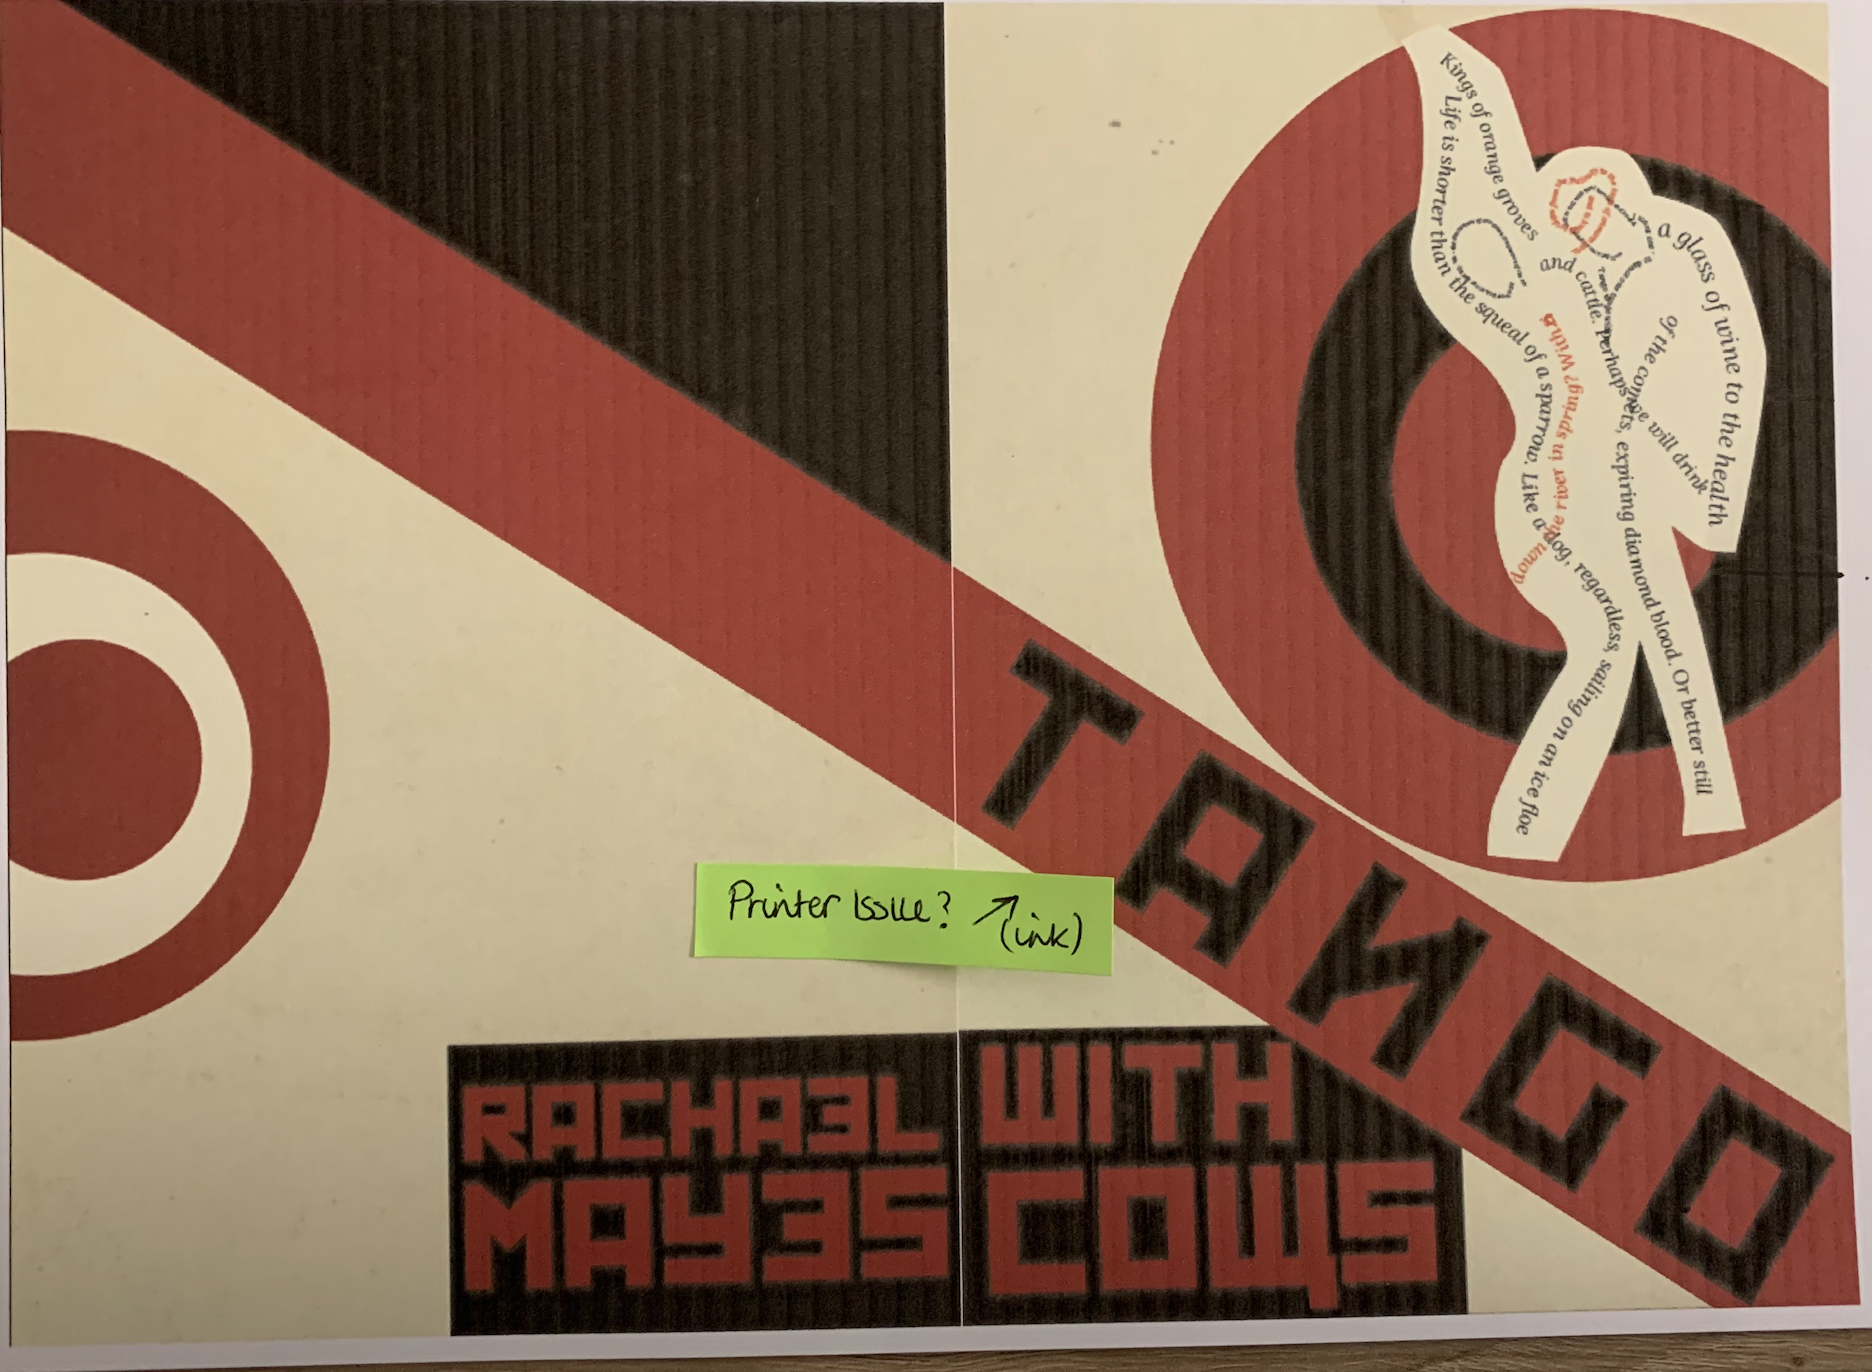
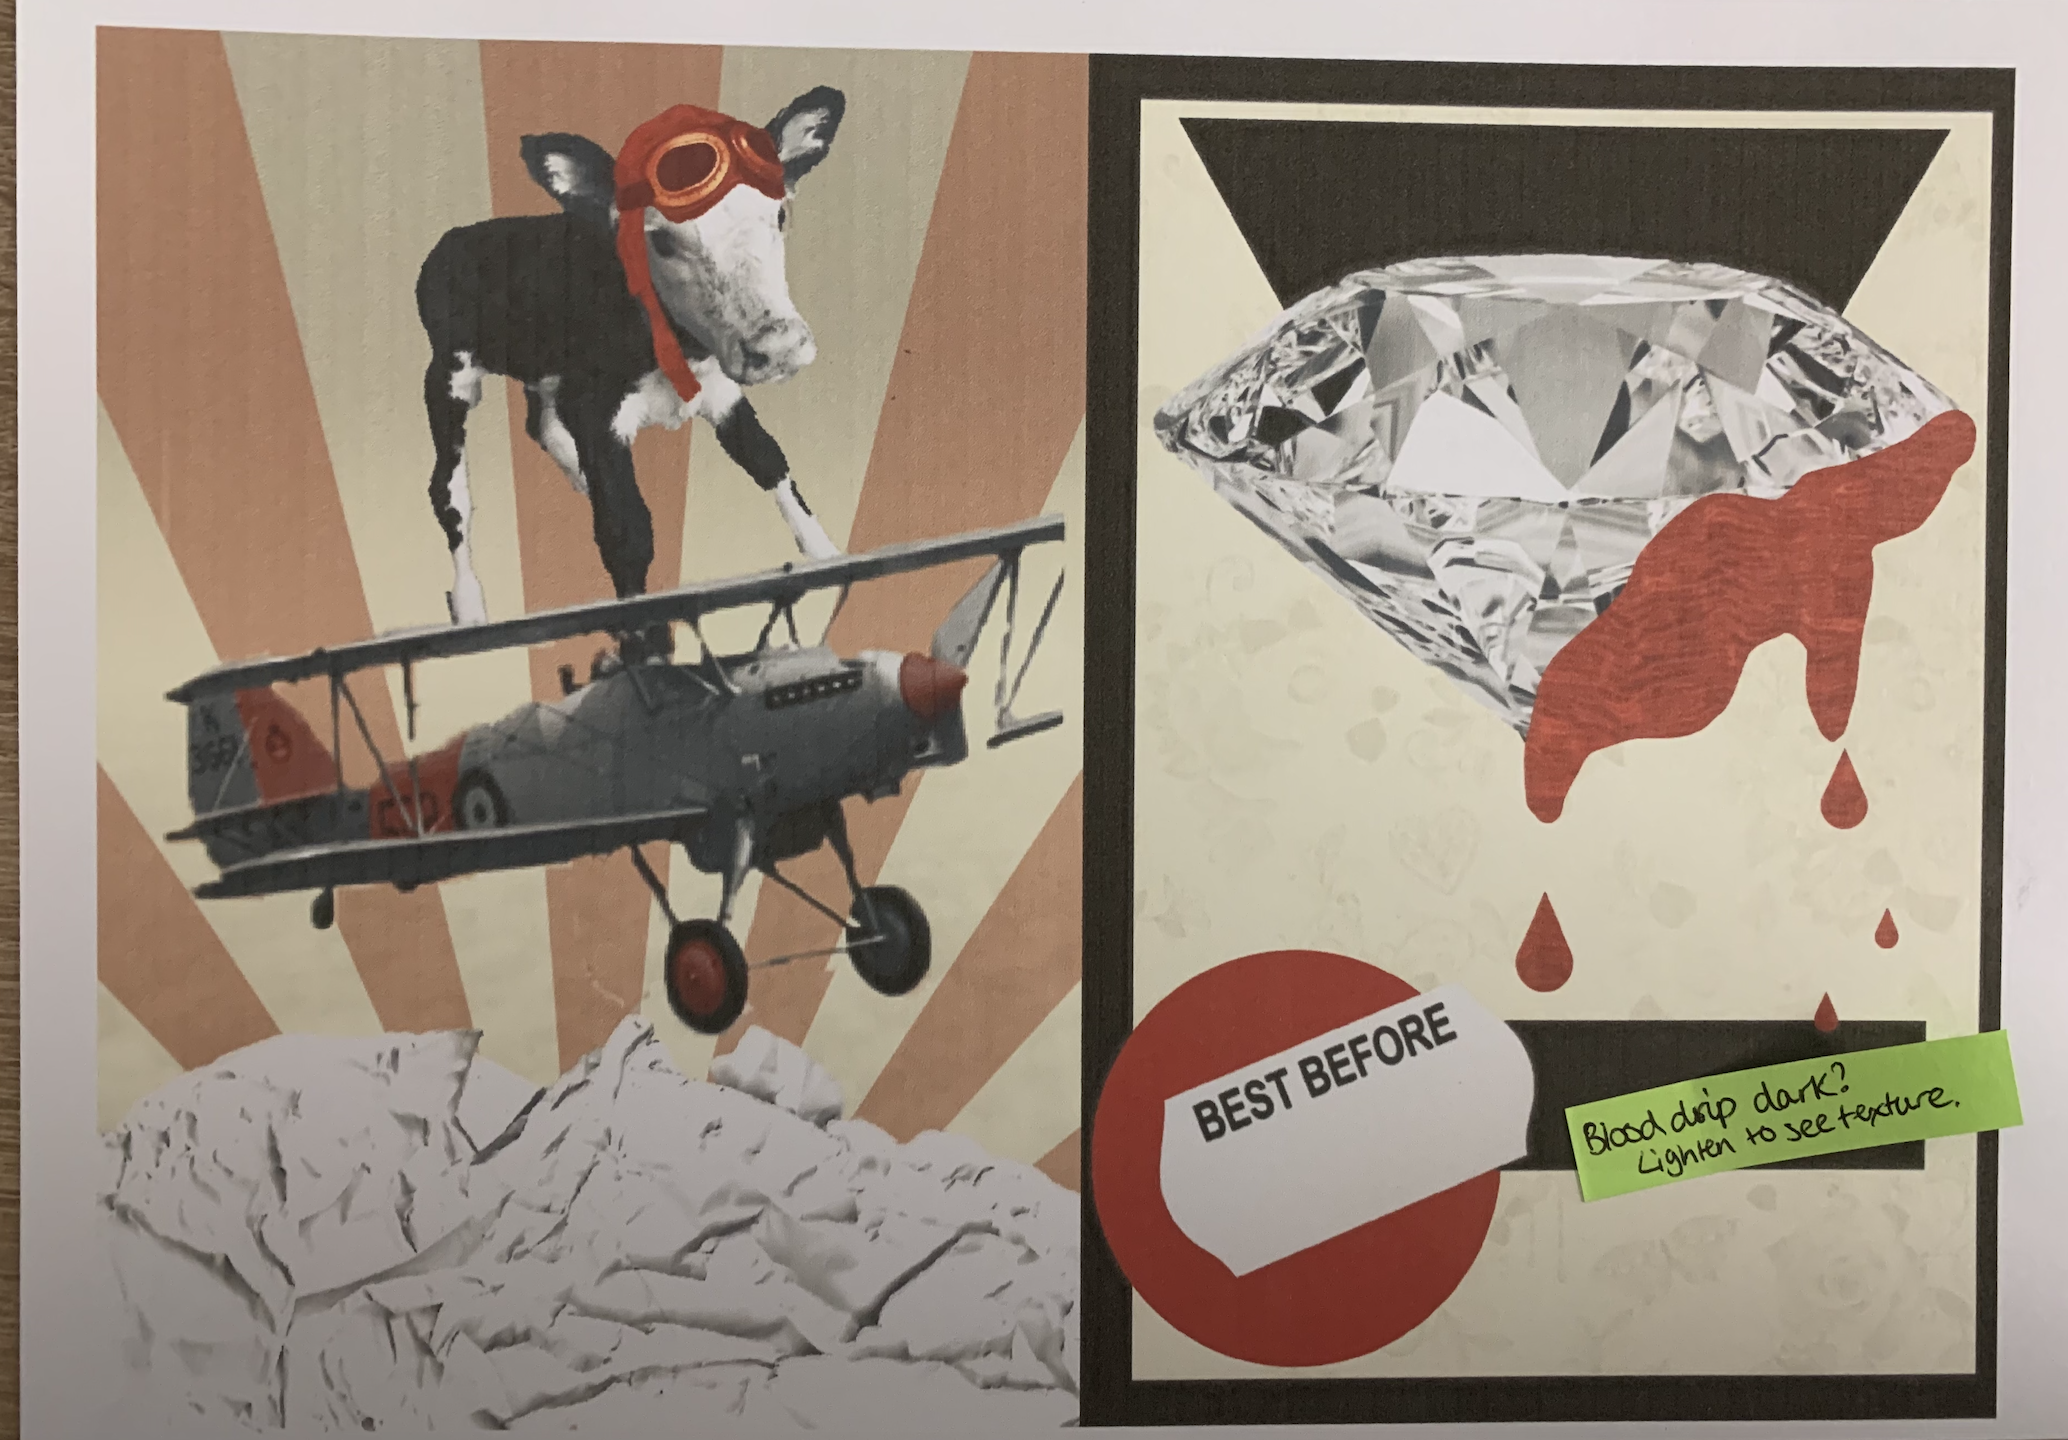
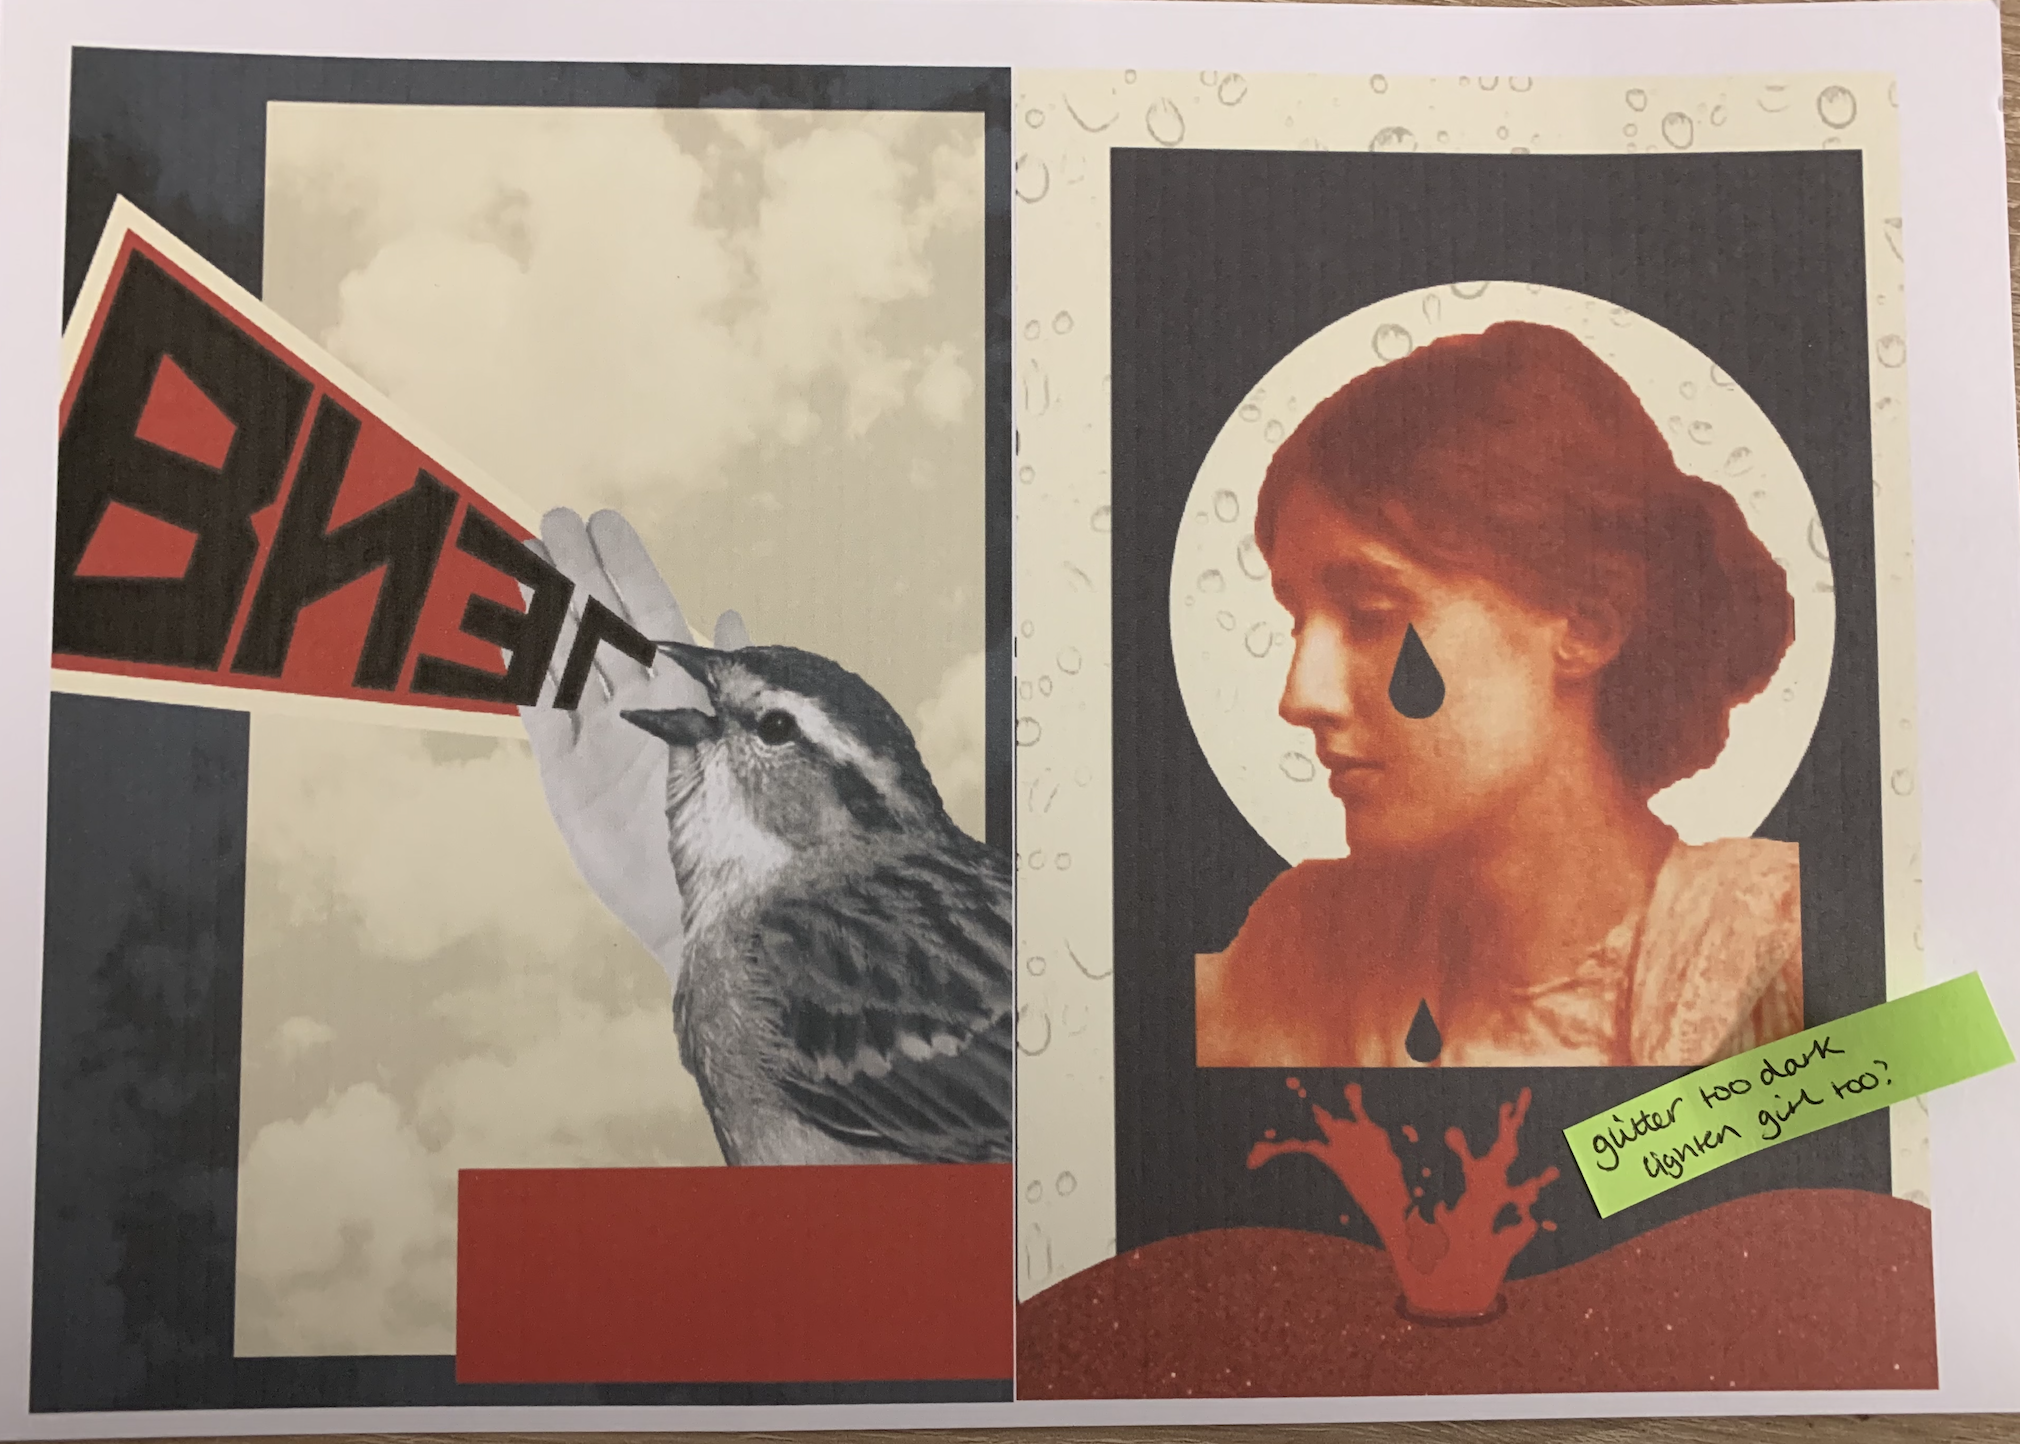

Seeing the images printed in a larger form enabled me to see the errors and quality within. I seemed to have a slight printer issue with ink when printing out my images, I made notes for the images which I wasn’t happy with, I felt that a lot of the red images printed darker hiding the texture of the mixed media paper. I simply lightened these and correct the issues and reprinted as seen below side by side of the before and afters.
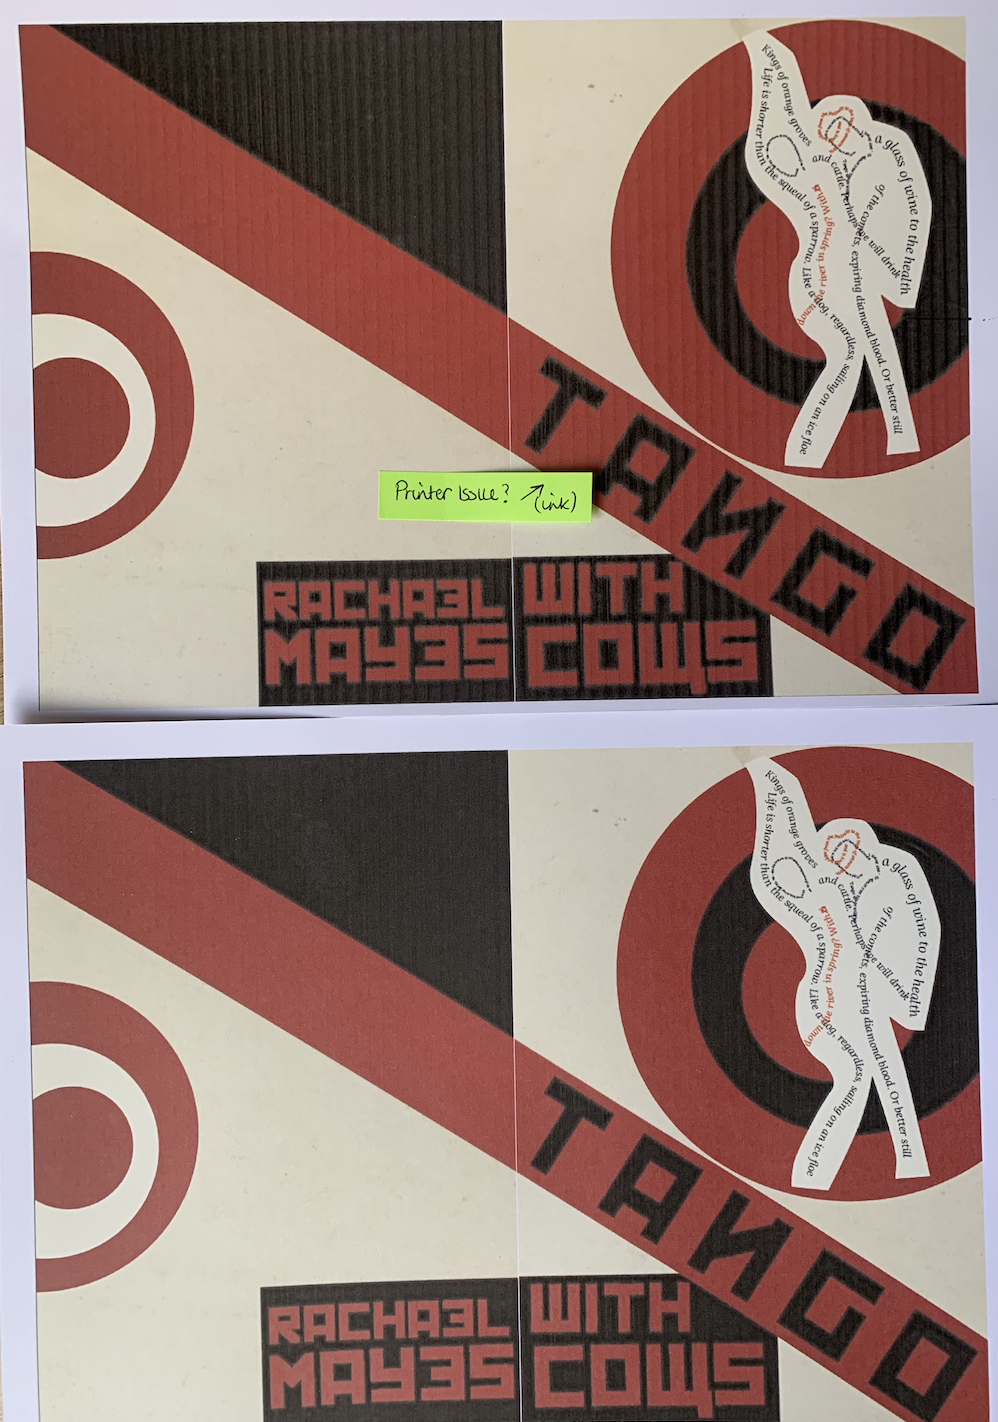
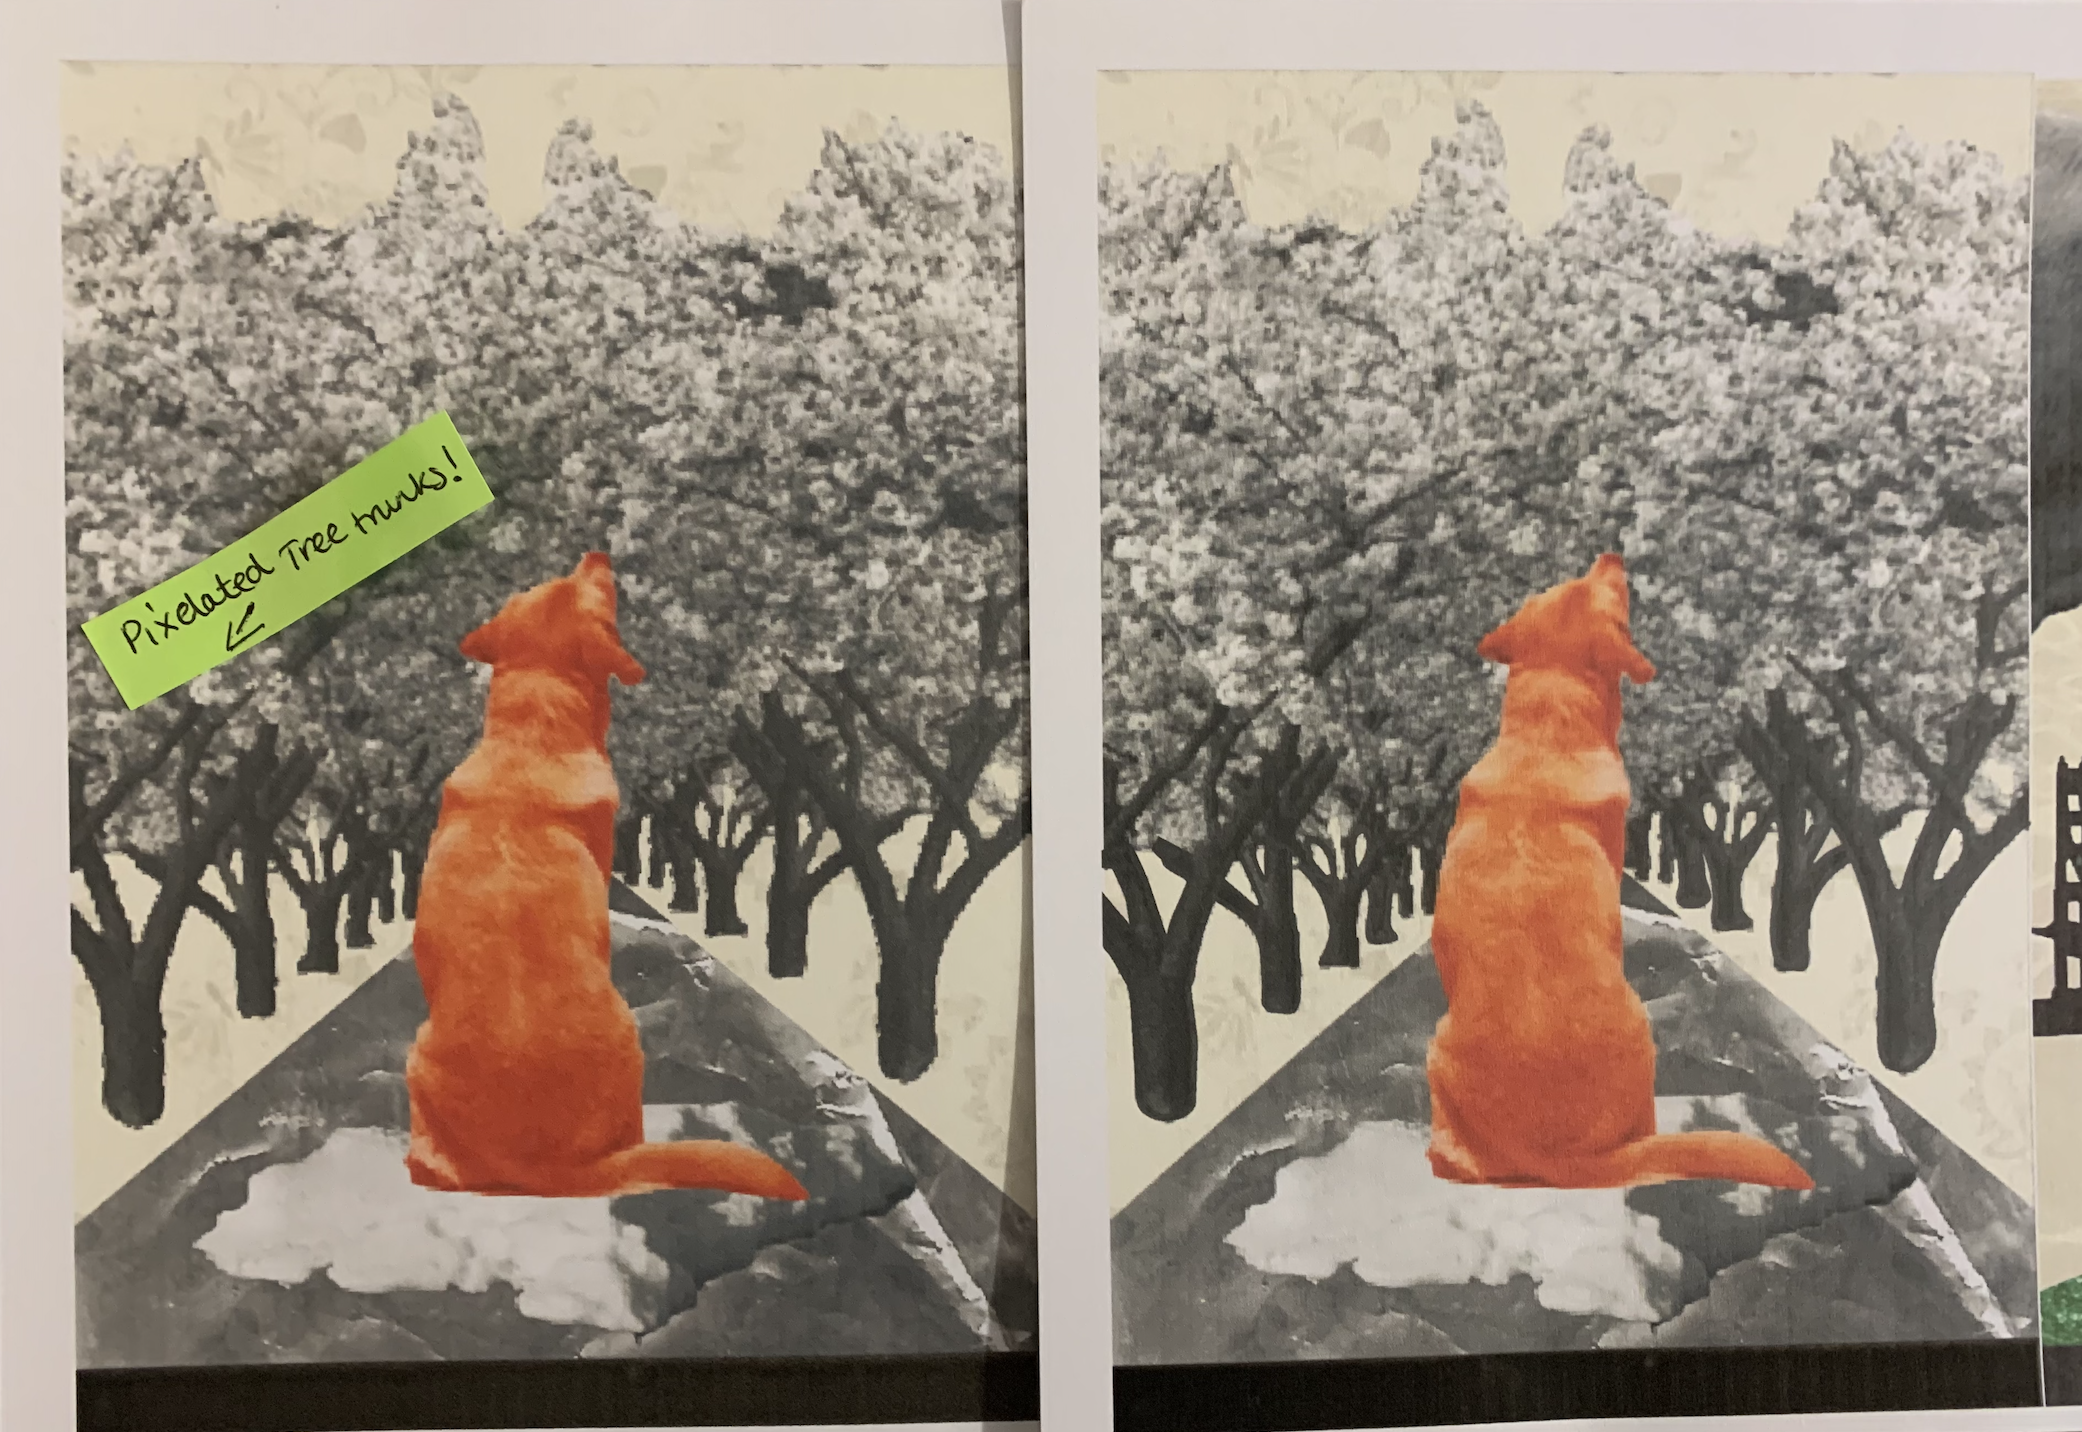
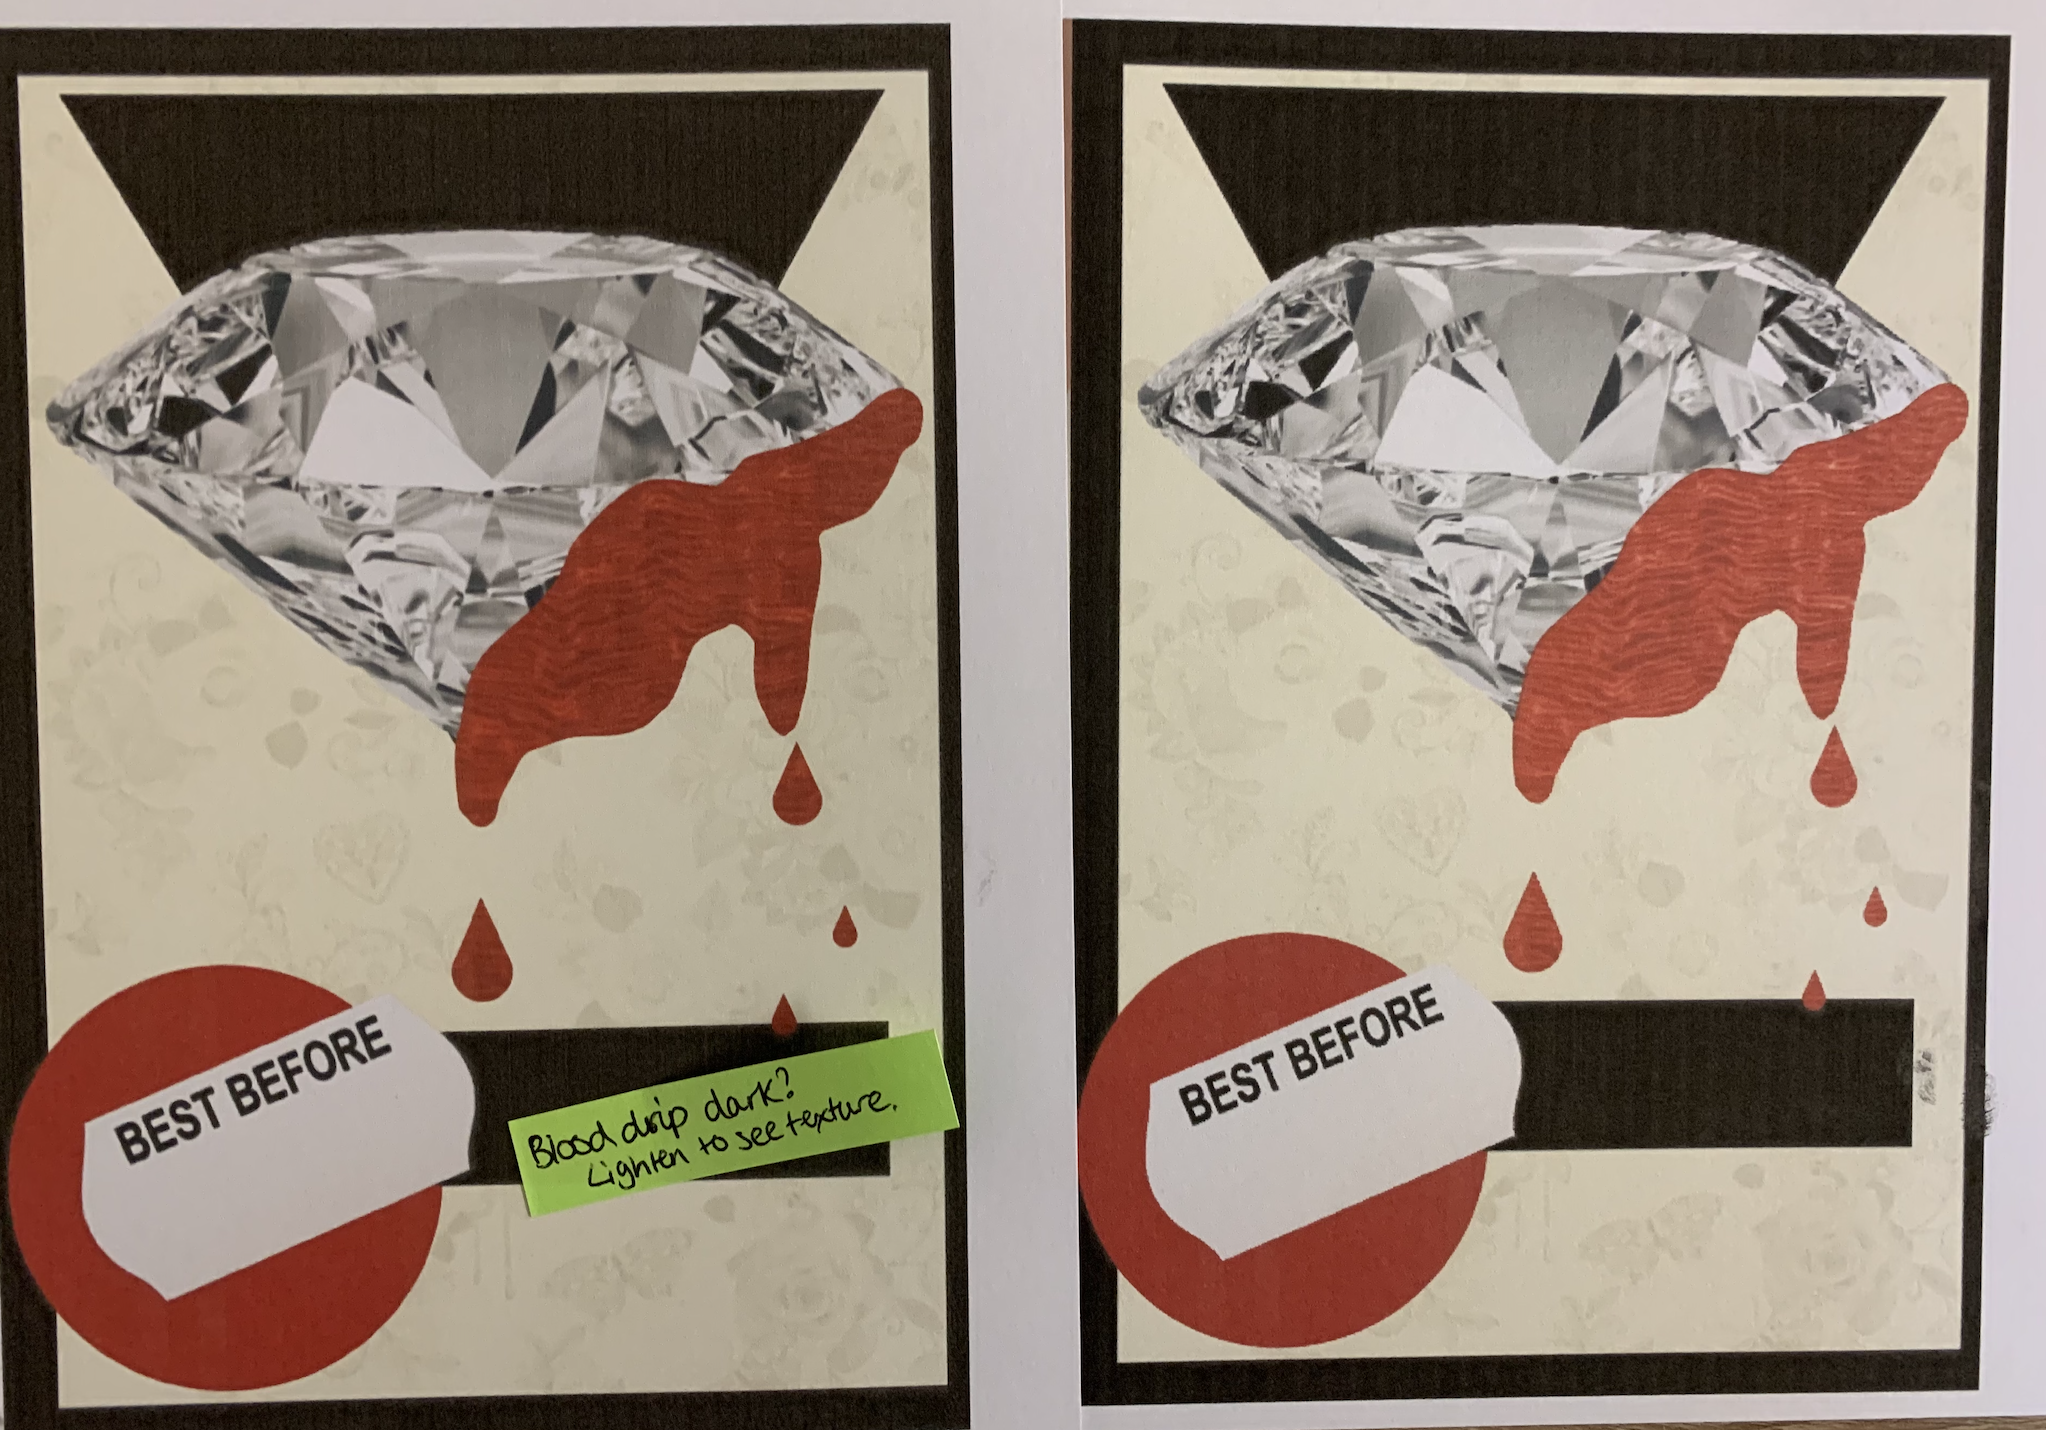
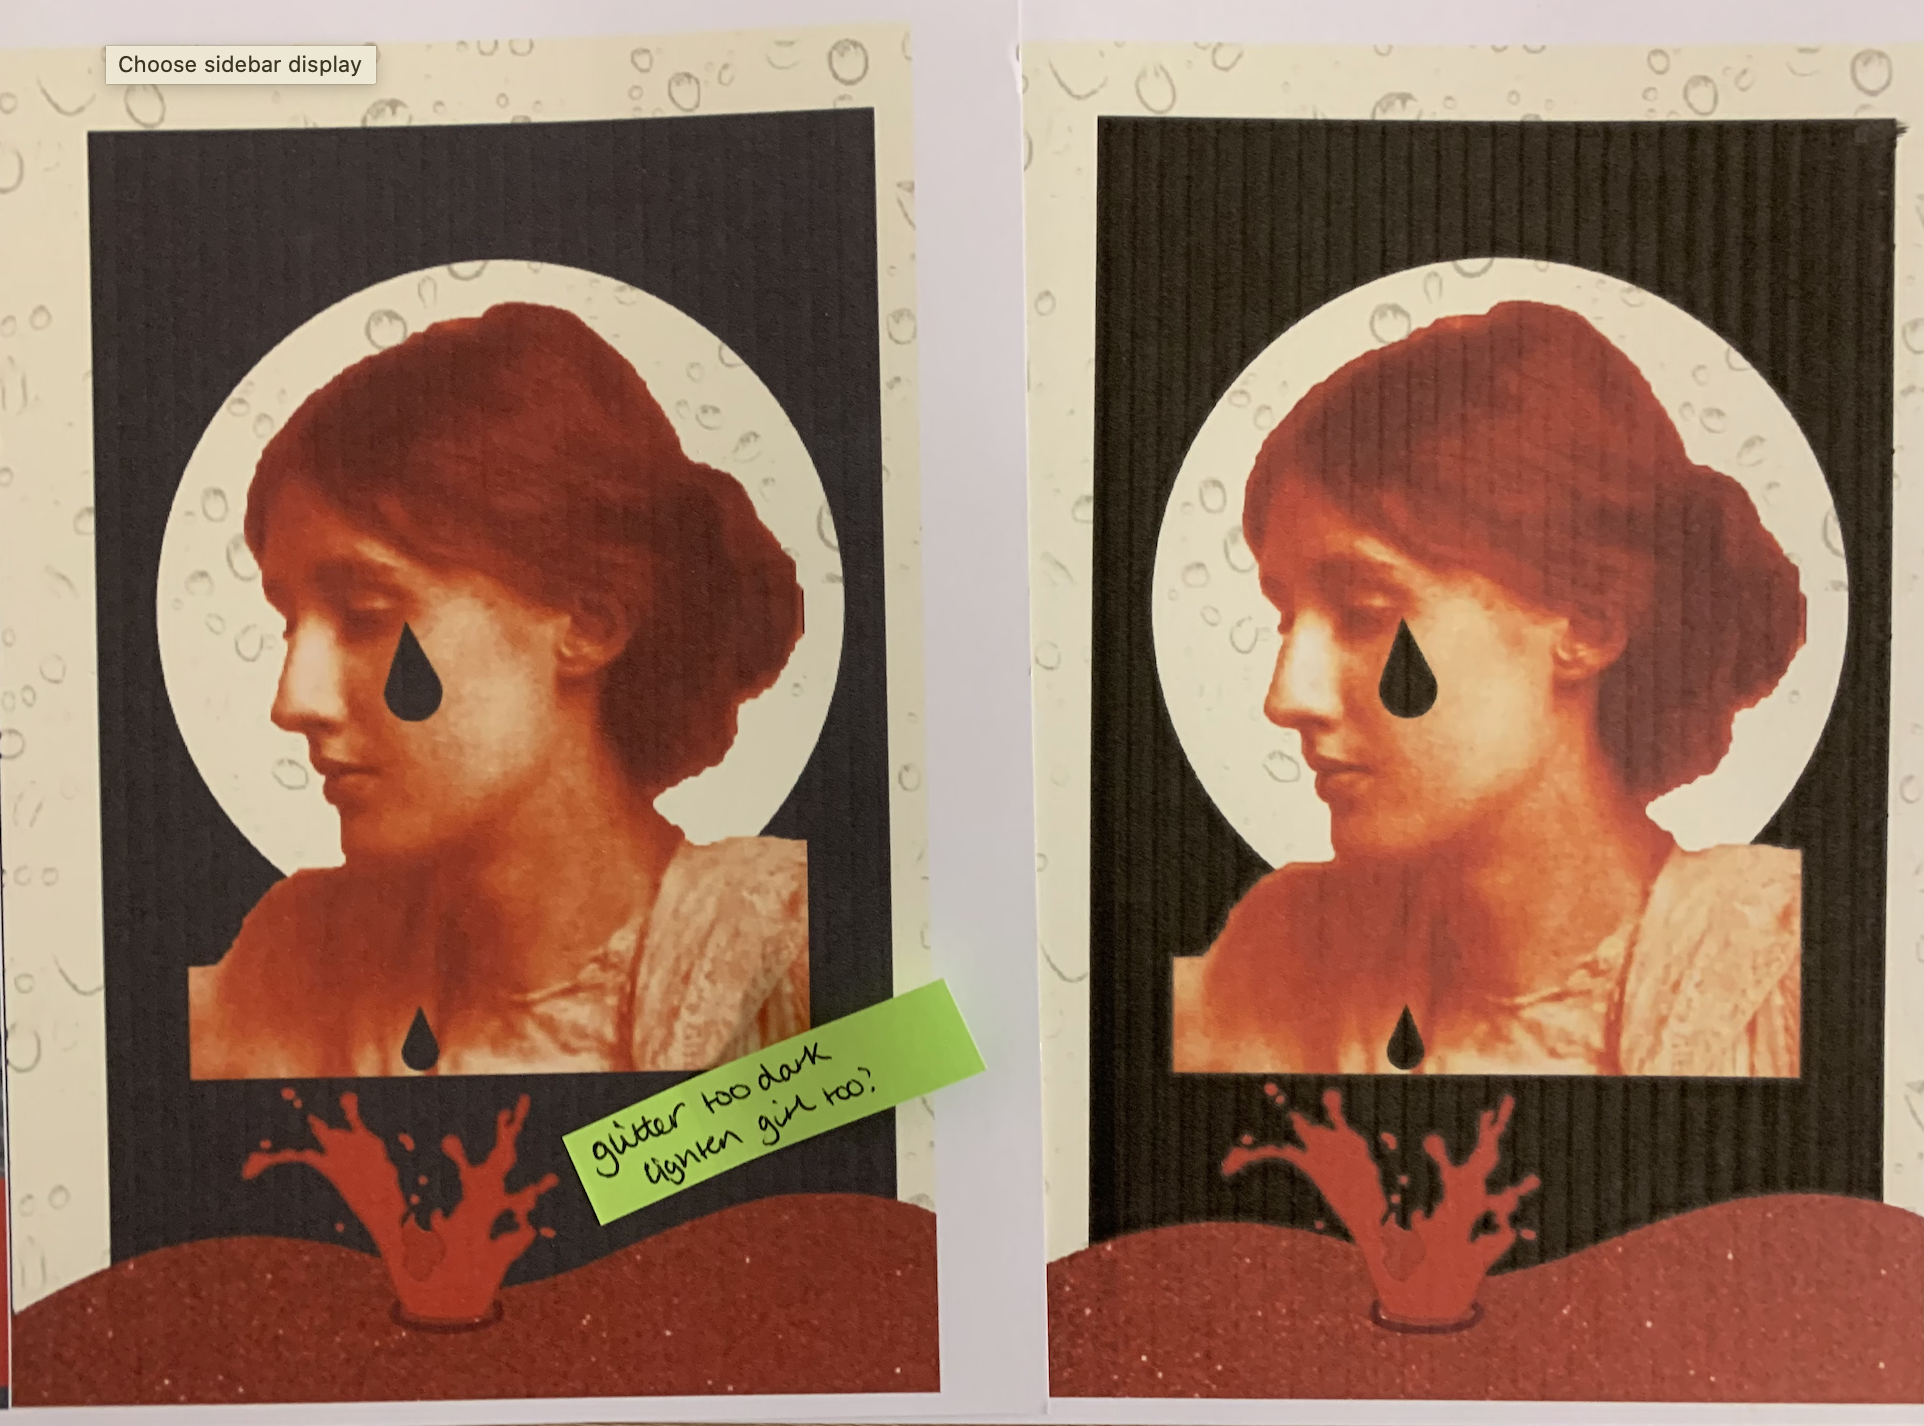
Im glad I was able to emend some of the images which I had slight issues with, I just need to reprint some of the images which had the issue with the ink on (sourced the issue and the inkjet needed cleaning).
Select and Collate
I think the strengths in my images as a whole is that there is a clear design consistency fitting in with the constructivism art bracket, I have taken into account the era that the poem was written along with adding small Russian details and inspiration. After printing off my mock-up as part of the previous exercise It was effective seeing my images together in book form, when read alongside the poem the links are present making it liner, however can still be seen as non-liner focusing on the images solely.
I would have to say my negatives are possibly sticking too closely to the design style and perhaps being too obvious in my designs, meaning I sometimes opt for the simpler option and don’t allow myself to deeply connect with the meaning behind the design and become more creative.
Once printing all of my amended images onto 210gsm white card I decided to stick the correct pages back to back to give thicker board like pages. I did look at alternative ways to layout each images but I felt chronological order was best, also for the fact that I subconsciously managed to create links for each two facing page.
Binding
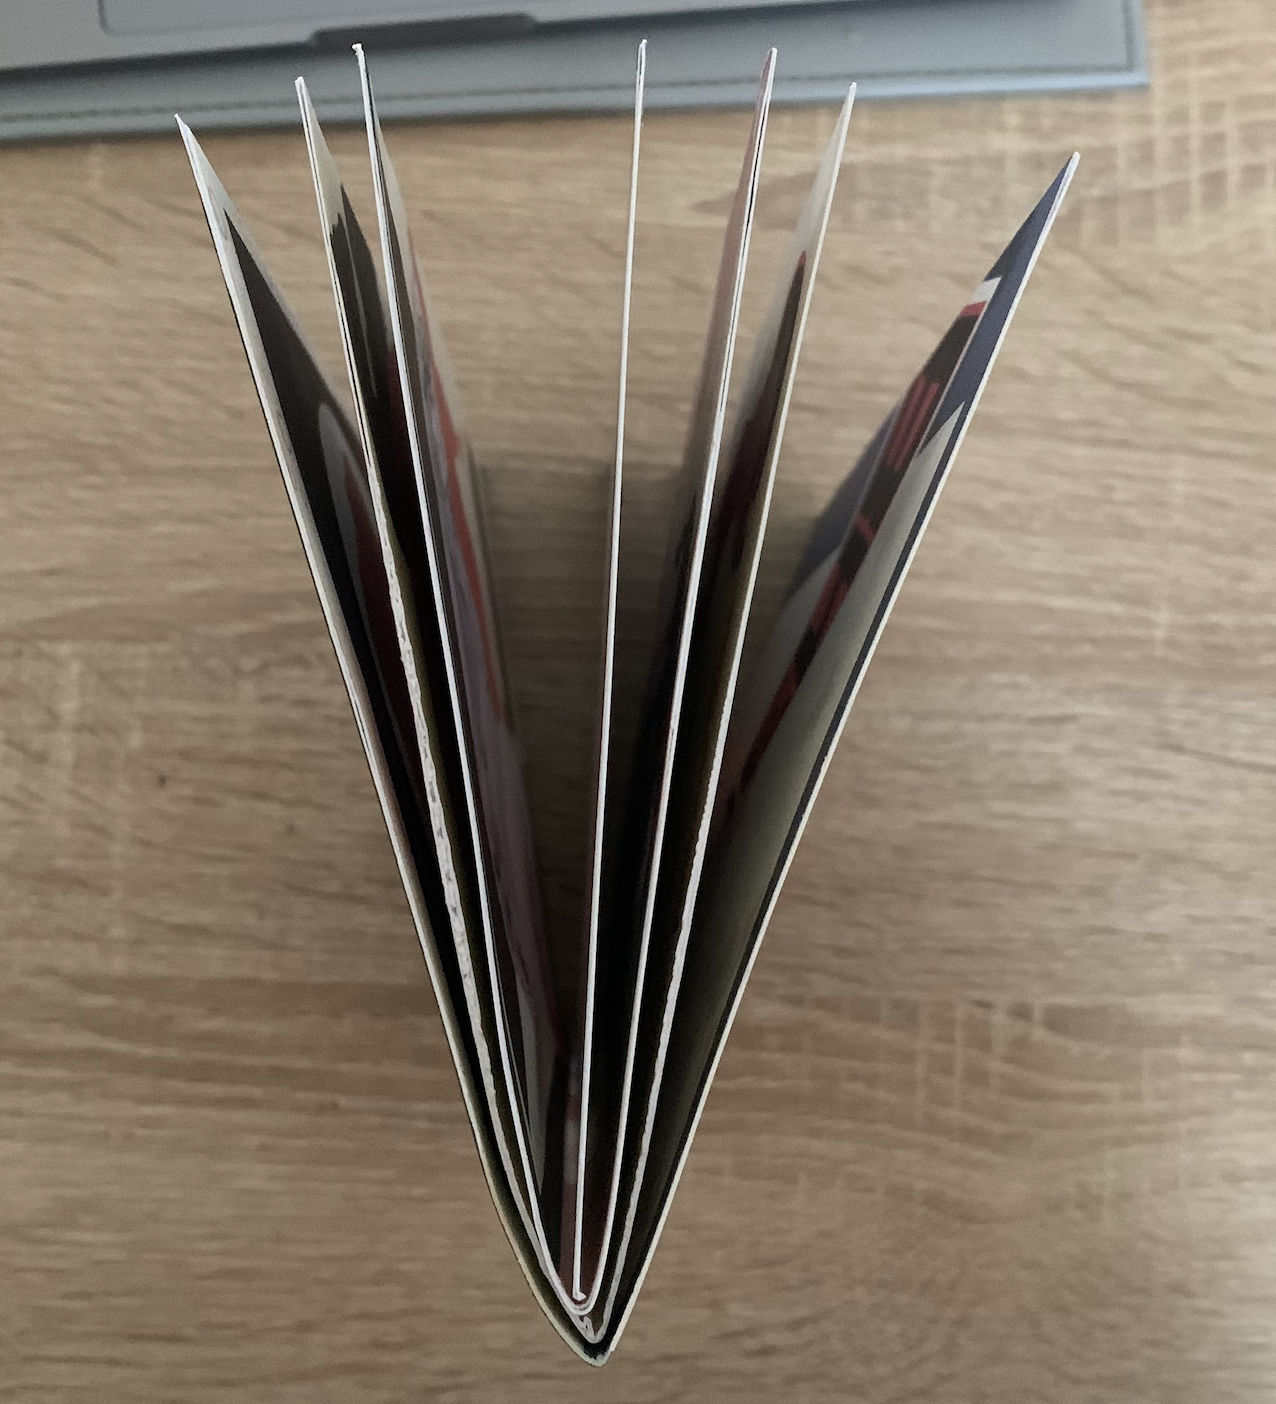
Due to my pinter only printing on A4 I feel that an A5 booklet would be best in order to see the images clearly, my miniature booklet from the previous booklet was folded and glued so there aren’t many binding techniques which would be suitable for this, choosing A5 is give me more freedom to be experimental.
Before I go straight in with my images I’d like to take this opportunity to experiment and try hands on different binding techniques on scrap paper.
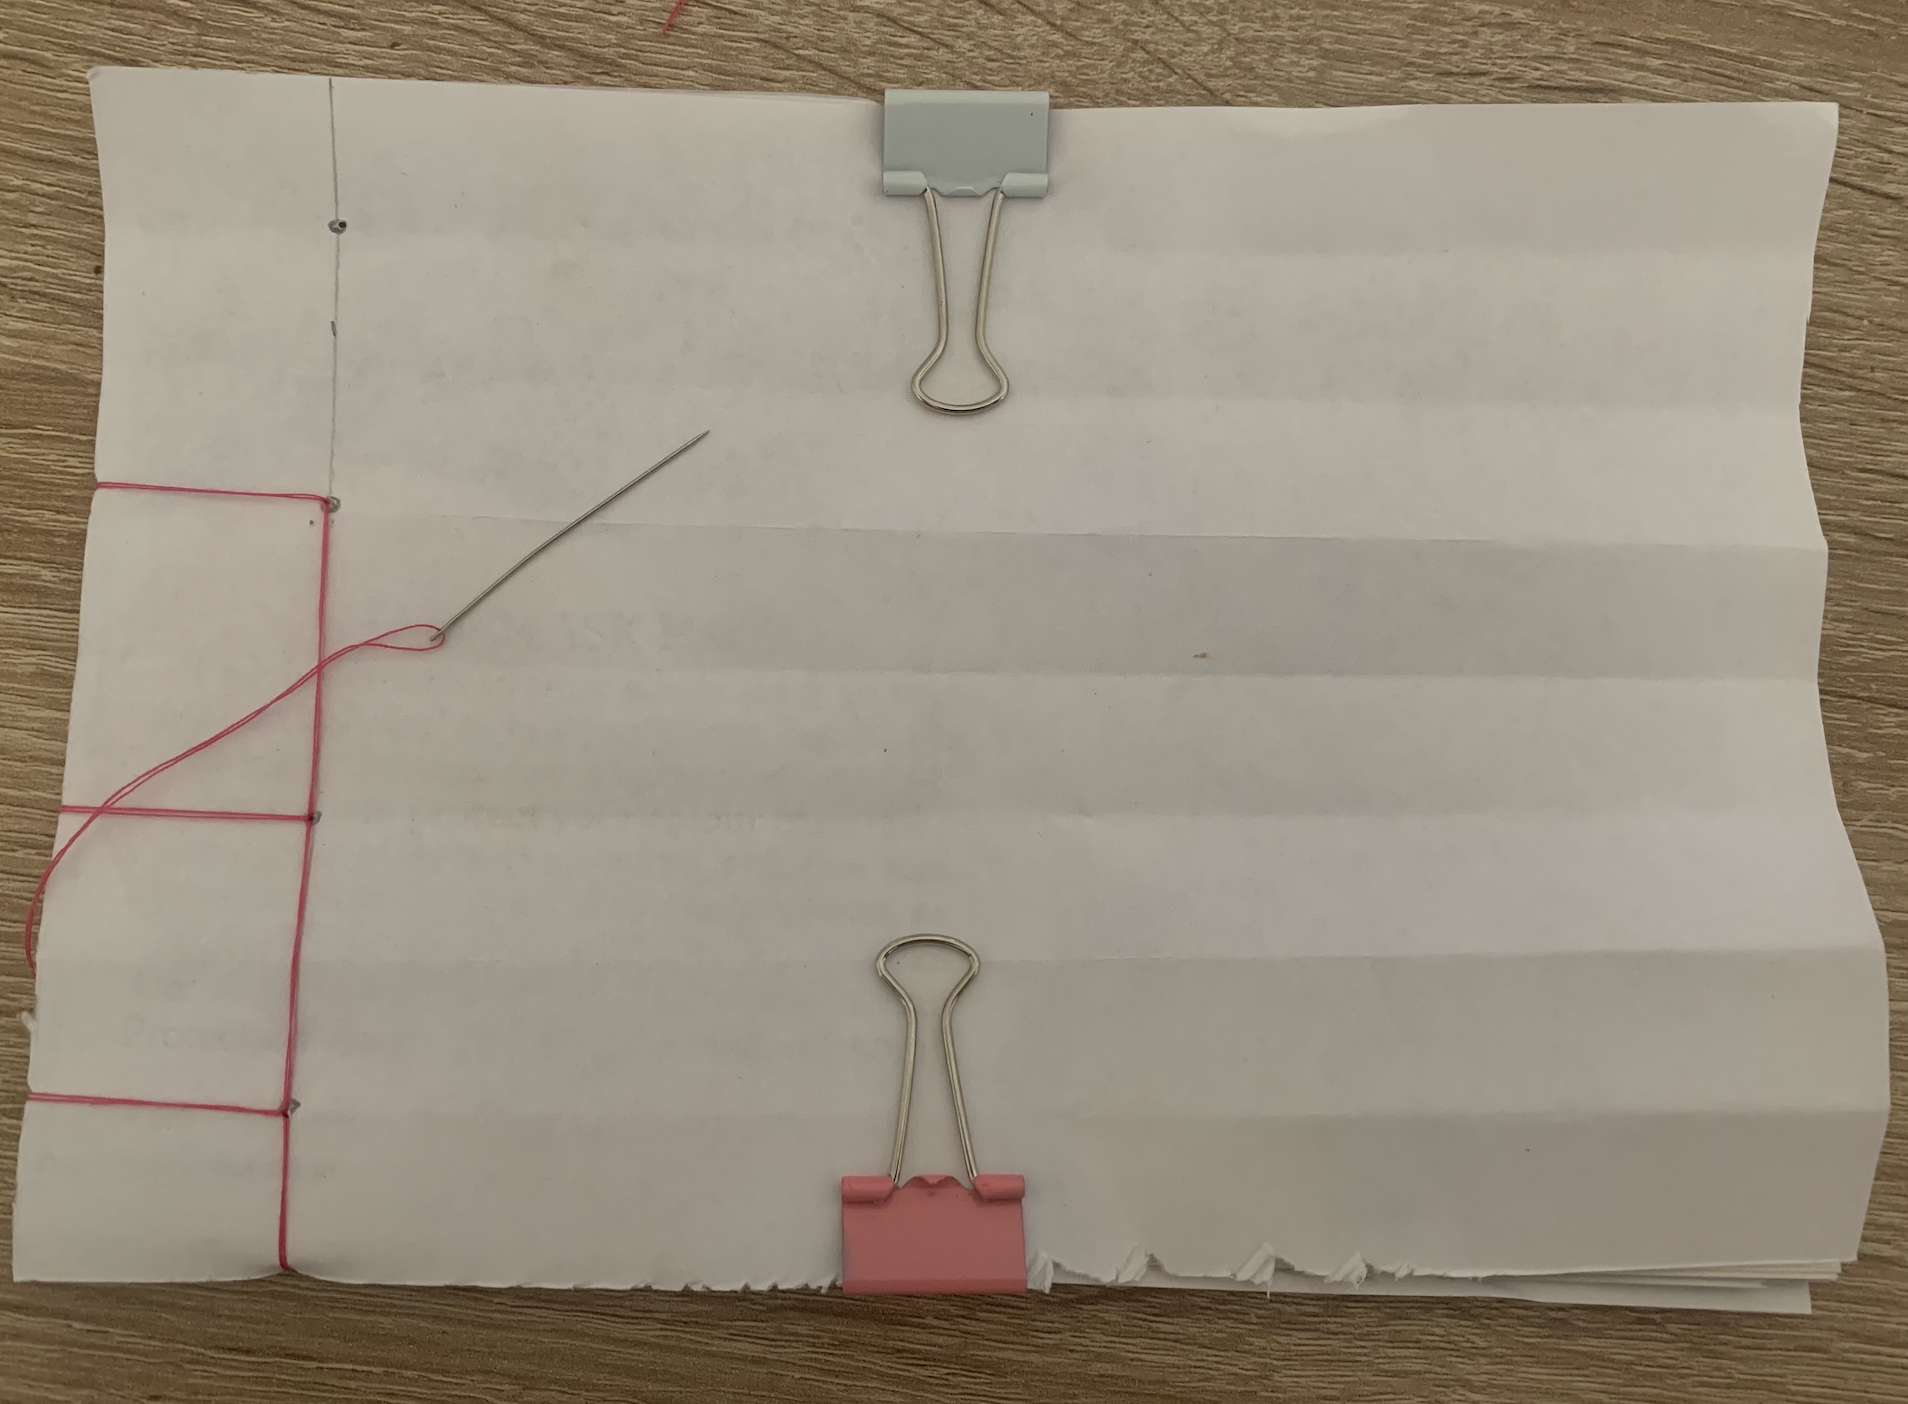
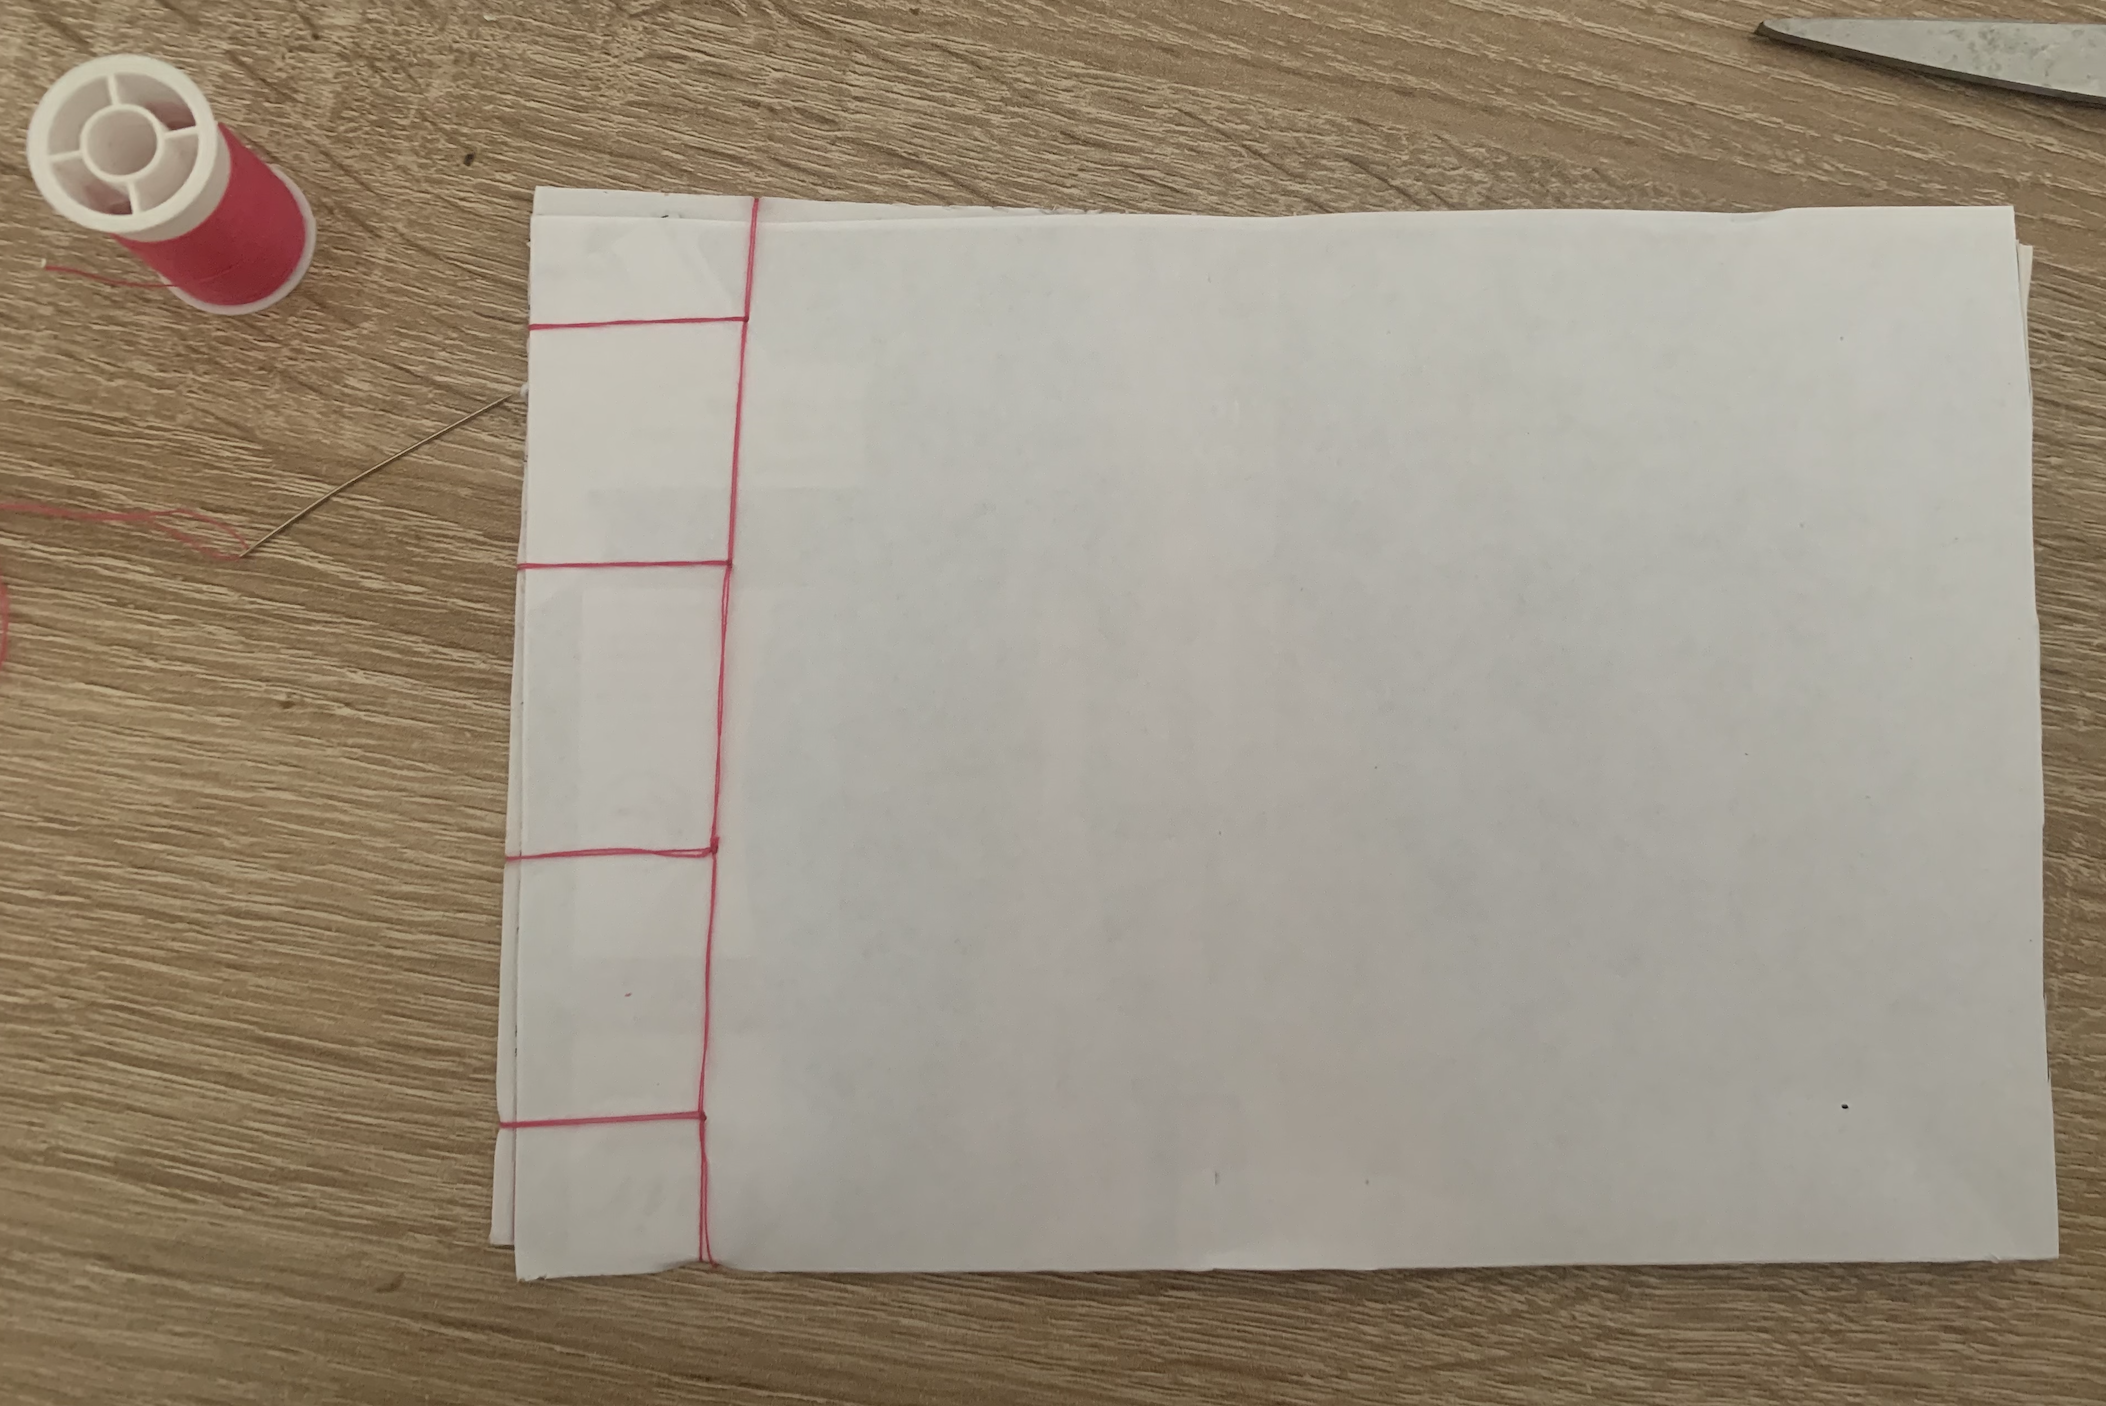
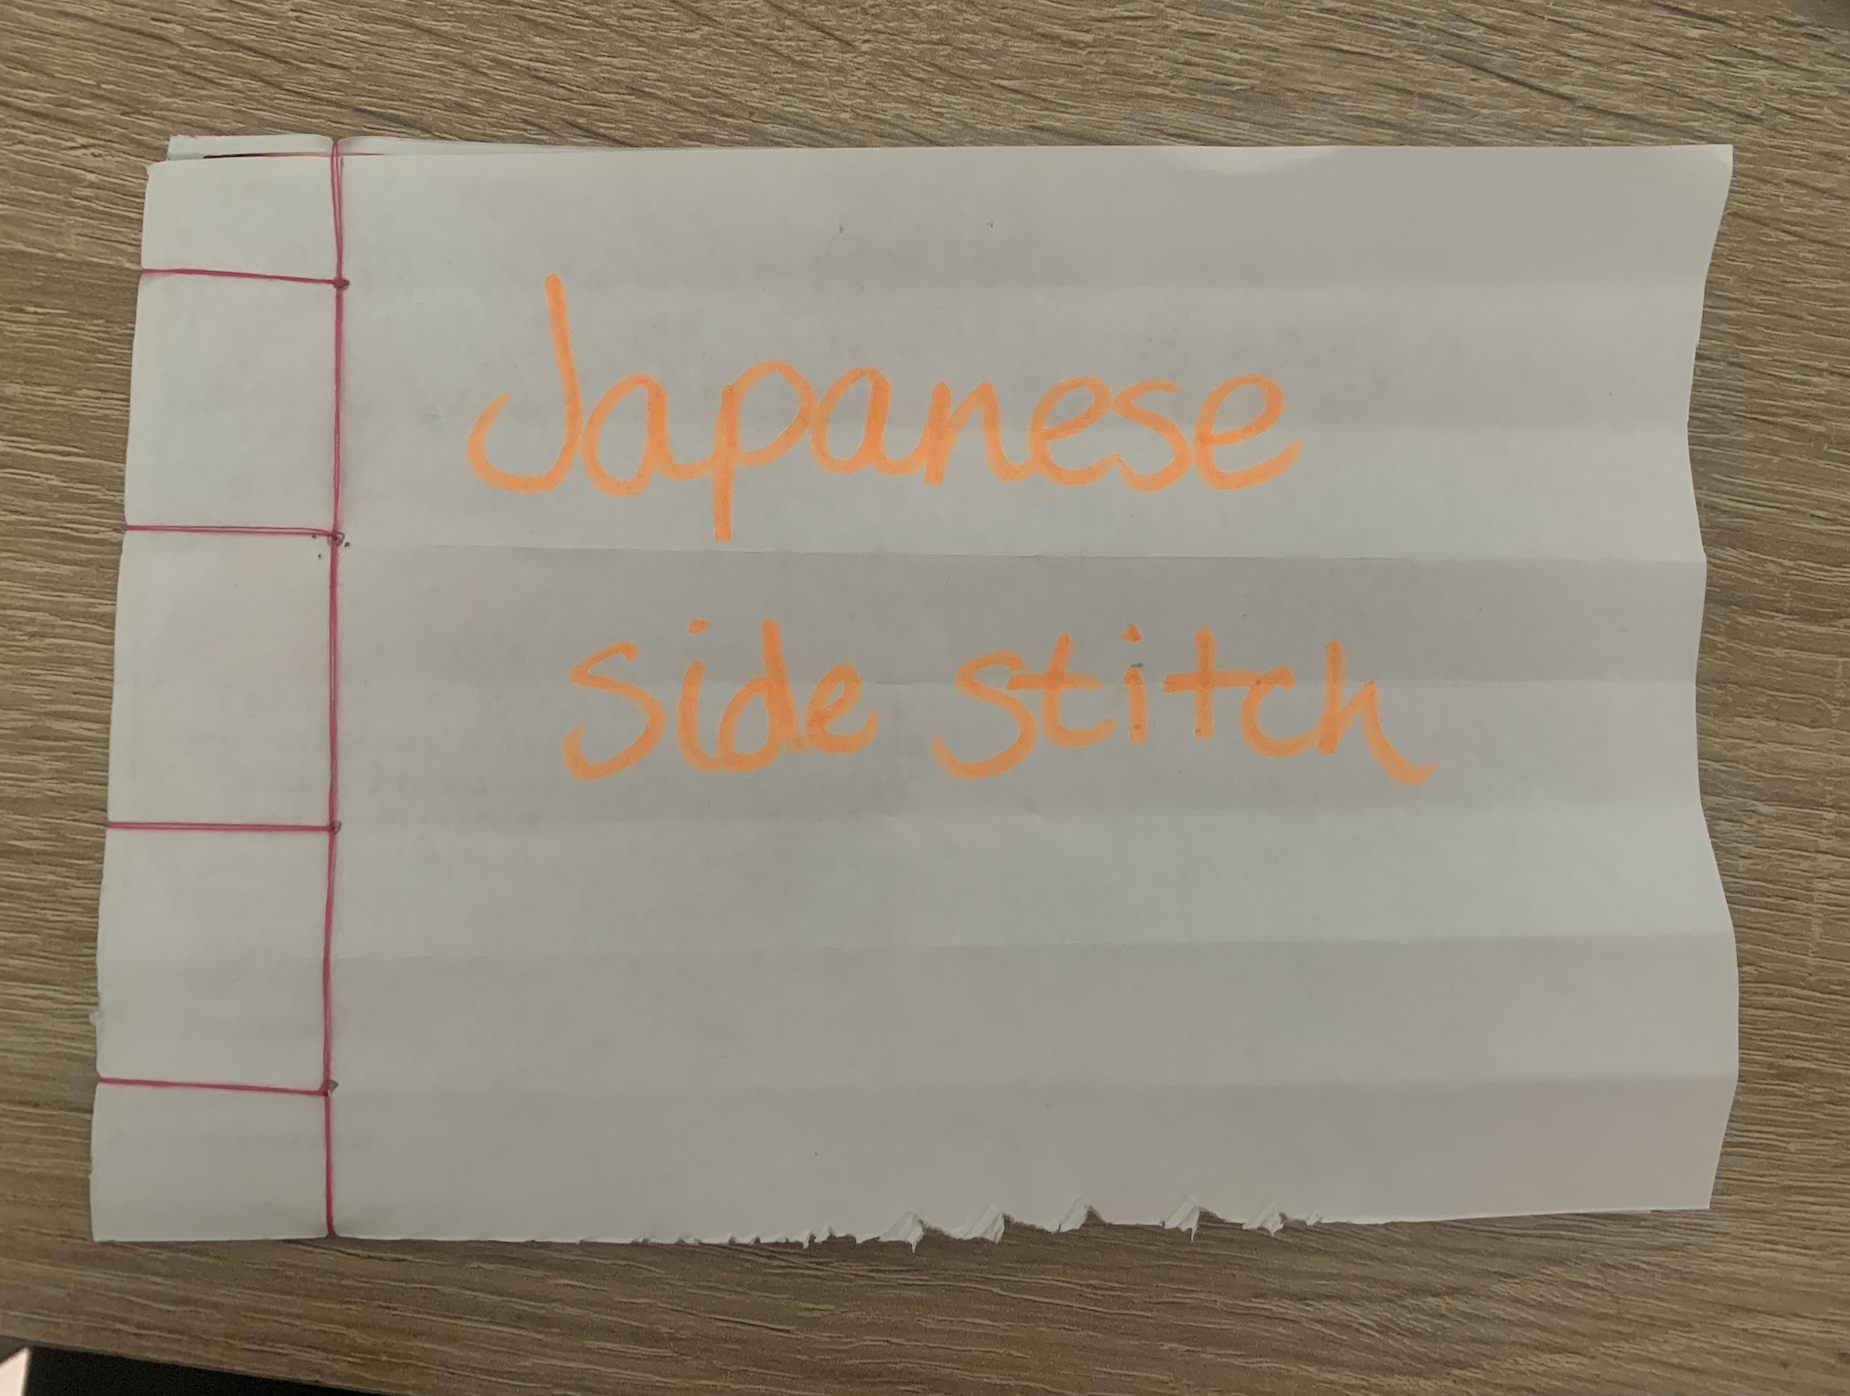
Japanese side stitch
I started off by following the example in our course materials. This was an easy and fast technique which feels as though it has a strong bond between the pages. I used bright pink thread so that the binding technique is clear.
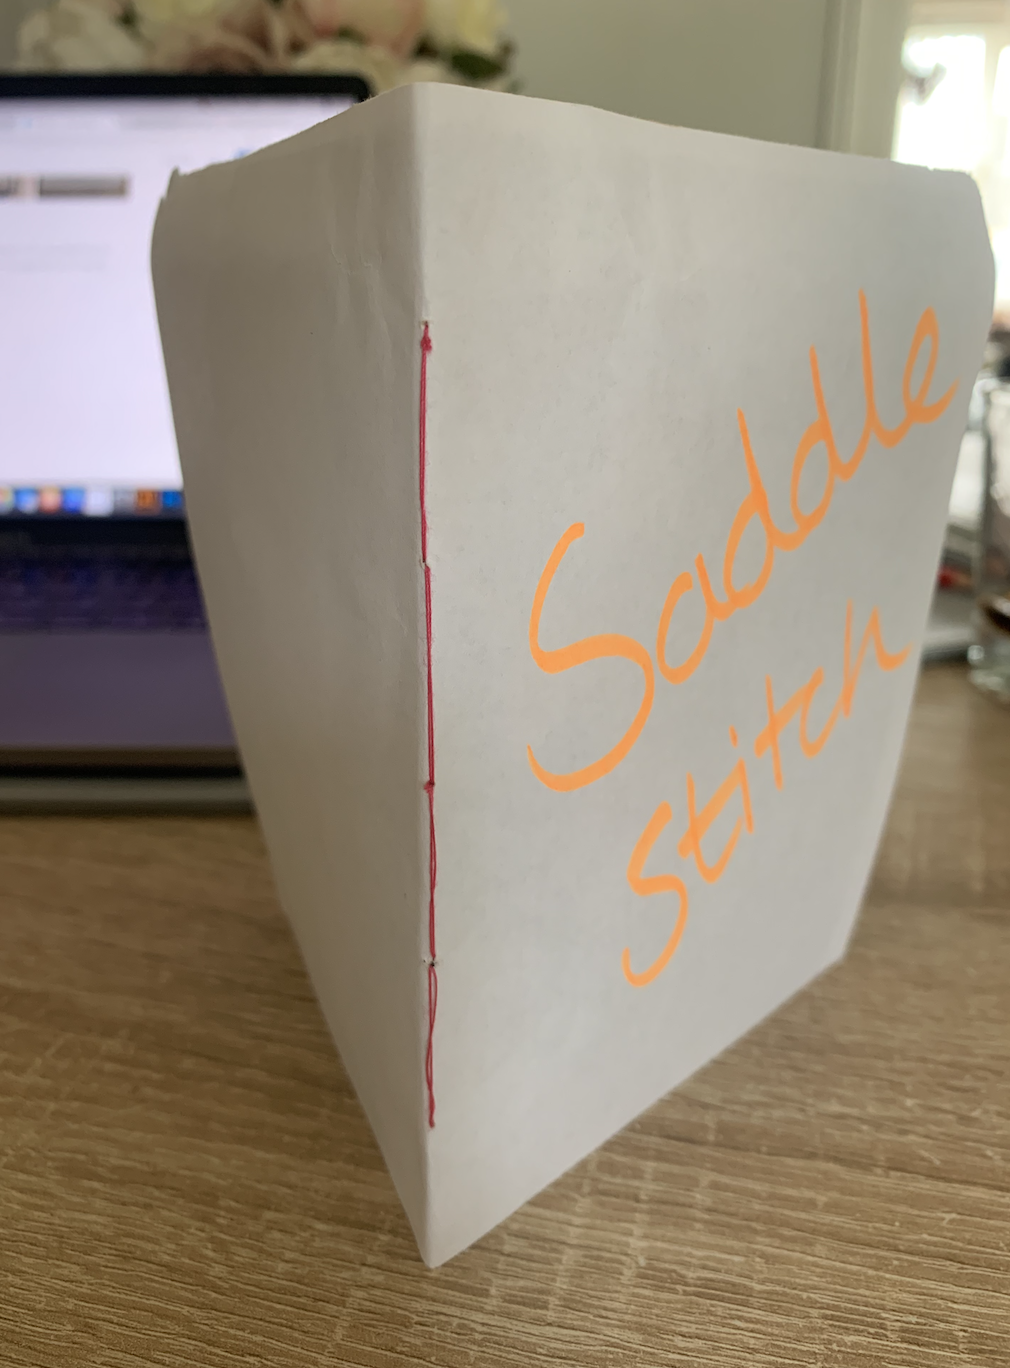
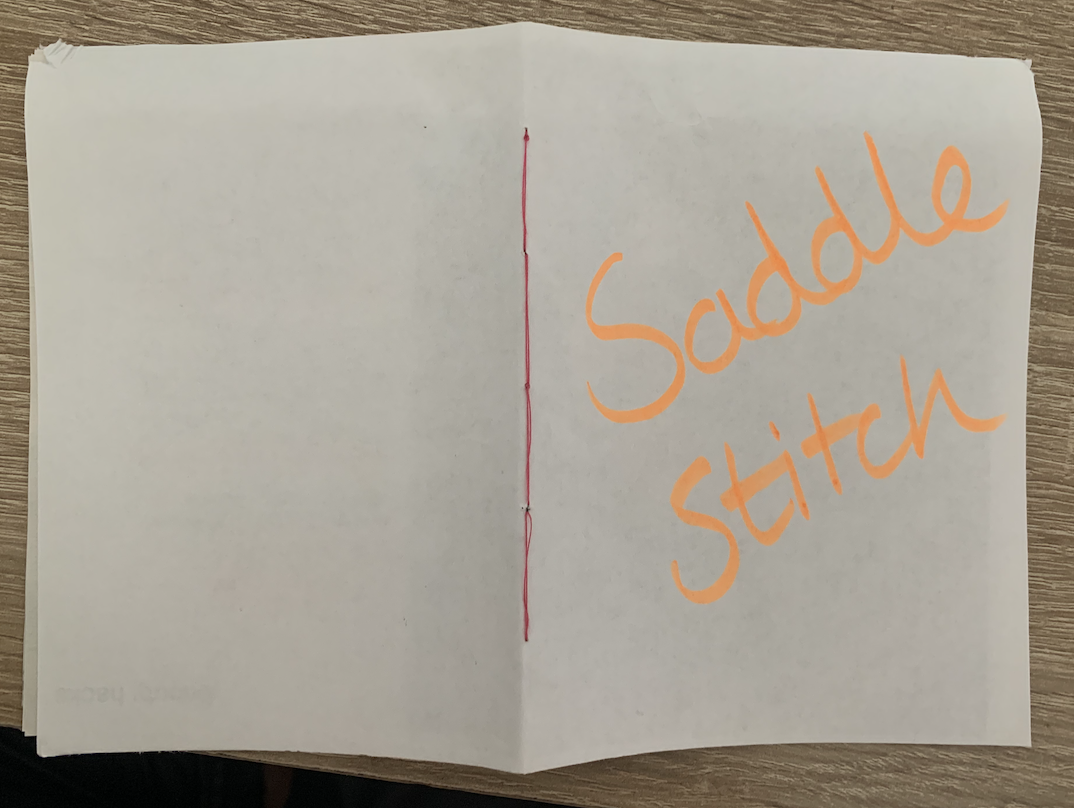
Saddle Stitch
Still using the needle and thread technique I decided to try the saddle stitch, This is less fiddly than the Japanese stitch as it only consisted of weaving backward and forward. The pages feel secure and this binding technique gives a neat finish to the spine of the book.
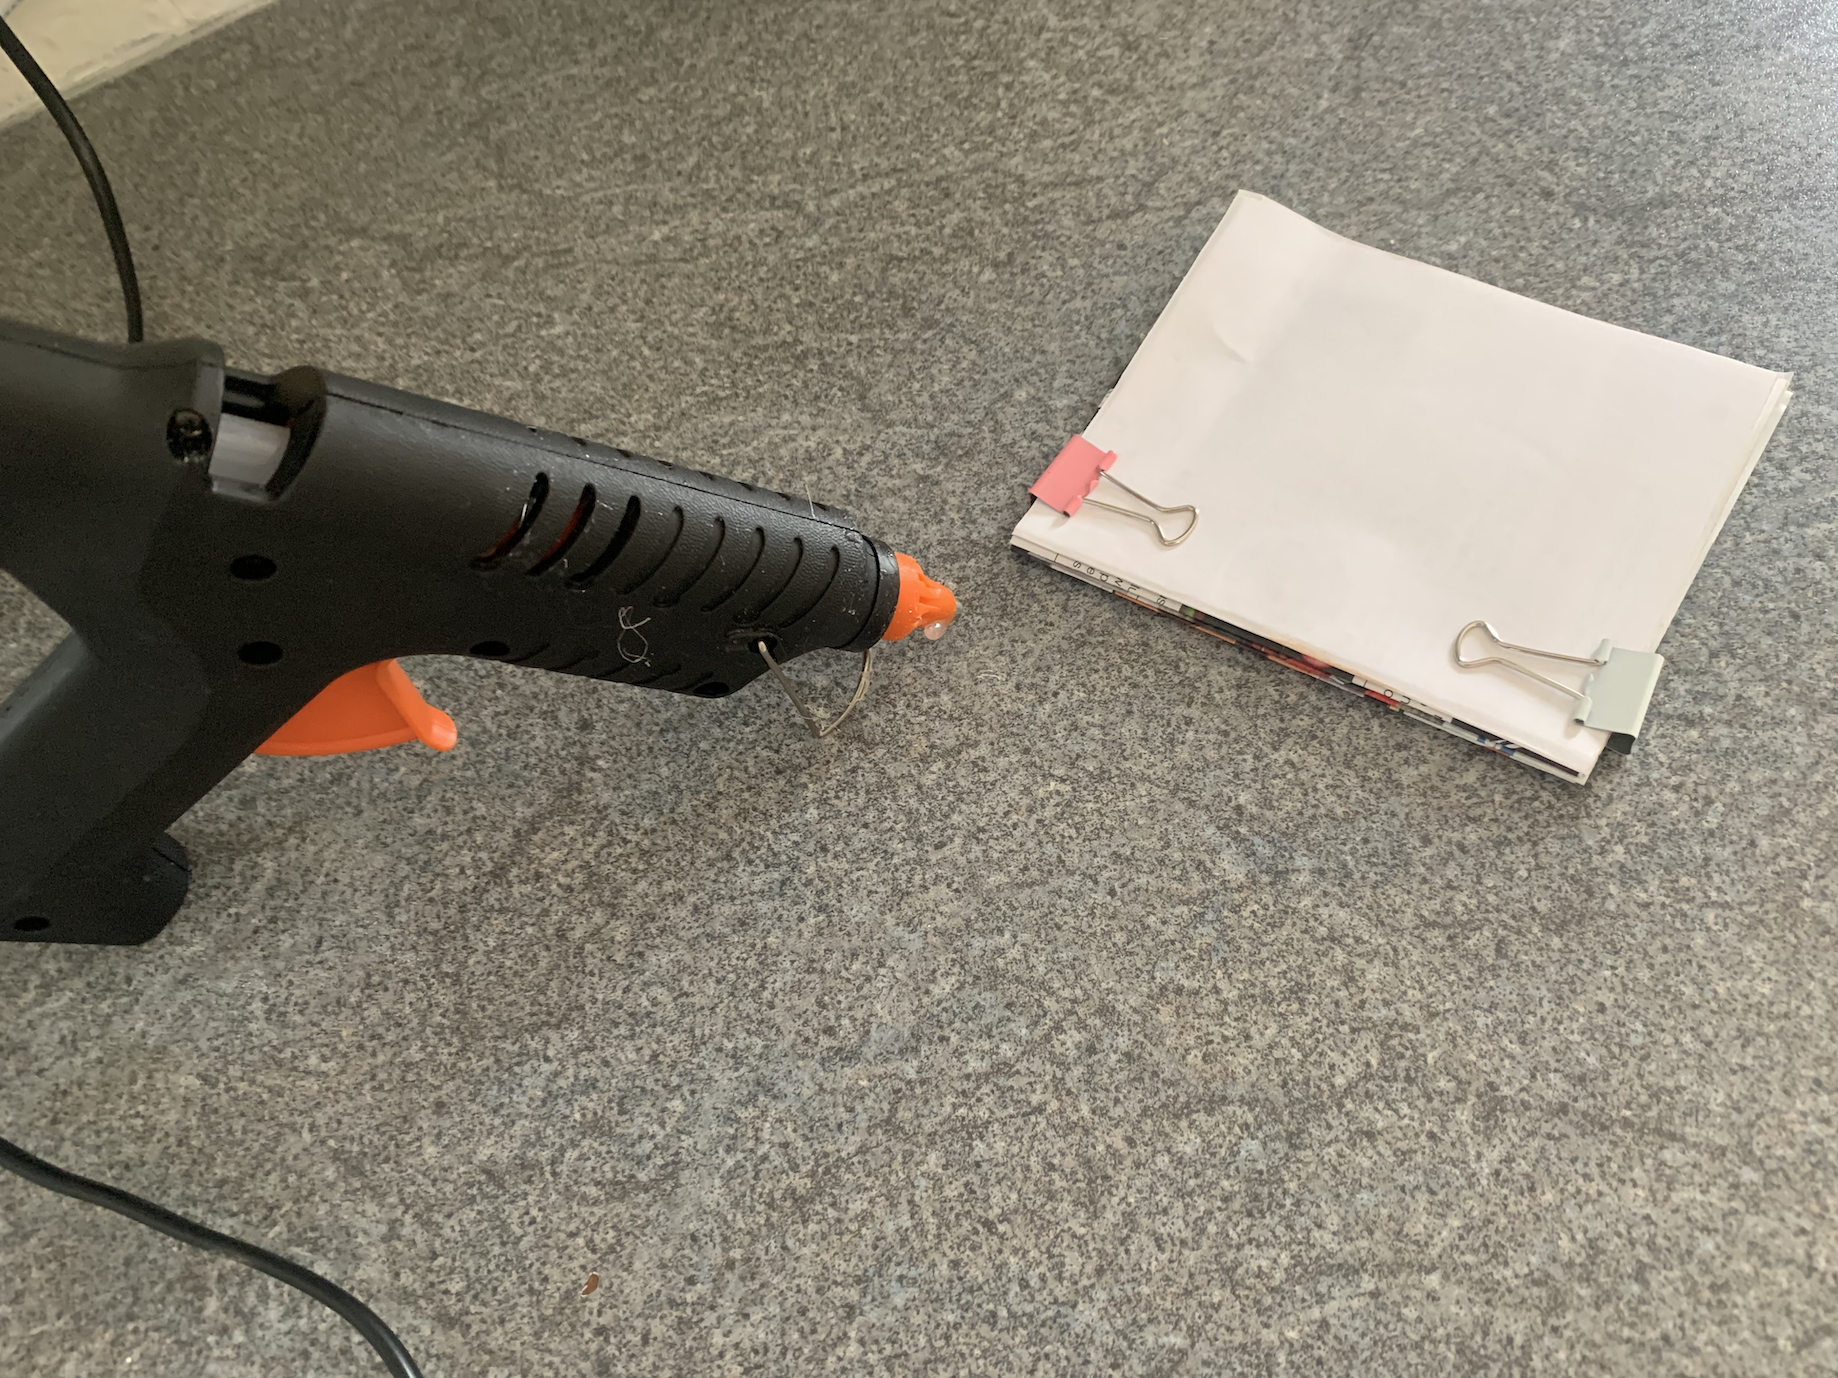
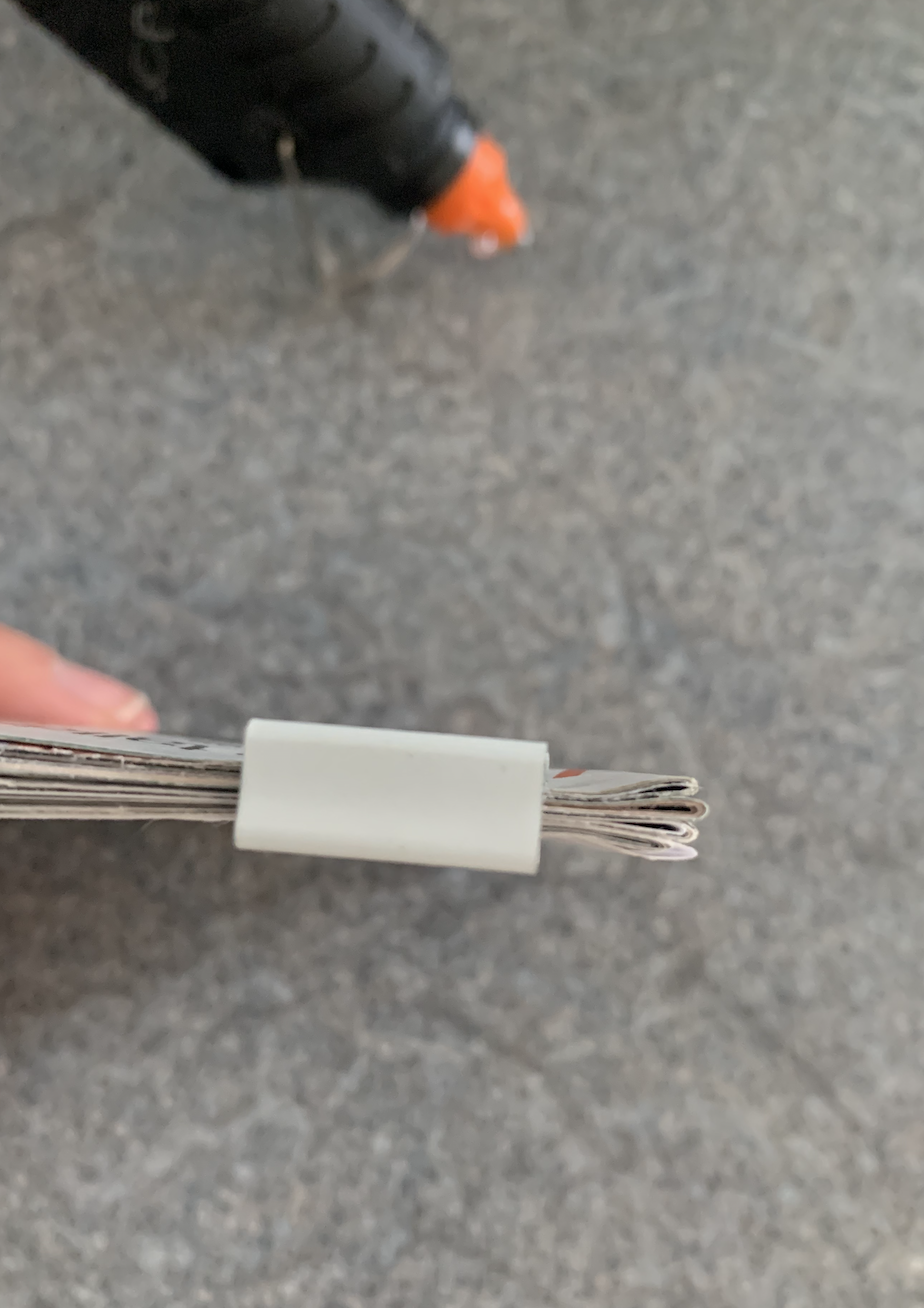
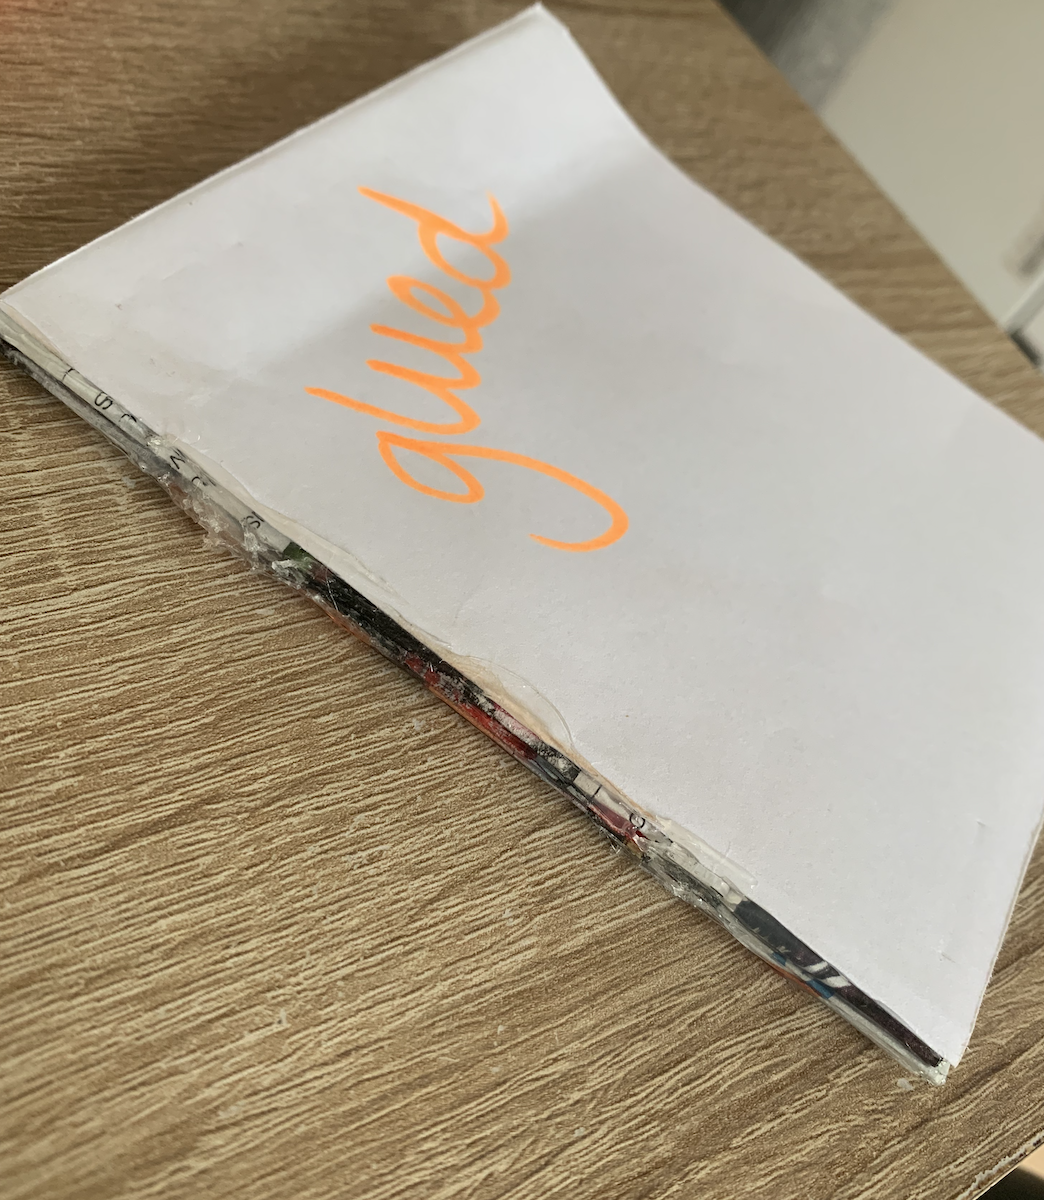
Glued
Slightly a longer process with having to saddle stitch each section before gluing, and this was a disaster in itself as I didn’t have any PVA glue, only a hot glue gun! (glue dried too quickly and went too clumpy, wasn’t able to smooth over without creating lumps) but it hold well and once backed with board would make a successful hardback!
Glued Part 2!
After the complications with the previously glued book I went and and get some PVA glue and decided to try a different technique, This time I attempted the ‘Perfect’ binding technique commonly seen in magazines. For this I used the rough copies of my images which are single sided printouts. This technique feels as though it could fall apart however that may because of the quality of glue? Although this was the easiest technique to do by simply applying layers of glue I feel its the least successful.

After testing out a few different binding techniques I decided that a saddle stitch would be the must successful way to bind my images together. I simply used black thread and weaved between each page.
Reflection
It was good to go back and reflect on my images thoroughly and to amend the issues which cropped up. I also found it interesting to practice different binding techniques and experiment with how easy they are to do and how well the work. Seeing my images in book form feels very rewarding and I’m very pleased with the end result!

One thought on “Exercise 4: Collating and Binding”