Brief: Using a found book, significantly alter the appearance of the pages to create a new volume that is personal to you. This can be any kind of book that is of interest to you, for example, a fiction book, a non-fiction book, a picture book or a photo book.
Approach the found book in a very physical way, manipulating the pages and paper inventively. If you need to, stitch or glue a number of pages together to reduce the ground you need to cover. Decide what to remove from the book, and what to add. Use the found book as a source of ideas and inspiration – the existing text may inspire illustrative, conceptual images, collages or typography as image. Embed, overlay and integrate your work into the existing pages using whatever materials, media and processes you feel necessary. This may be digital, hand-rendered, photographic, textile, or a combination of all these and more.
Think about the relationship between the content and the form, the design (text and images), the materials you use, such as papers. Perhaps you are creating a new sequence within the book? Change the book from its original form into a different form, altering the appearance and/or meaning. Apply an inventive, intuitive response to materials and how these can be exploited within context to the altered book. Refer to your contextual research into artists and designers in the unit so far. Use elements of your research as inspiration and to inform your book-altering practice.
Reflection: Write a paragraph reflecting on the assignment and reflect on your process and decision making. Are you looking in a different way to meaning, materials, design and the form of the book? Now is the time to take a good look at the assessment criteria in the introduction and make sure that your work meets the standards set. Ask your tutor whether they think you will be ready for assessment at the end of the course and what you need to improve upon.
Analysing the brief;
I have been asked to choose a book and alter the appearance and/or meaning in order to make it personal to me using the content as inspiration. I should take a very physical approach by manipulating the pages and the books structure taking into consideration the relationship between the books form and its content.
Keywords – Significantly alter, appearance of pages, new volume, personal, physical, inventively, illustrative, conceptual images, embed, overlay, integrate, digital, hand-rendered, photographic, textile
Research
As mentioned in the brief I decided to look back over artists and designers which I have researched over the unit so far to regain inspiration.
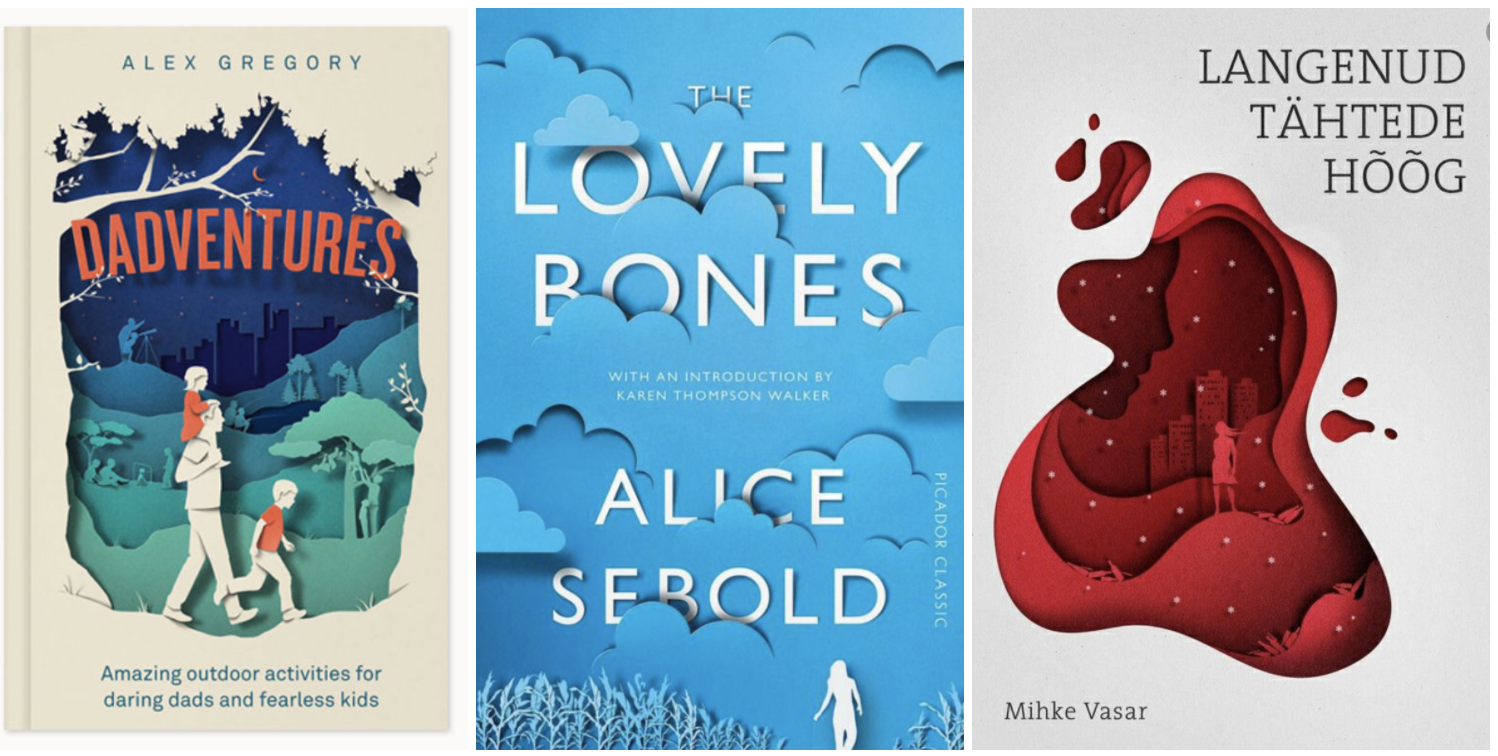
One artist which stood out to me in light of this assignment is Eiko Ojala (research found in Exercise 3 Part 2) Eiko Ojala is a renowned illustrator and graphic designer based in Estonia. He works mostly digitally and draws everything by hand. Within his work process Eiko likes to study the forms of shapes and to work closely with light and shadow.
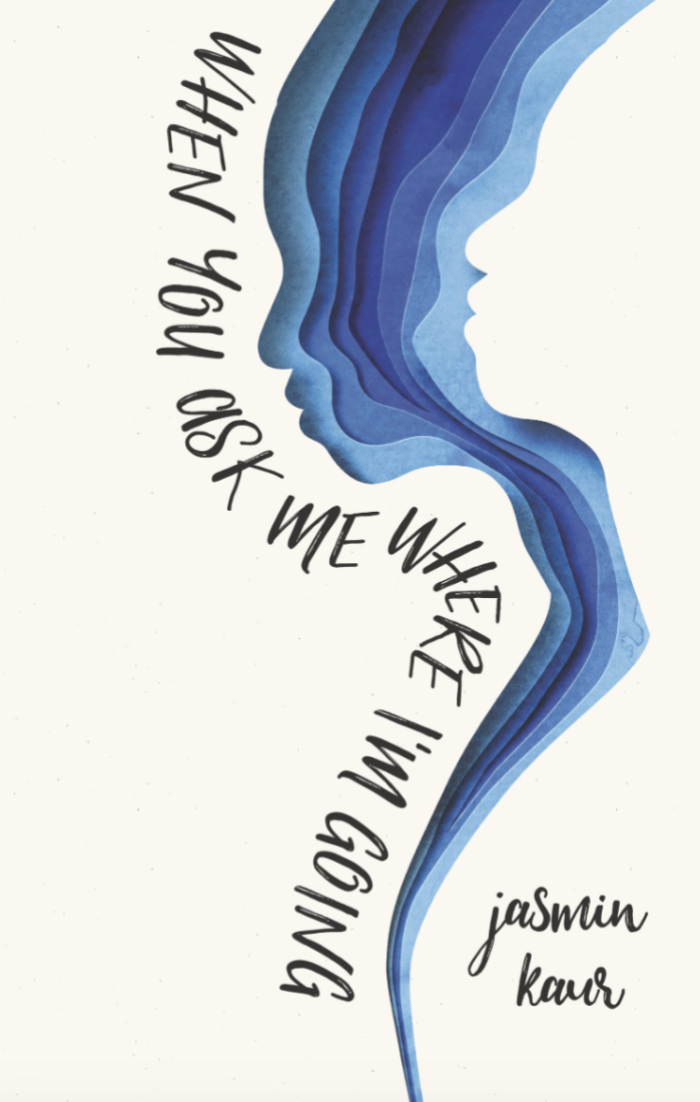
I really liked the idea of layering images from numbers of pages giving a 3D illusion – this has given me inspiration for my design!
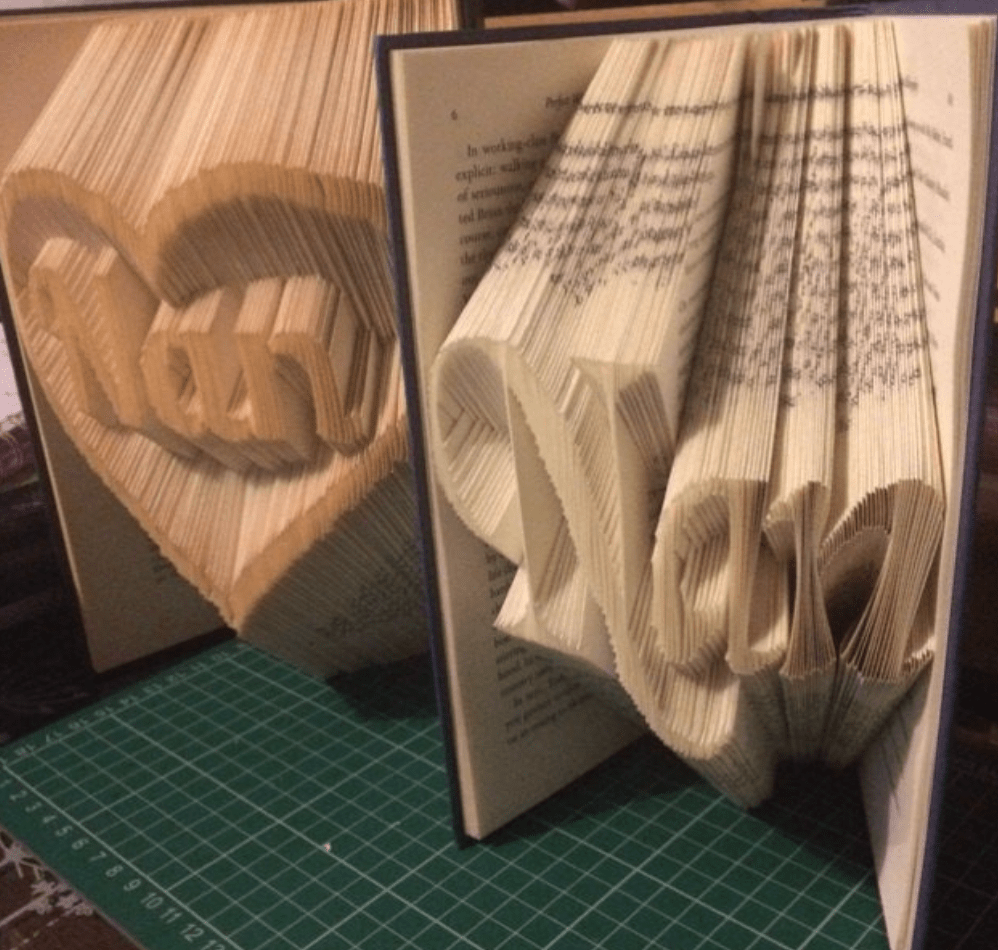
Looking at Eiko’s work it also reminded me of something I created a few years ago as a gift for my Nan, I used a page folding technique to create this form of book art. This could also be something worth remembering to feature within my designs.
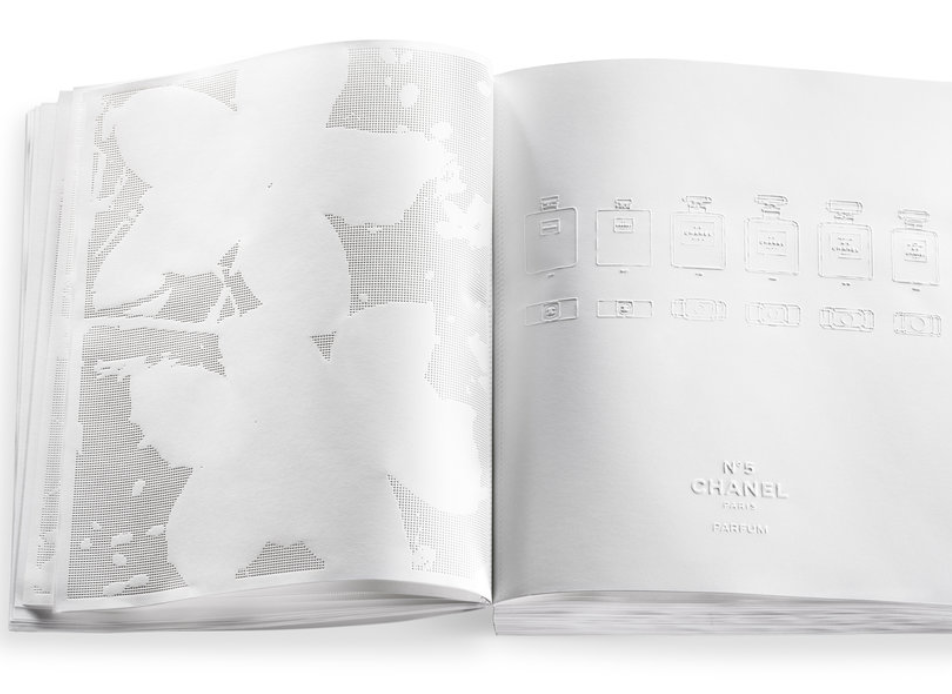
Another artist who I grew a likening to during previous research tasks is Irma Boom, she was one of the first experimental book artists which I had stumbled across and loved the way she tested and pushed the boundaries of the book. (Research taken from Exercise 3 Part 2) Irma Boom, is a Dutch graphic designer who specialises in book making. Boom has been described as ‘The Queen of Books’, having created over 300 books and is well reputed for her artistic autonomy within her field.


Altered books
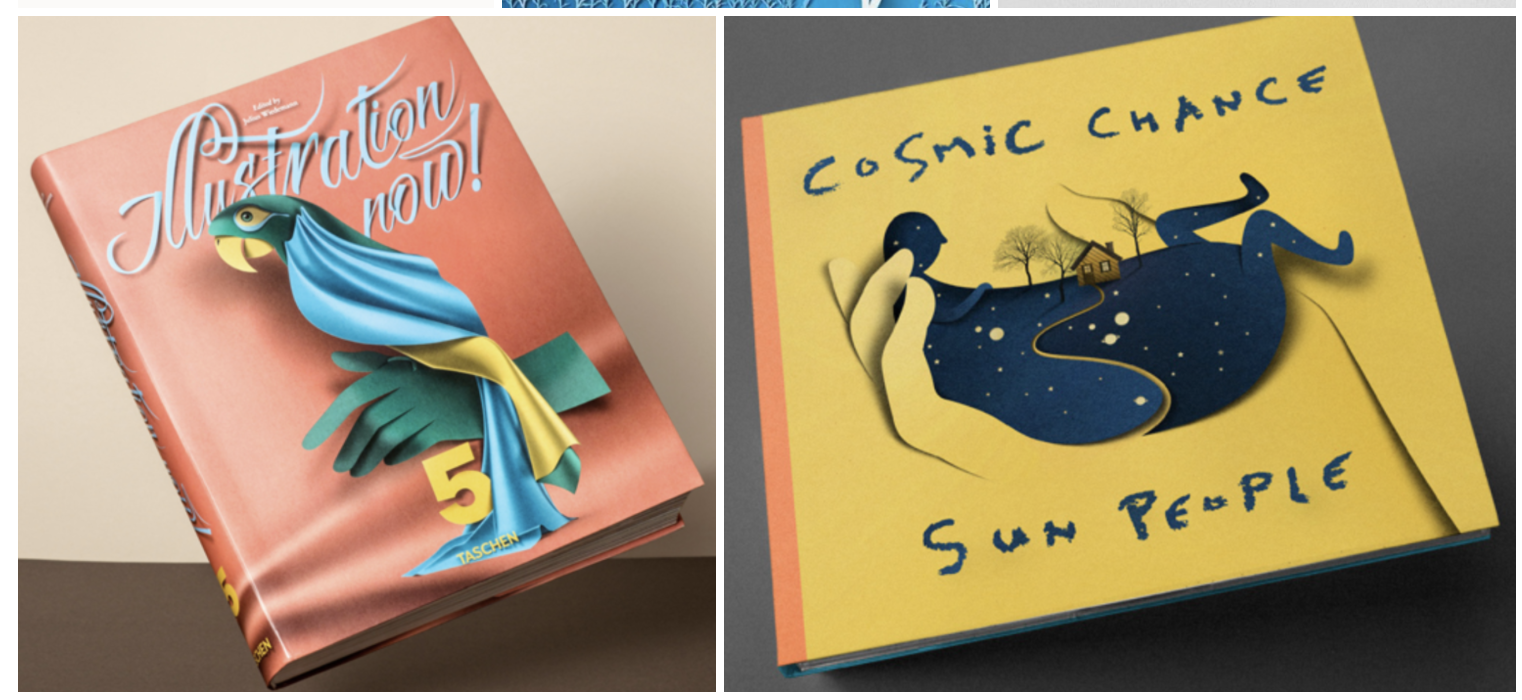
After re-gaining inspiration from artists which I have previously looked at I wanted to look further into different artists who have created artistically altered books.
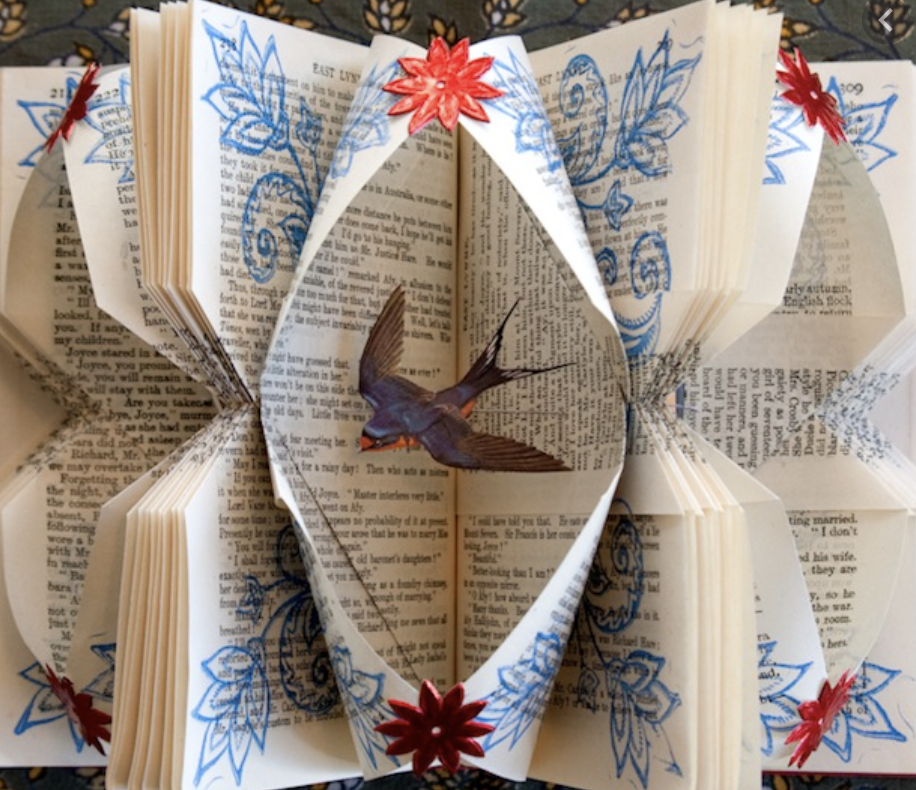
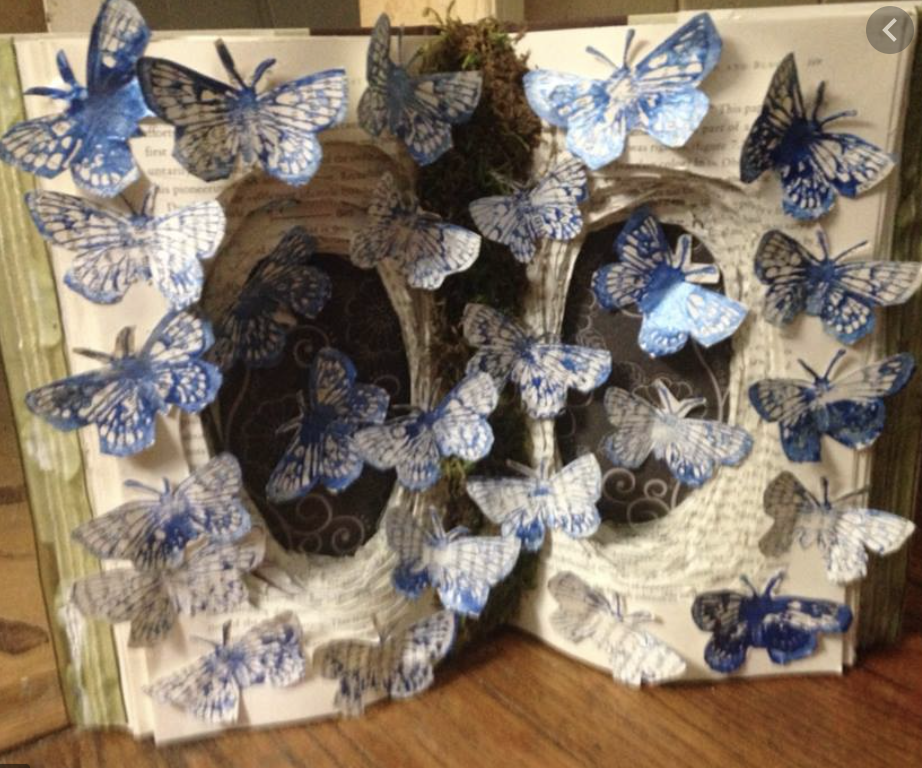
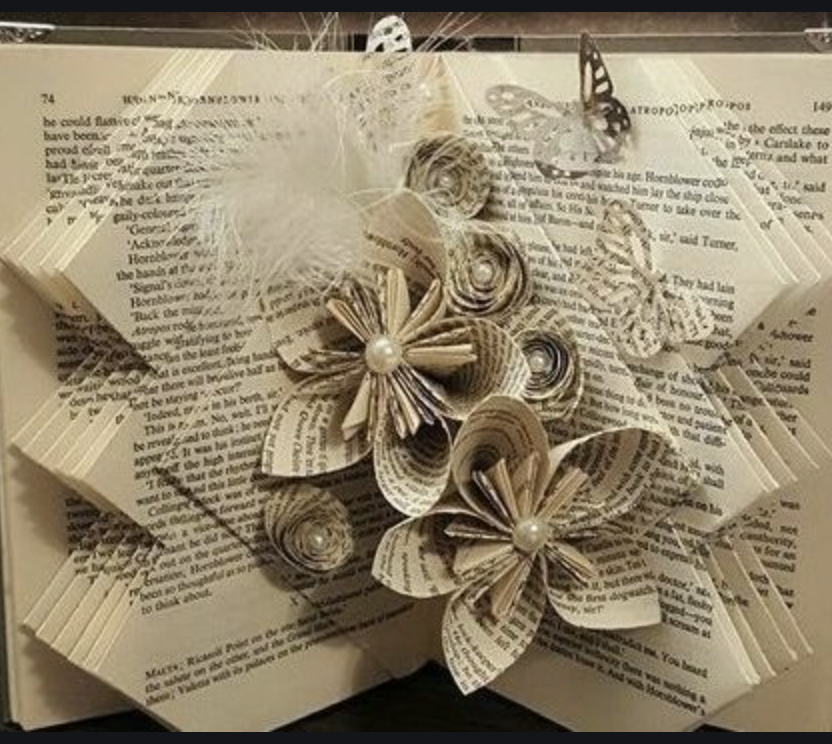
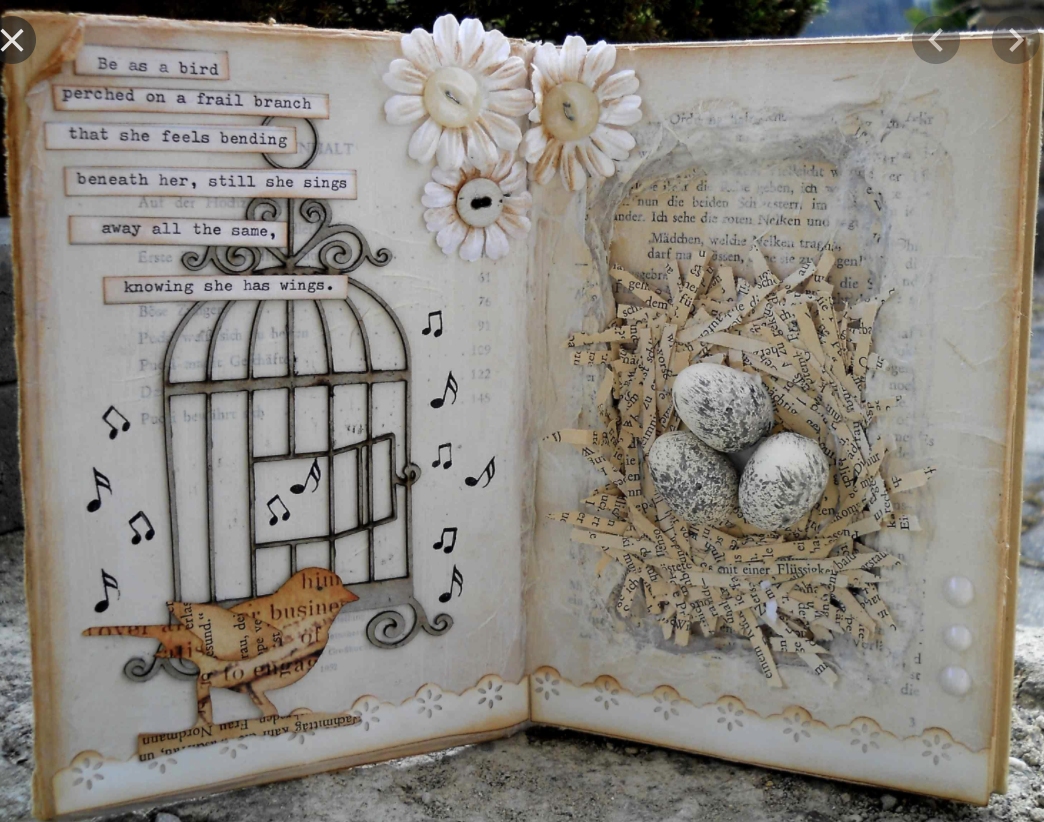
I started to gather a collection of images found online and some of the results are amazing! This has already given me plenty of ideas ready to use within my own design! I just need to narrow down my selection and choose the book which I think I will achieve the best results.
Generating Ideas
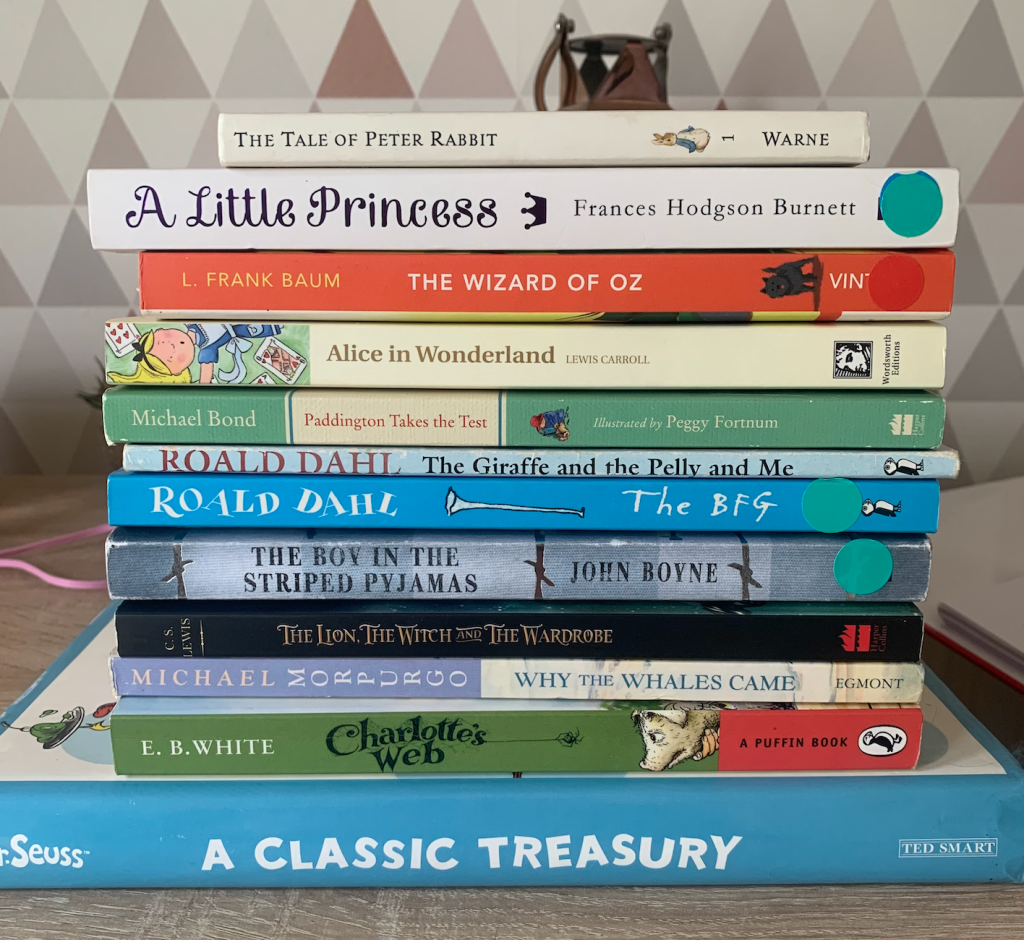
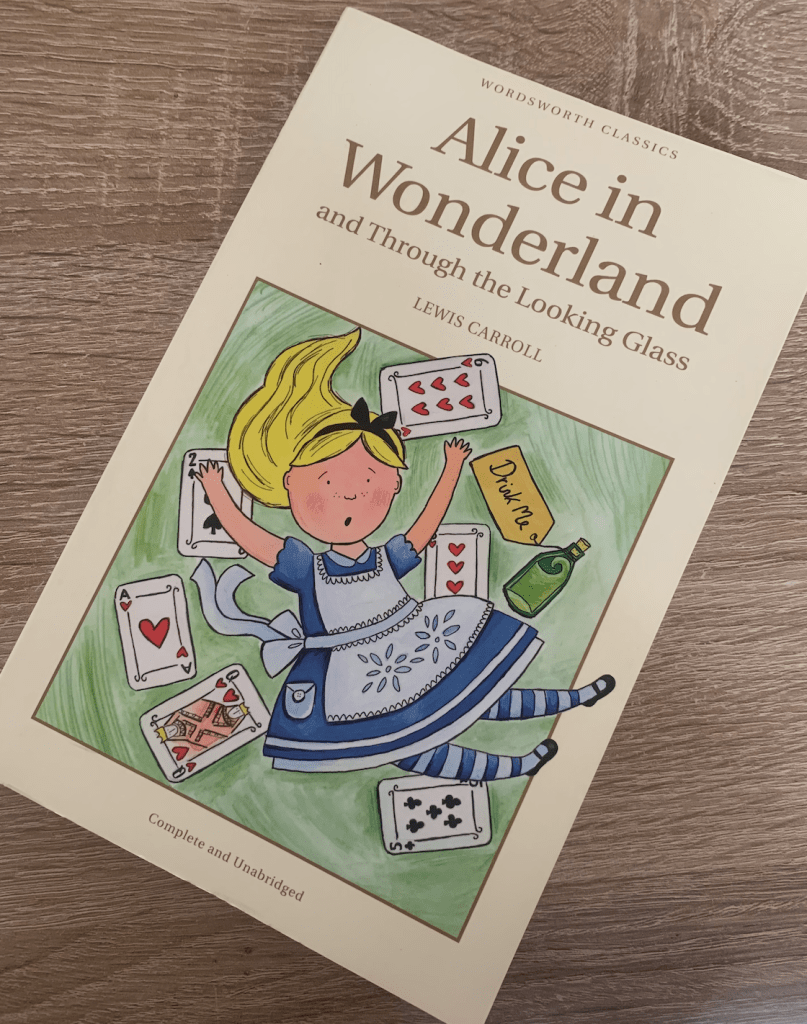
Book choice – To start with I needed to choose a book to alter, I want to choose a book which will give me the most room for experimentation. I gathered a number of books from local charity shops which I felt had potential with altering in a creative way. After much consideration I felt most drawn to was Alice in Wonderland. With this particular story there are many twists and turns along with many characters, another thing which drew me to the book was the interesting vintage looking illustrations within! I could incorporate these within my design by cutting them out and replacing them? Lots of room for experimentation which is what I wanted! I cant wait to get started.
I went straight in with creating a mind map for Alice and Wonderland to explore and remind myself of the story, there are many different parts to this story each different from the last, which gives me the perfect opportunity to experiment with combining these.
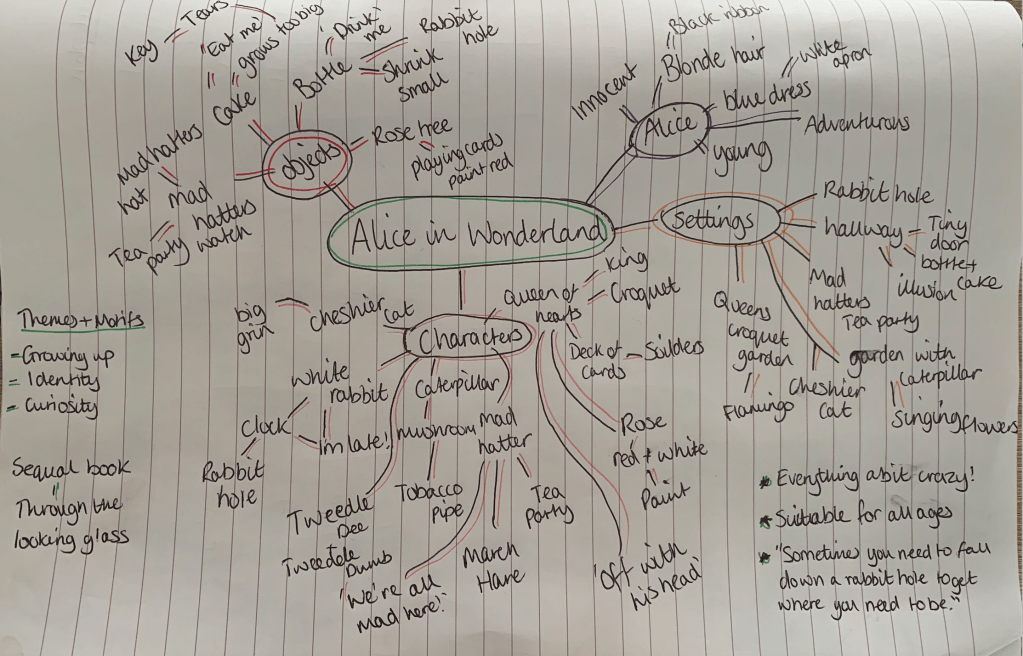
After creating my mind map on Alice in Wonderland I started thinking of design ideas. I liked the idea of using the illustrations within the book, I’m unsure wether to keep everything black and white or to add my own additional colour. It would also be interesting to experiment with mixed media and add embellishments, material, textured paper etc. I like the idea of cutting the centre of the pages out giving it a layering effect (inspired by Eiko Ojala) I have some old books which I may experiment with in creating different shapes. My goal is to create a unique design which is personal to me but expressed the content of the book, I feel lucky having found the book Alice and Wonderland in the charity shop as there are many different attributes I can focus on.
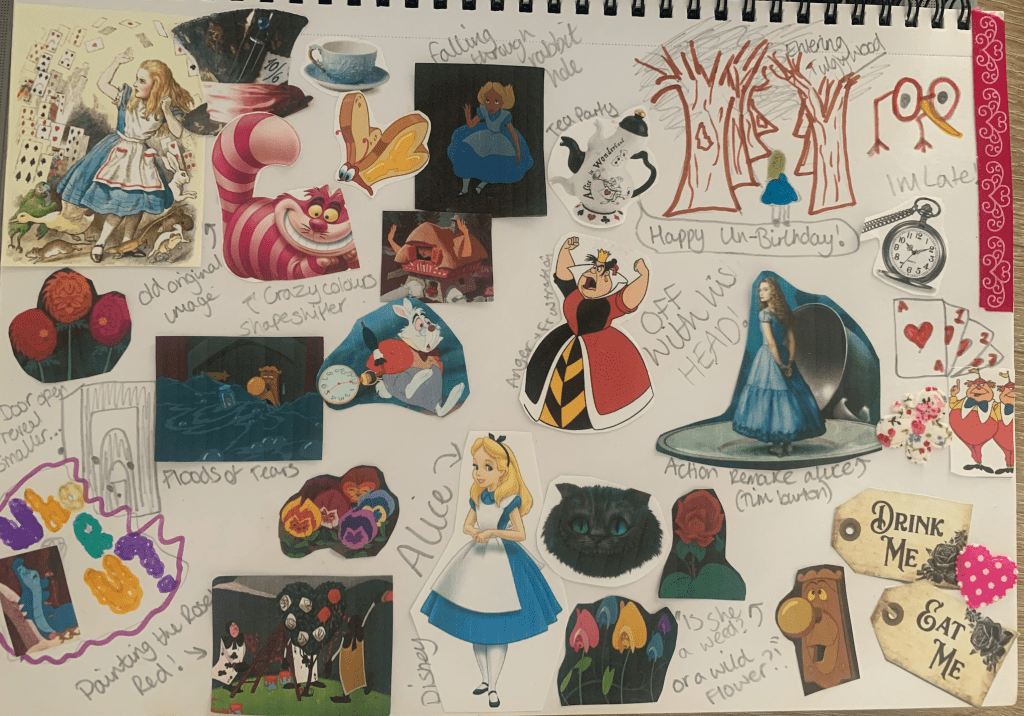
Because the story has so many avenues I felt it would be more beneficial to create myself an Alice in Wonderland mood board so I can visually be reminded of what happens in the story and become inspired and for this to reflect within my altered book. With the help of watching both the Disney and live action remake I was able to remember small things which I’d forgotten which all helps to add up to the bigger picture!
Visualising Ideas
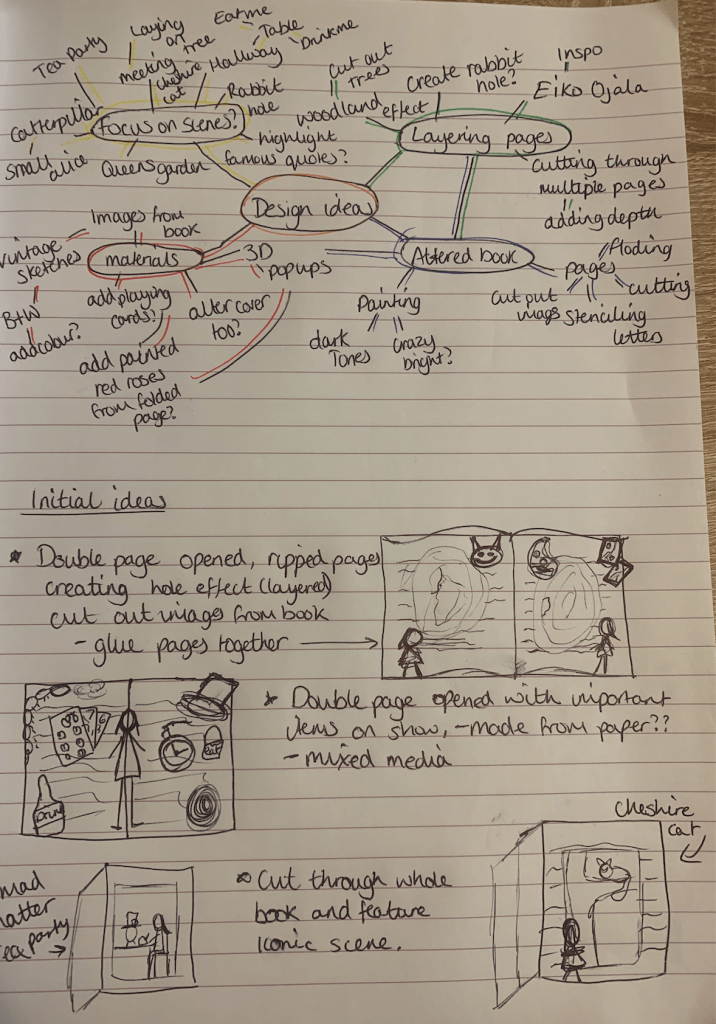
I started off in my sketchbook by generating an idea for the front cover, Im unsure of how many pages the brief would like us to alter but as this is more of a personal adaptation I would also like to rework the cover to form my own altered book rather than just an altered page.
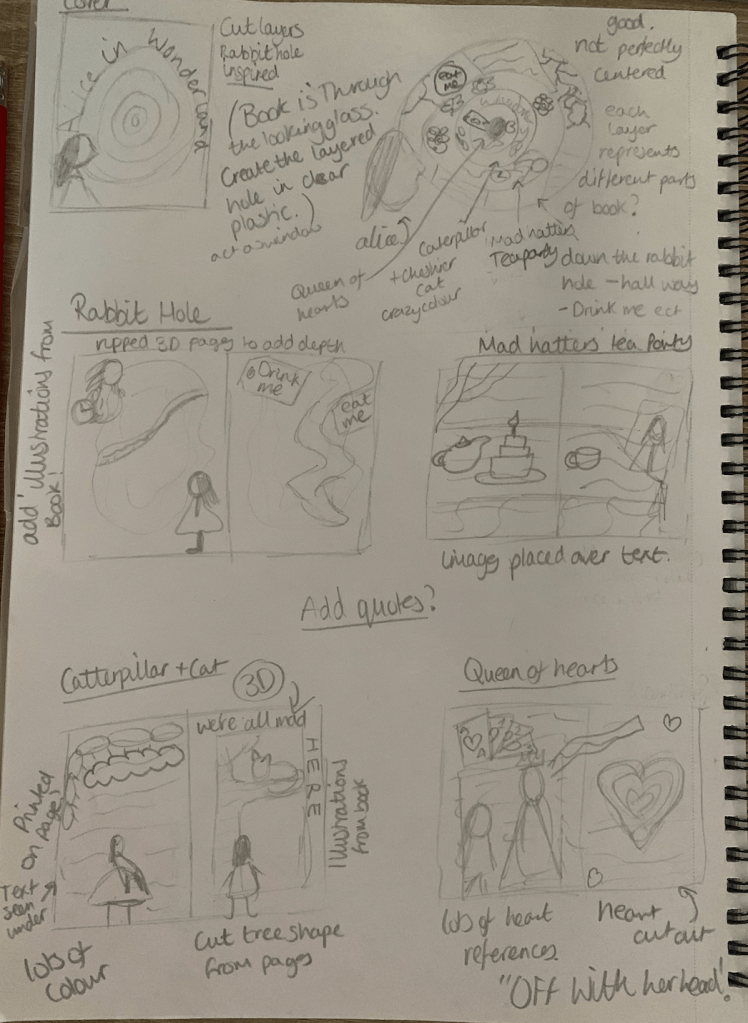
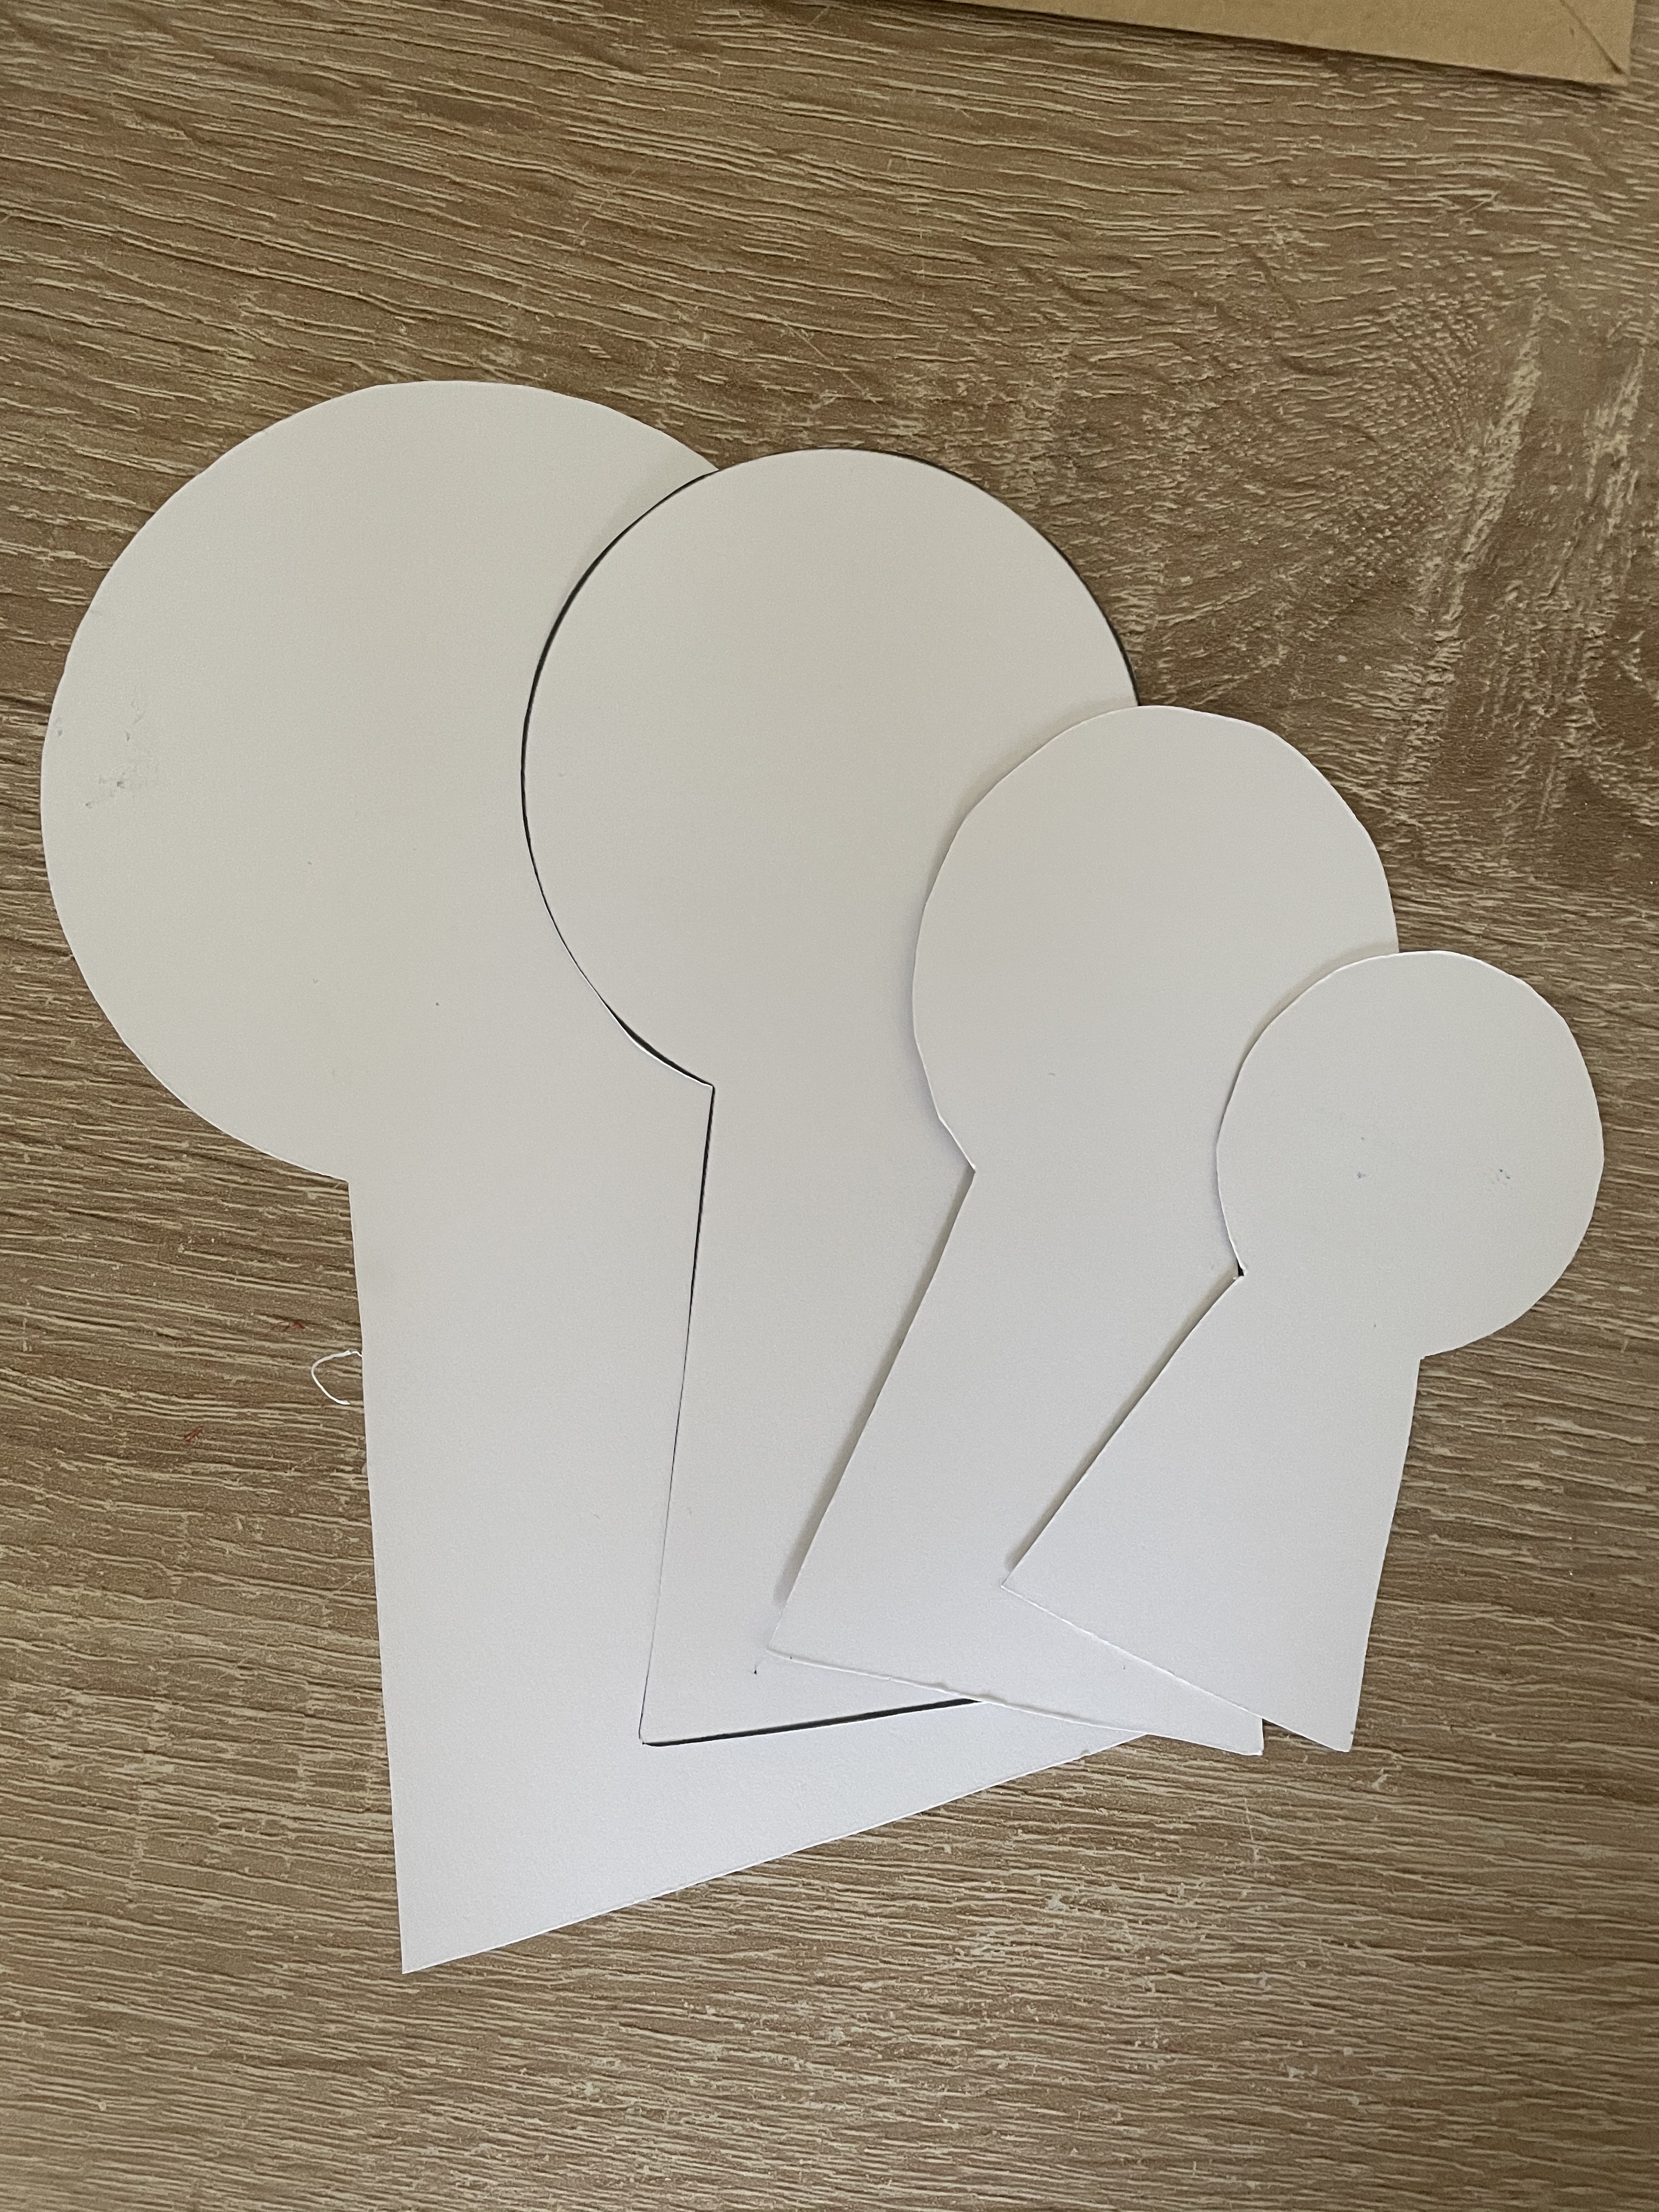
I started off with the idea of creating a layered rabbit hole, with each layer representing a different part of the story, in this instance I have created 4 layered scenes. Another idea which popped into my head was reflecting in the title of the book which is ‘through the looking glass’ for this I would like to experiment with placing the layered design in between two sheets of clear plastic creating a window for the cover.
Carrying on from my cover idea I would like to create 4 separate pages focusing on the same topics featured on the cover, the scenes from the story I have chosen are; falling down the rabbit hole, mad hatters tea party, greetings from the caterpillar and Cheshire cat and the encounter with the Queen of hearts.
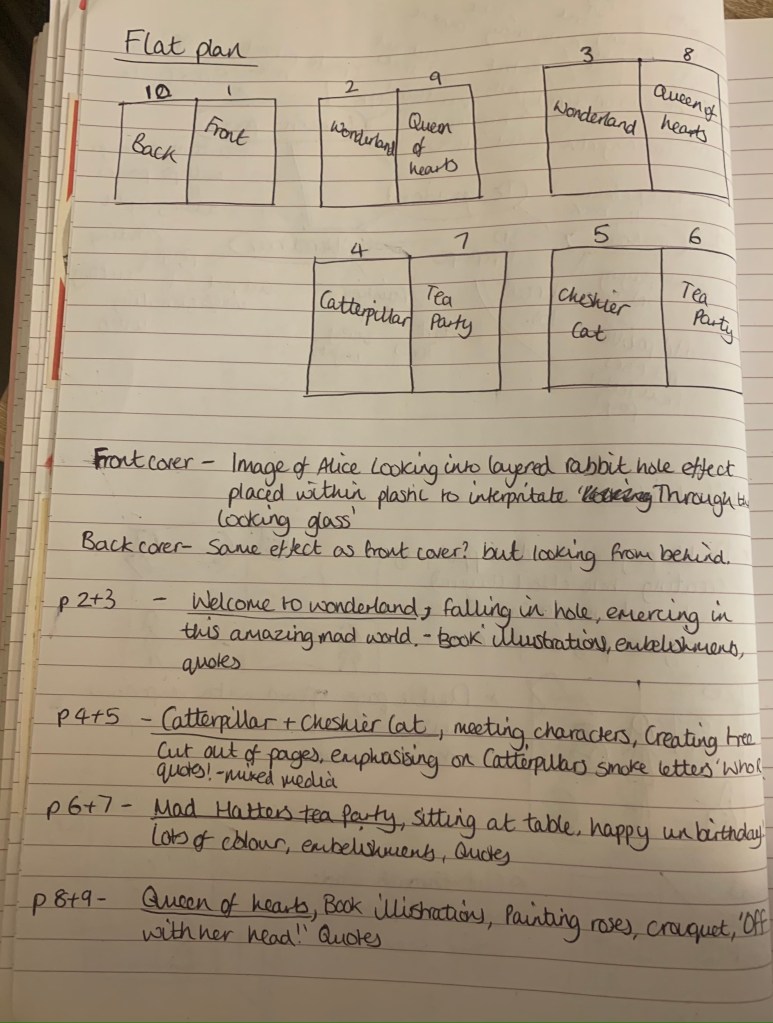
I went on to planning my flat plan, making notes along the way of design ideas, as I’m working with multiple pages I felt it would be beneficial to note my ideas to ensure nothing slips my mind and to refer back to. I’d like to experiment with using a wide variety or mixed media’s and testing different techniques to Create the best connection between the designs and the content of the book.
I’m looking forward to seeing my designs come to life with this assignment as I feel highly inspired for it!
Design Process
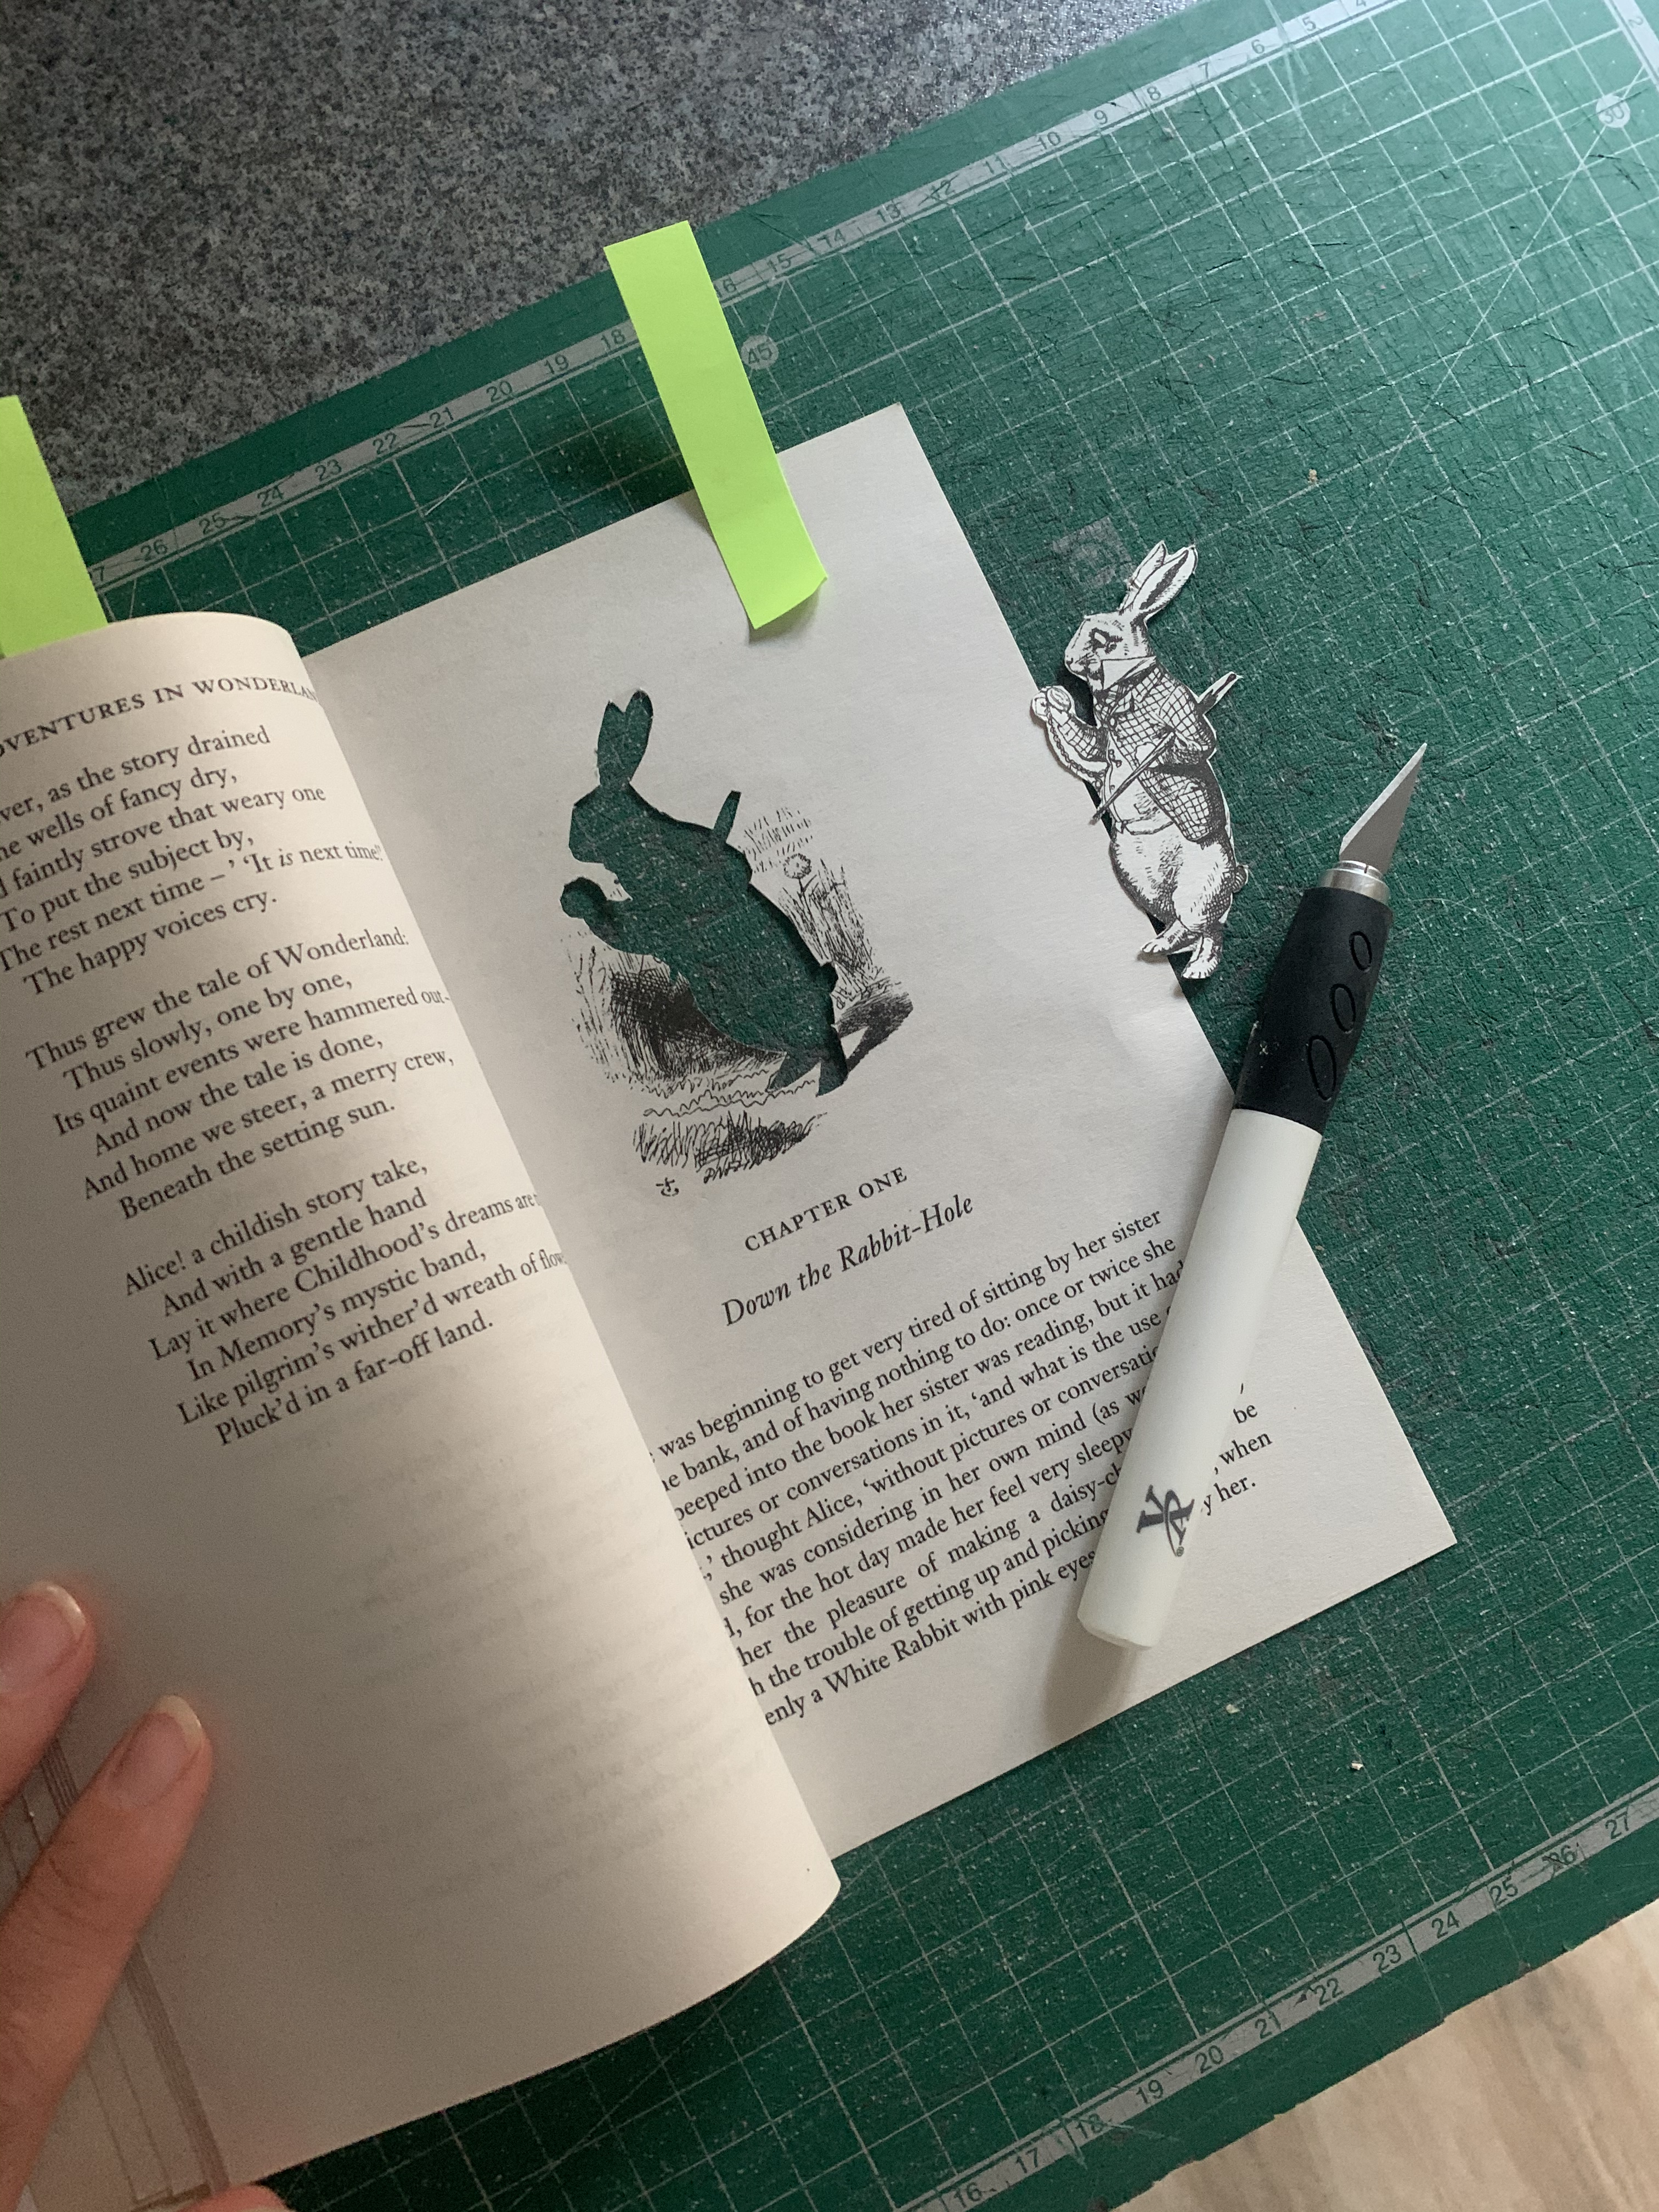
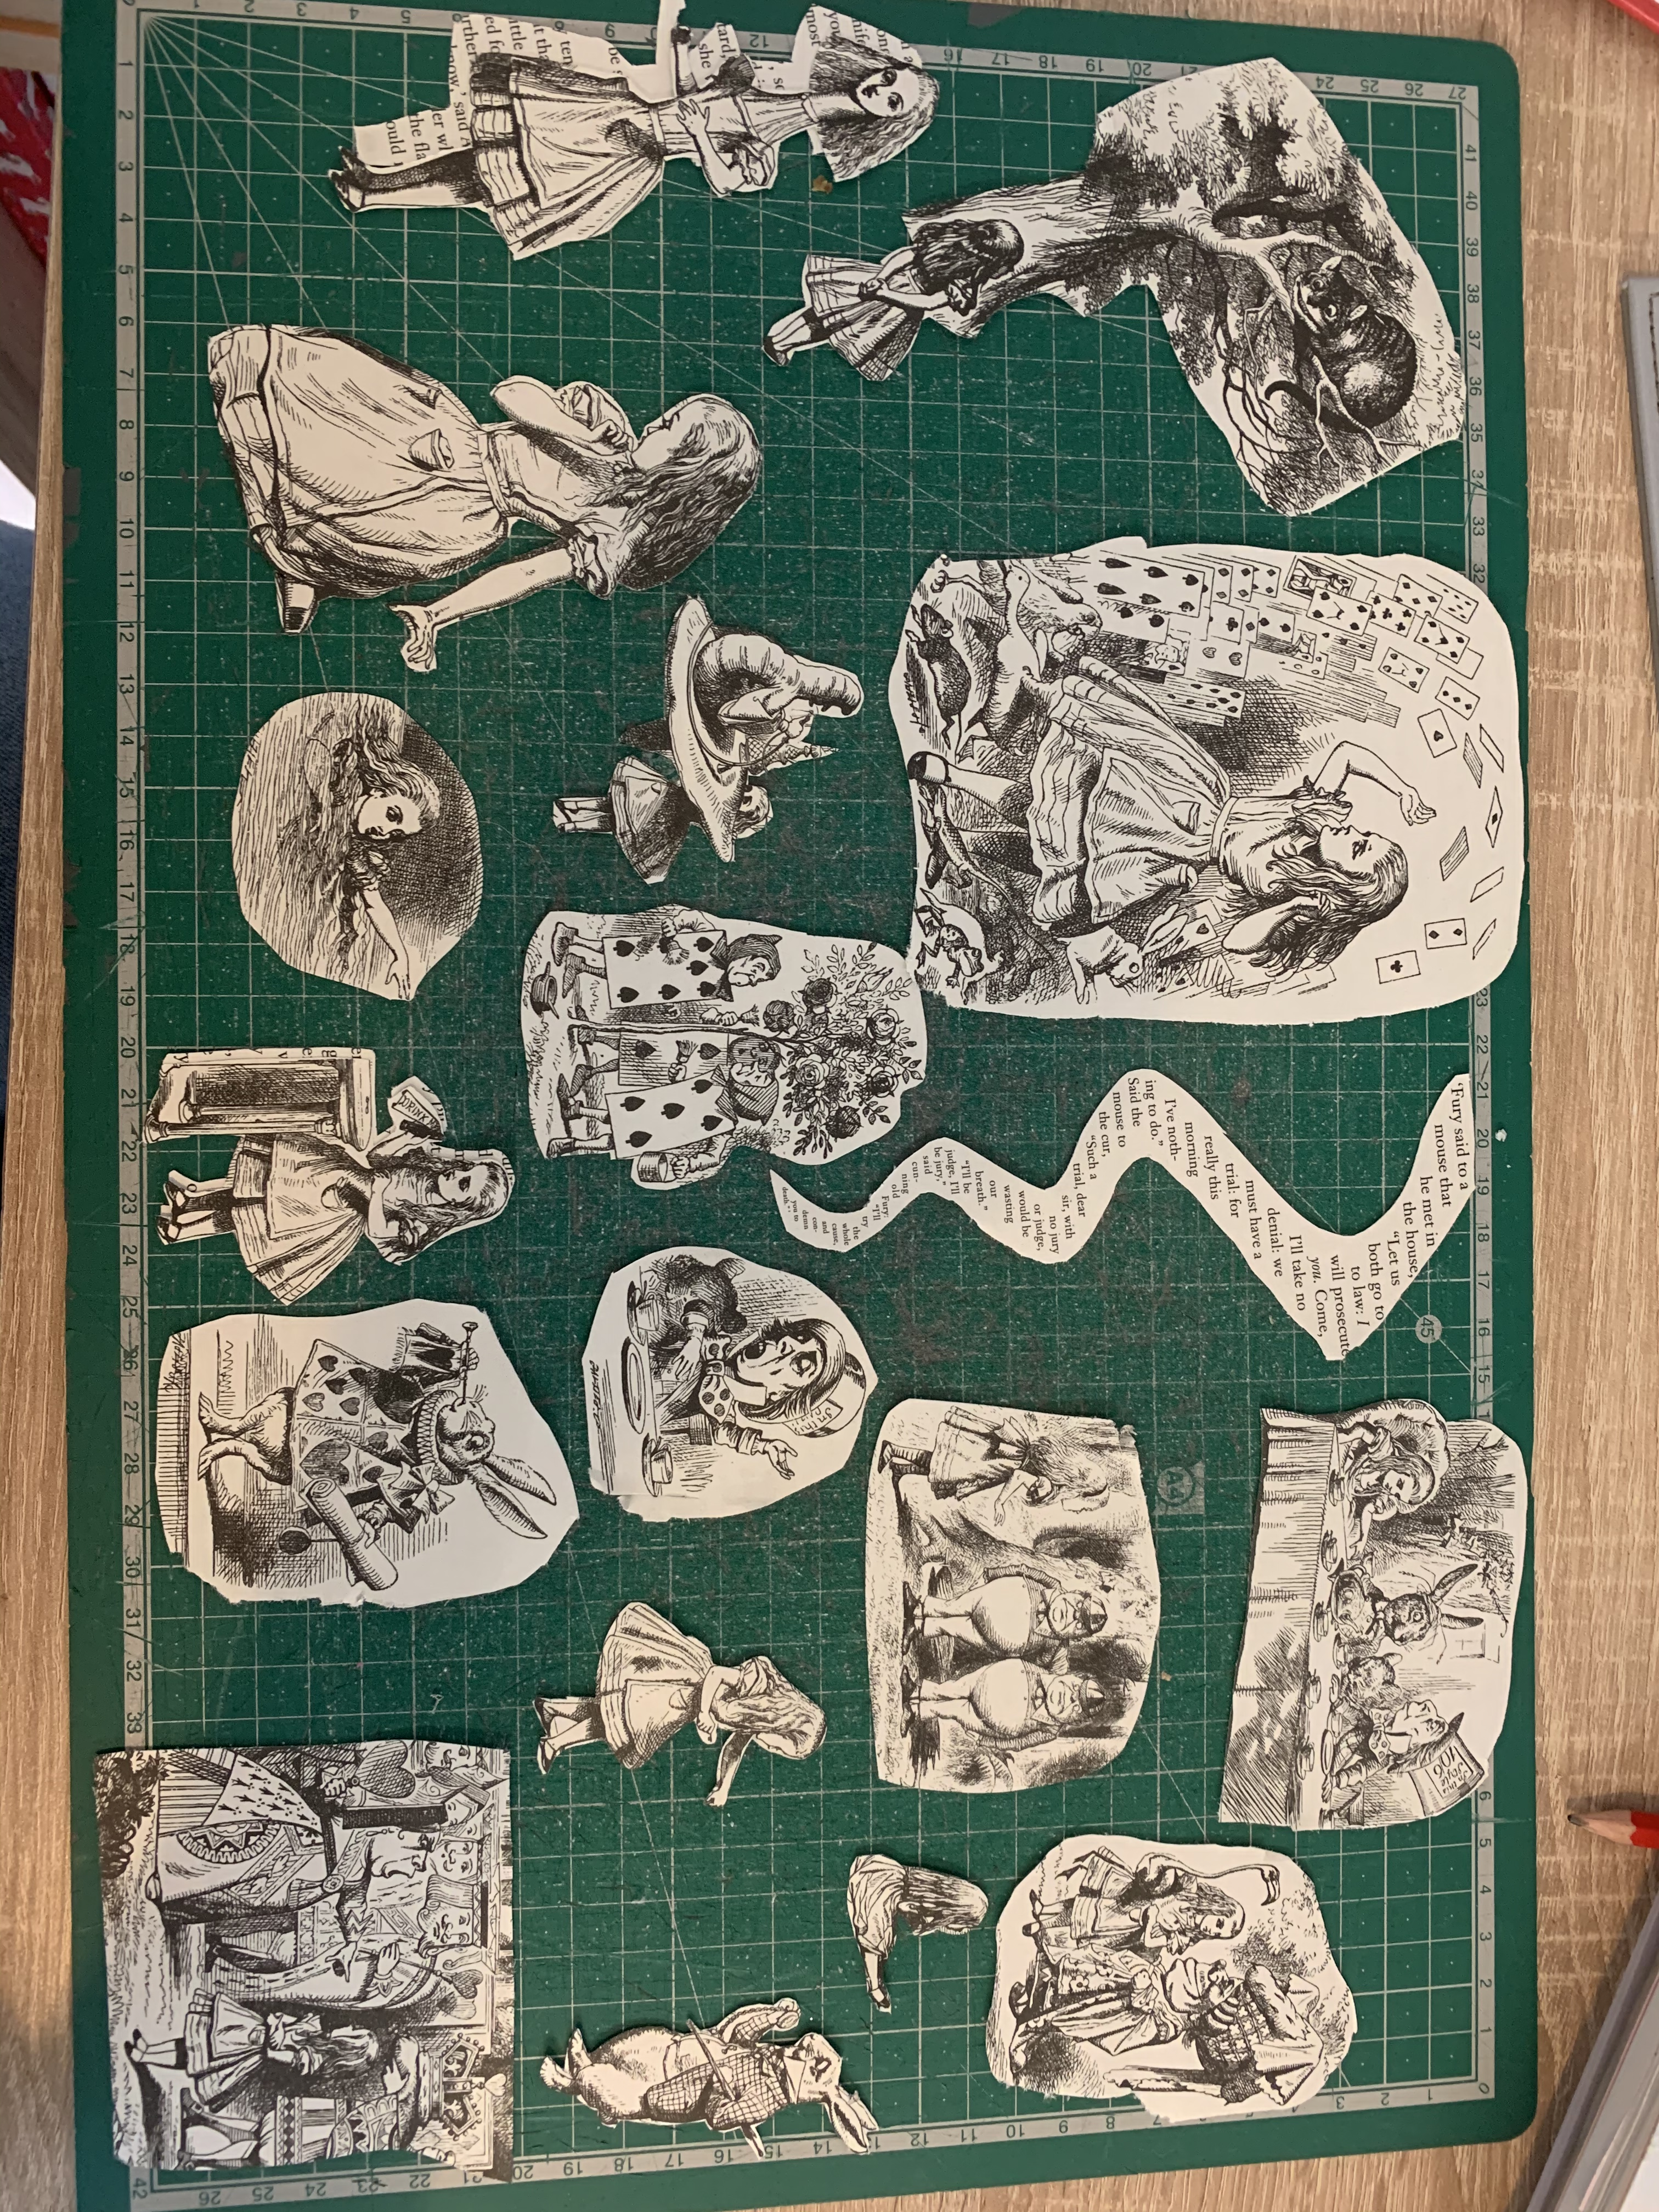
I really liked the original illustrations used within the book so I started off by cutting out each appropriate image as a starting point for my designs. I placed these to one side and also gathered a few items from my craft box and old card making supplies.
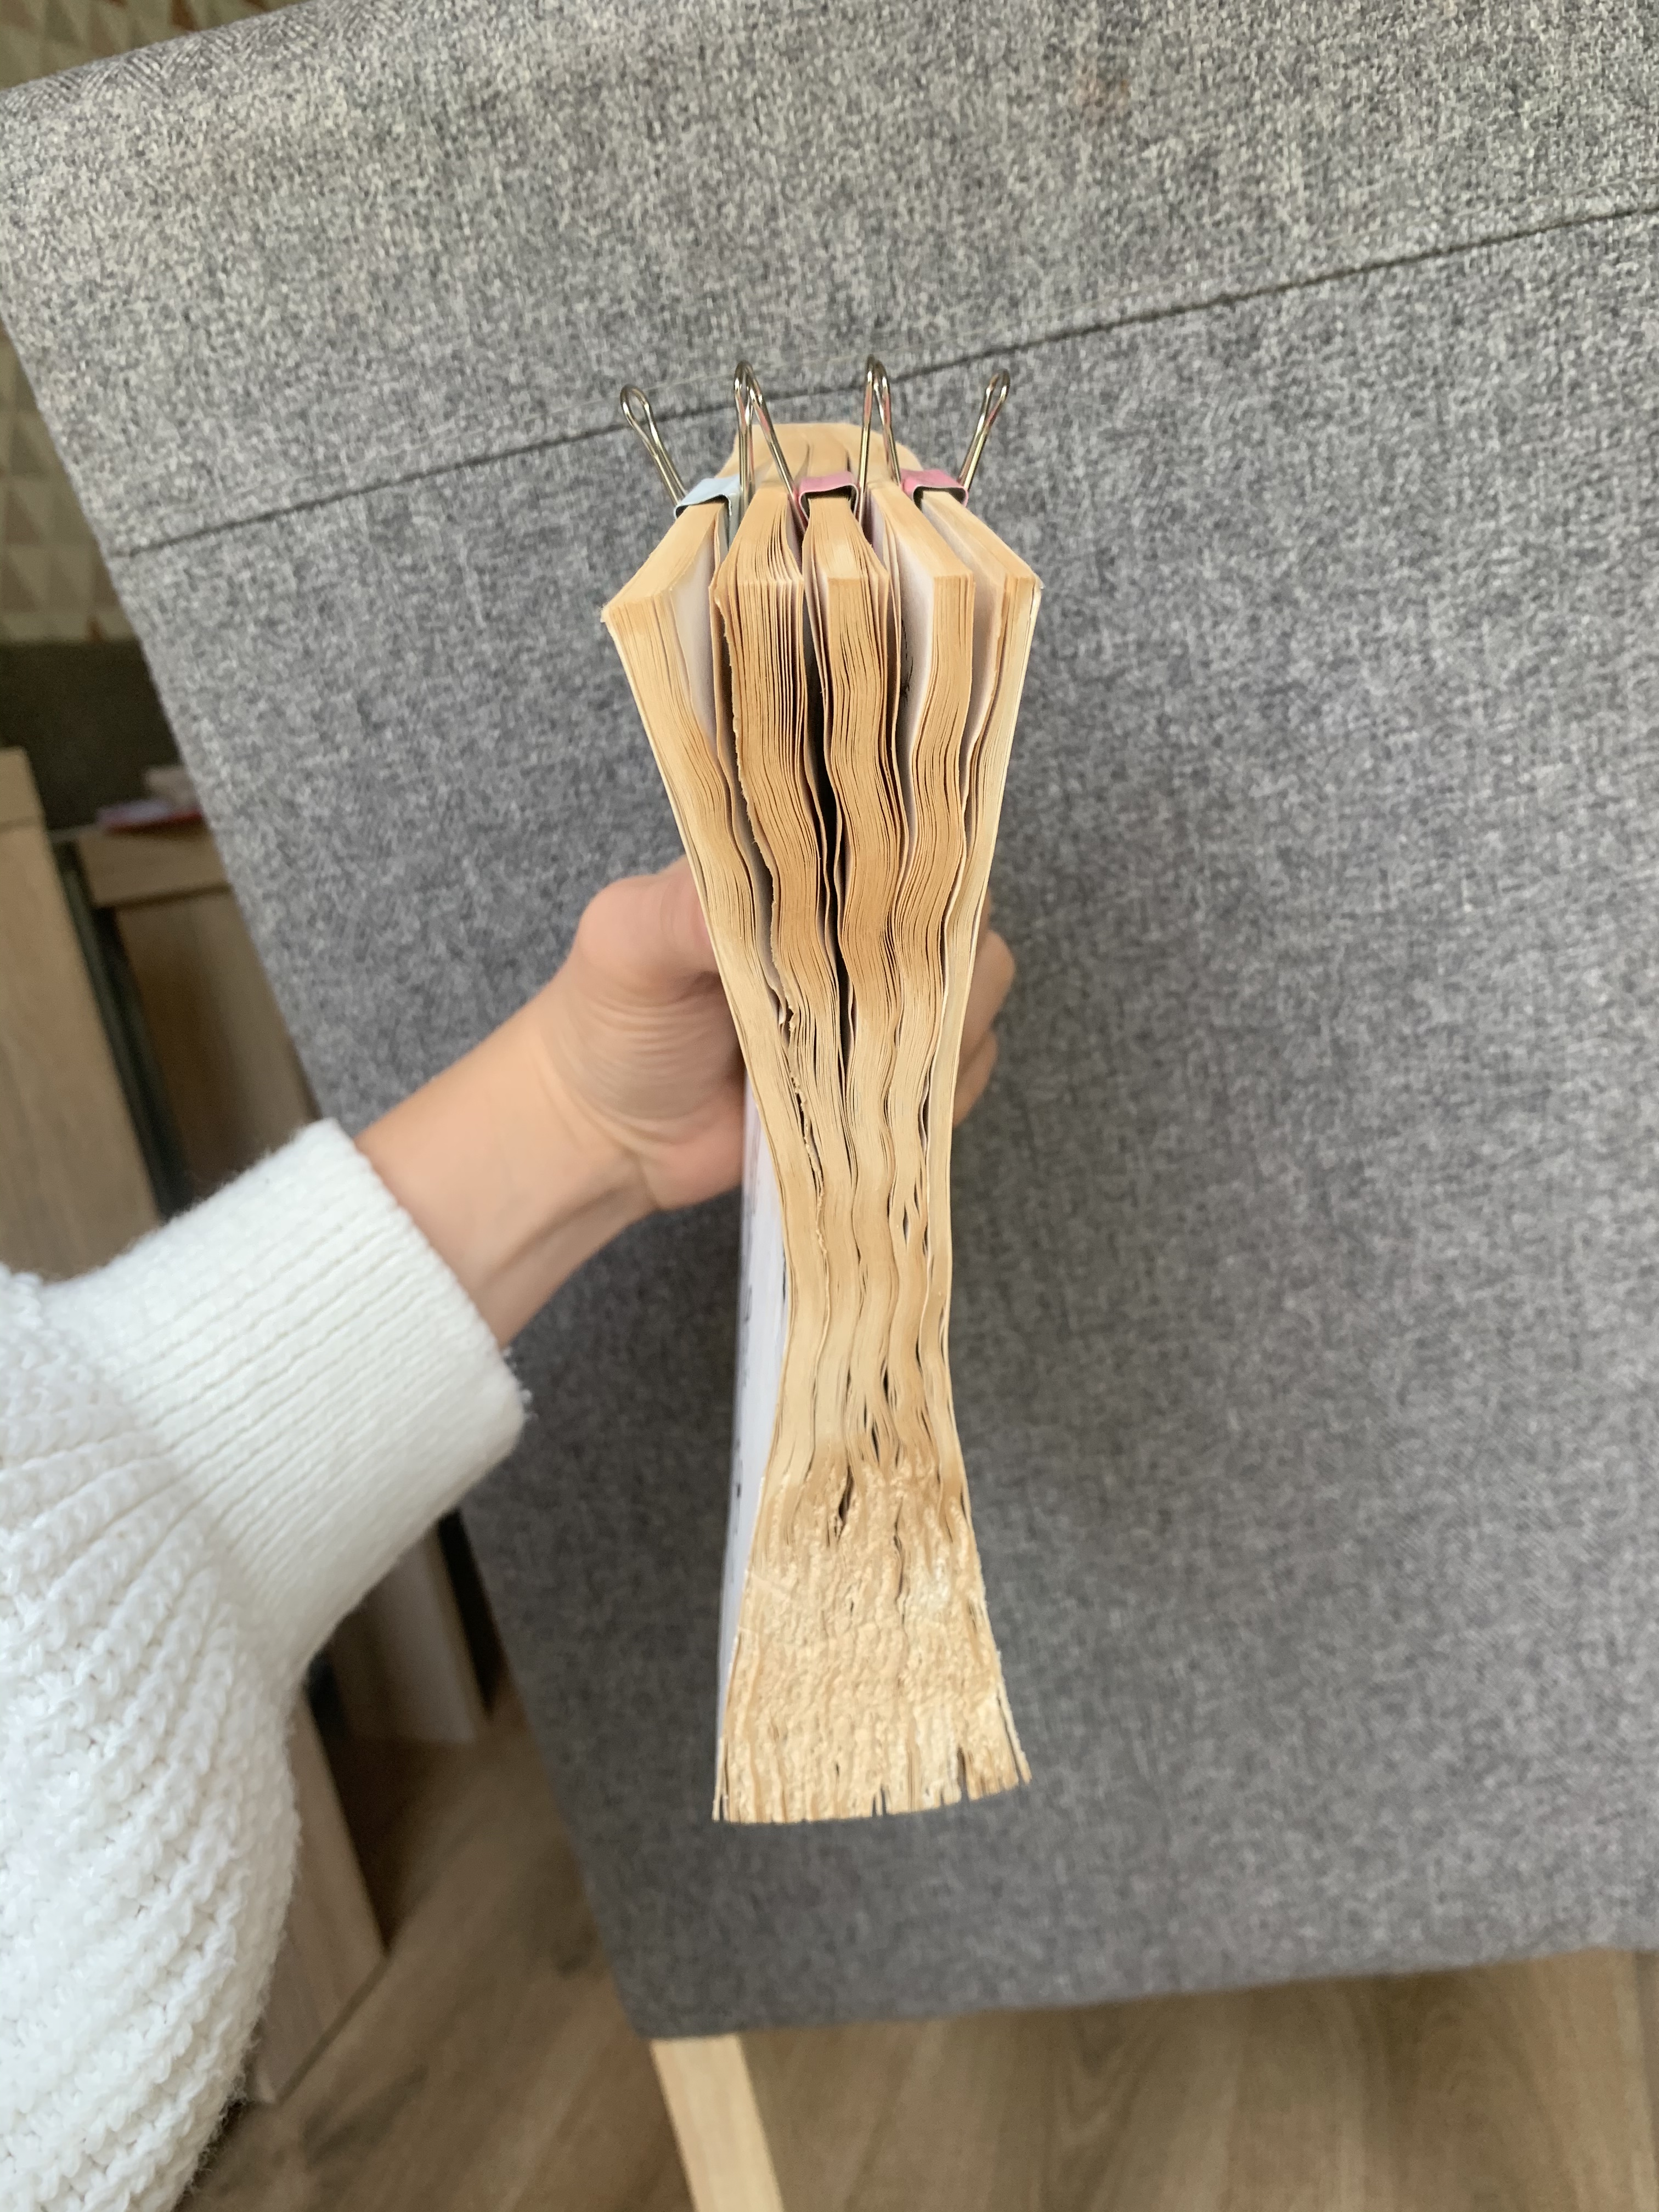
I then separated the book into 5 sections in preparation to alter. Once separated I decided I wanted to give my book more of a vintage feel, especially considering the story originated from 1865. I tea stained the edges and around the edges of the pages which would be on show, whilst damp I roughed up the edges of the book using a knife, I’m really happy with how this turned out, I’m now satisfied to make a start on my first double page spread.
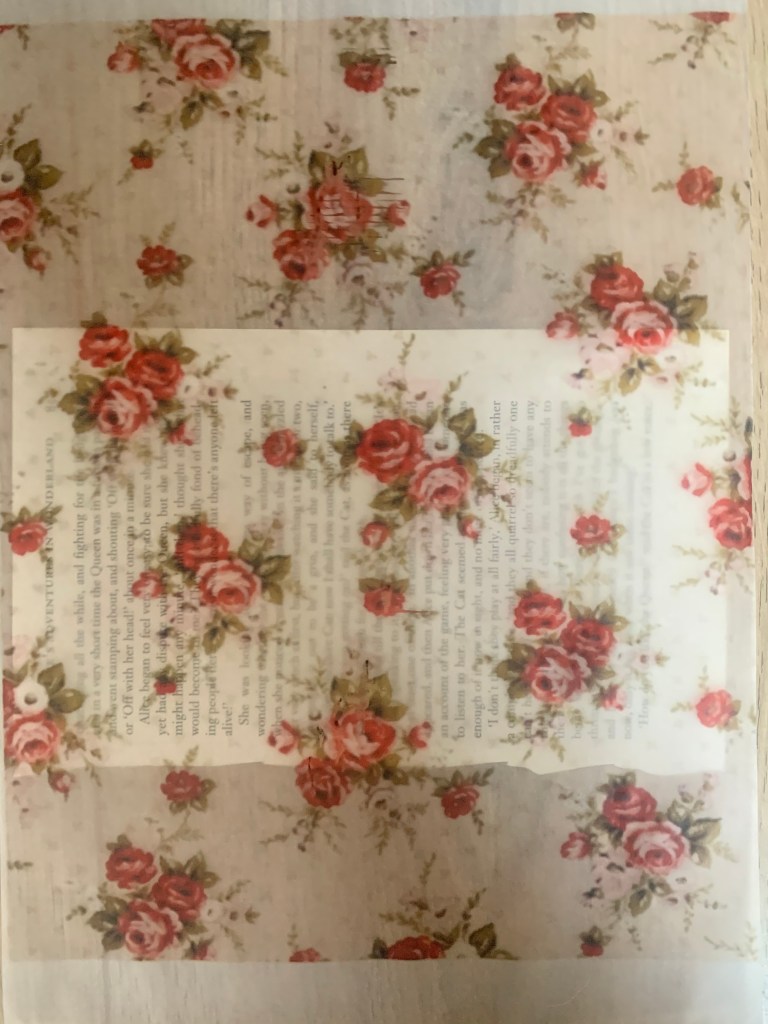
For the first time I tried printing out a design on tracing paper as I wanted to add different textures and liked the idea of the text still being visible underneath, this was actually a success and worked really well! Something I will remember for future reference.
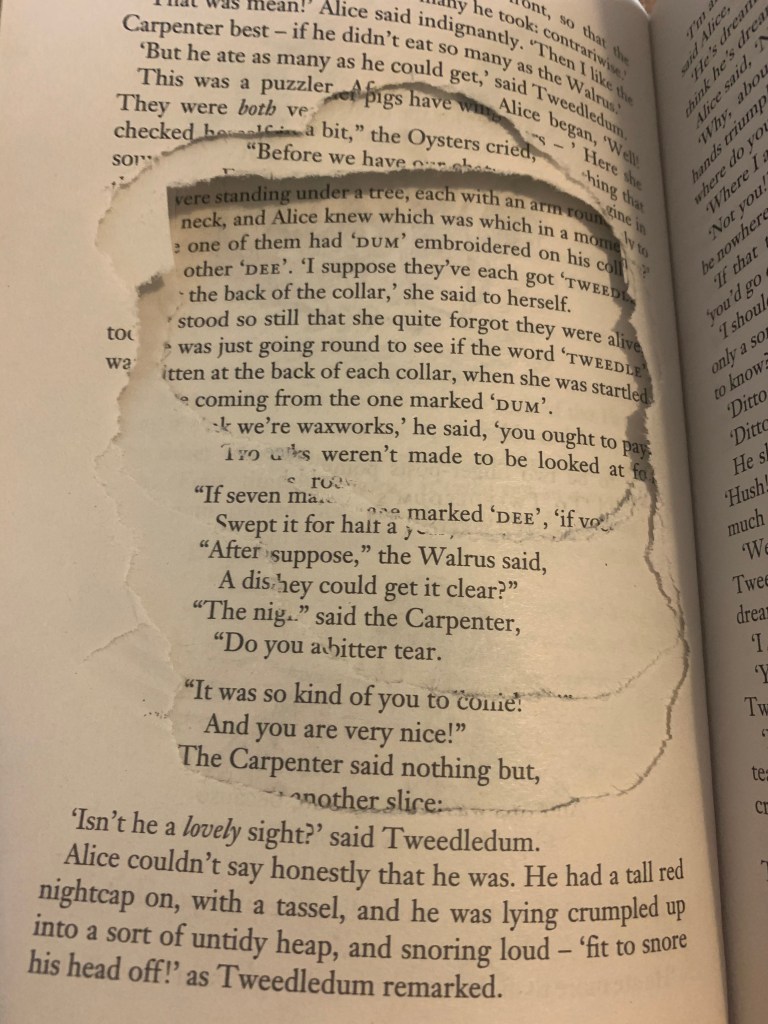
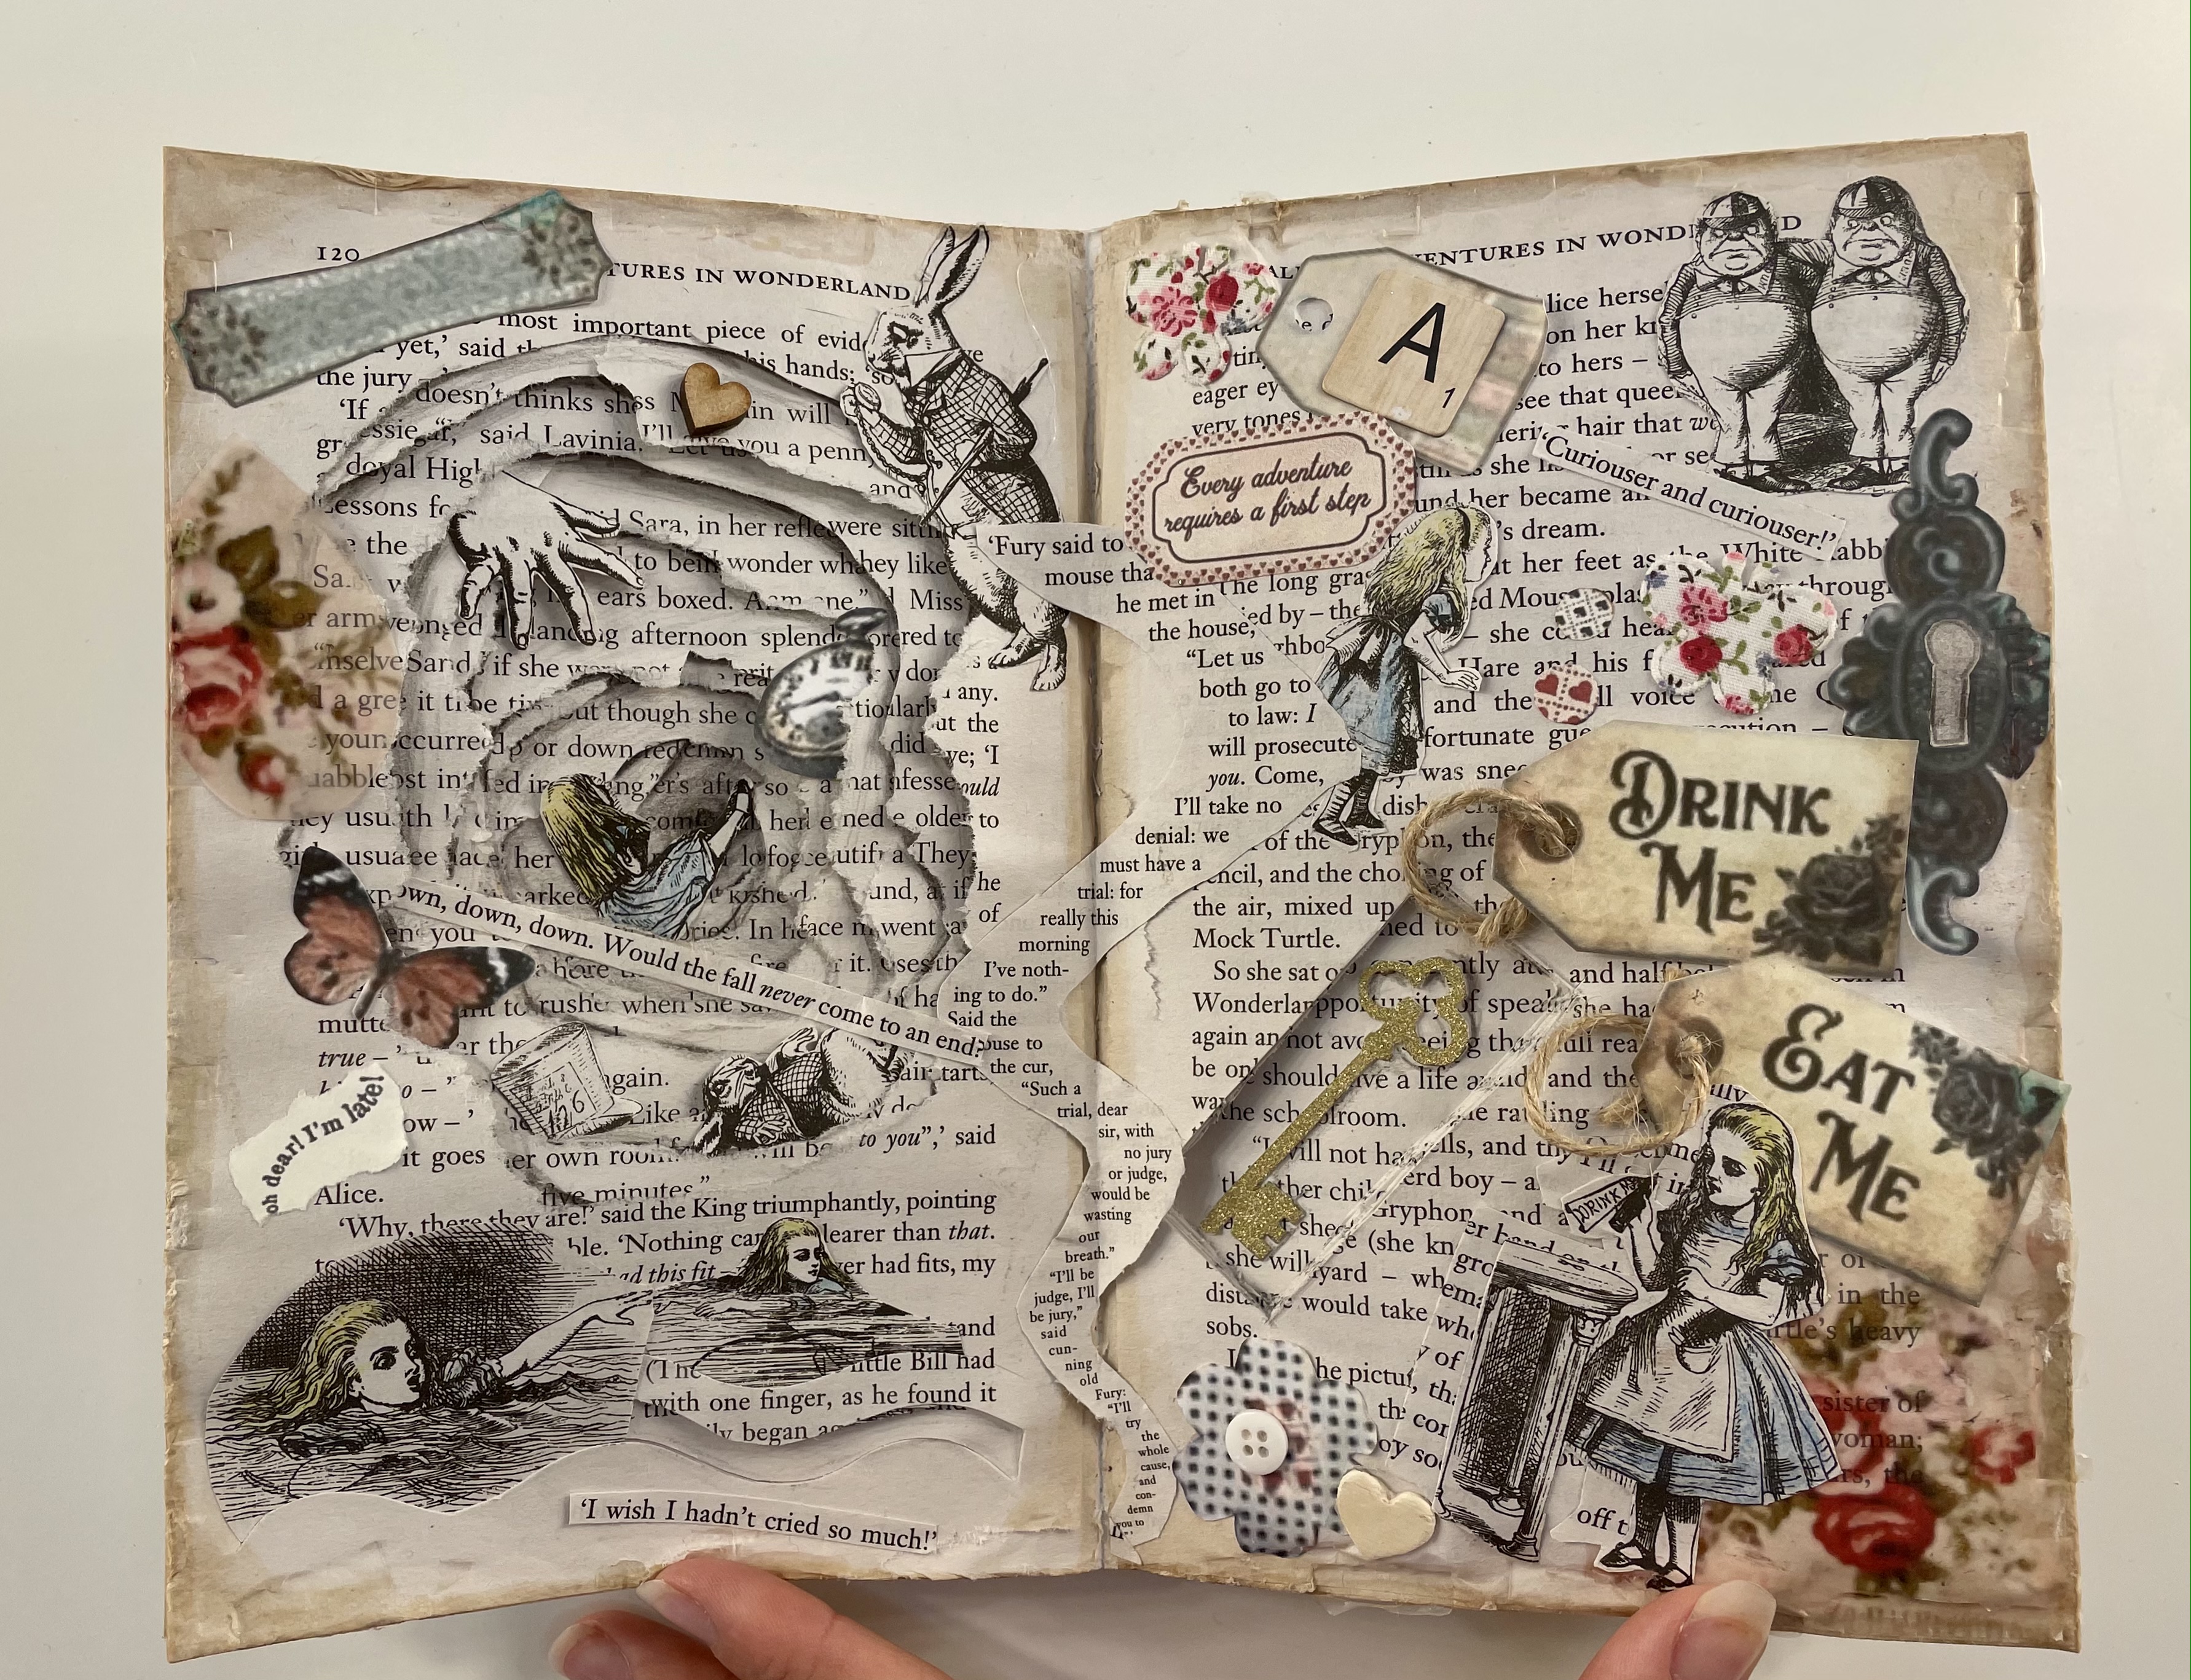
Rabbit hole – For the first double page of my book I decided to concentrate on the beginning of the book with the main focus on Alice falling down the rabbit hole and entering Wonderland. My first idea was to tear pages one by one creating a hole effect, I was really pleased with how this turned out, to add to the effect I added some shading to add depth. (See picture on the right for the starting process of ripped pages) I had quite a few vintage feel embellishments laying around which I added to this page.
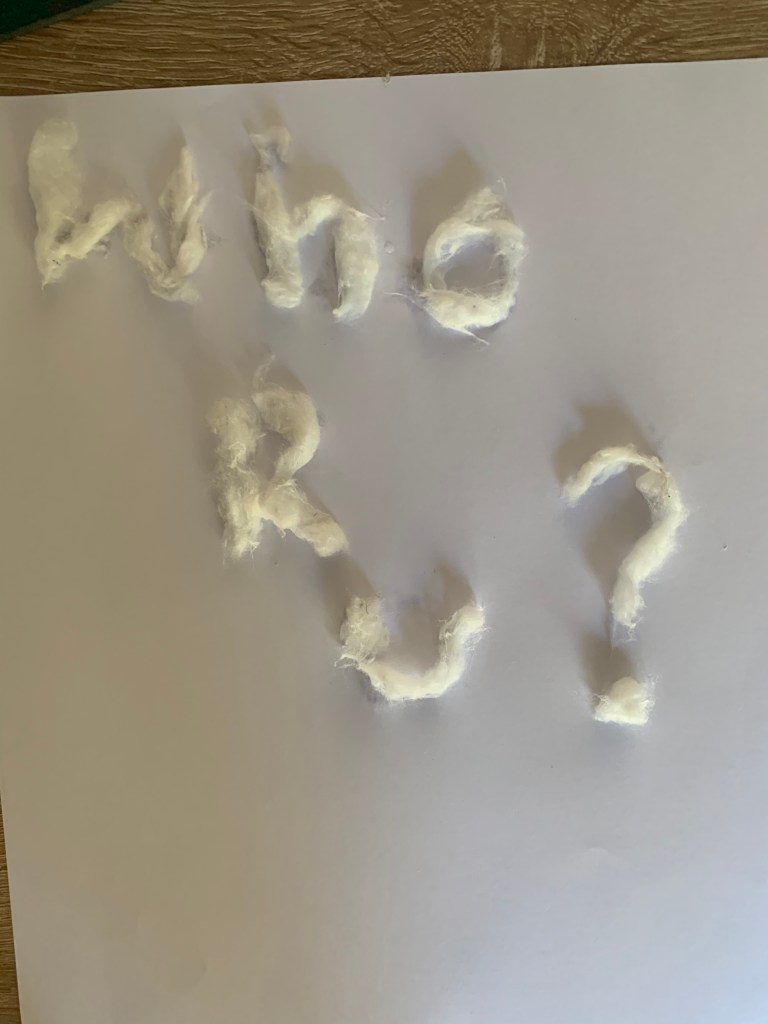
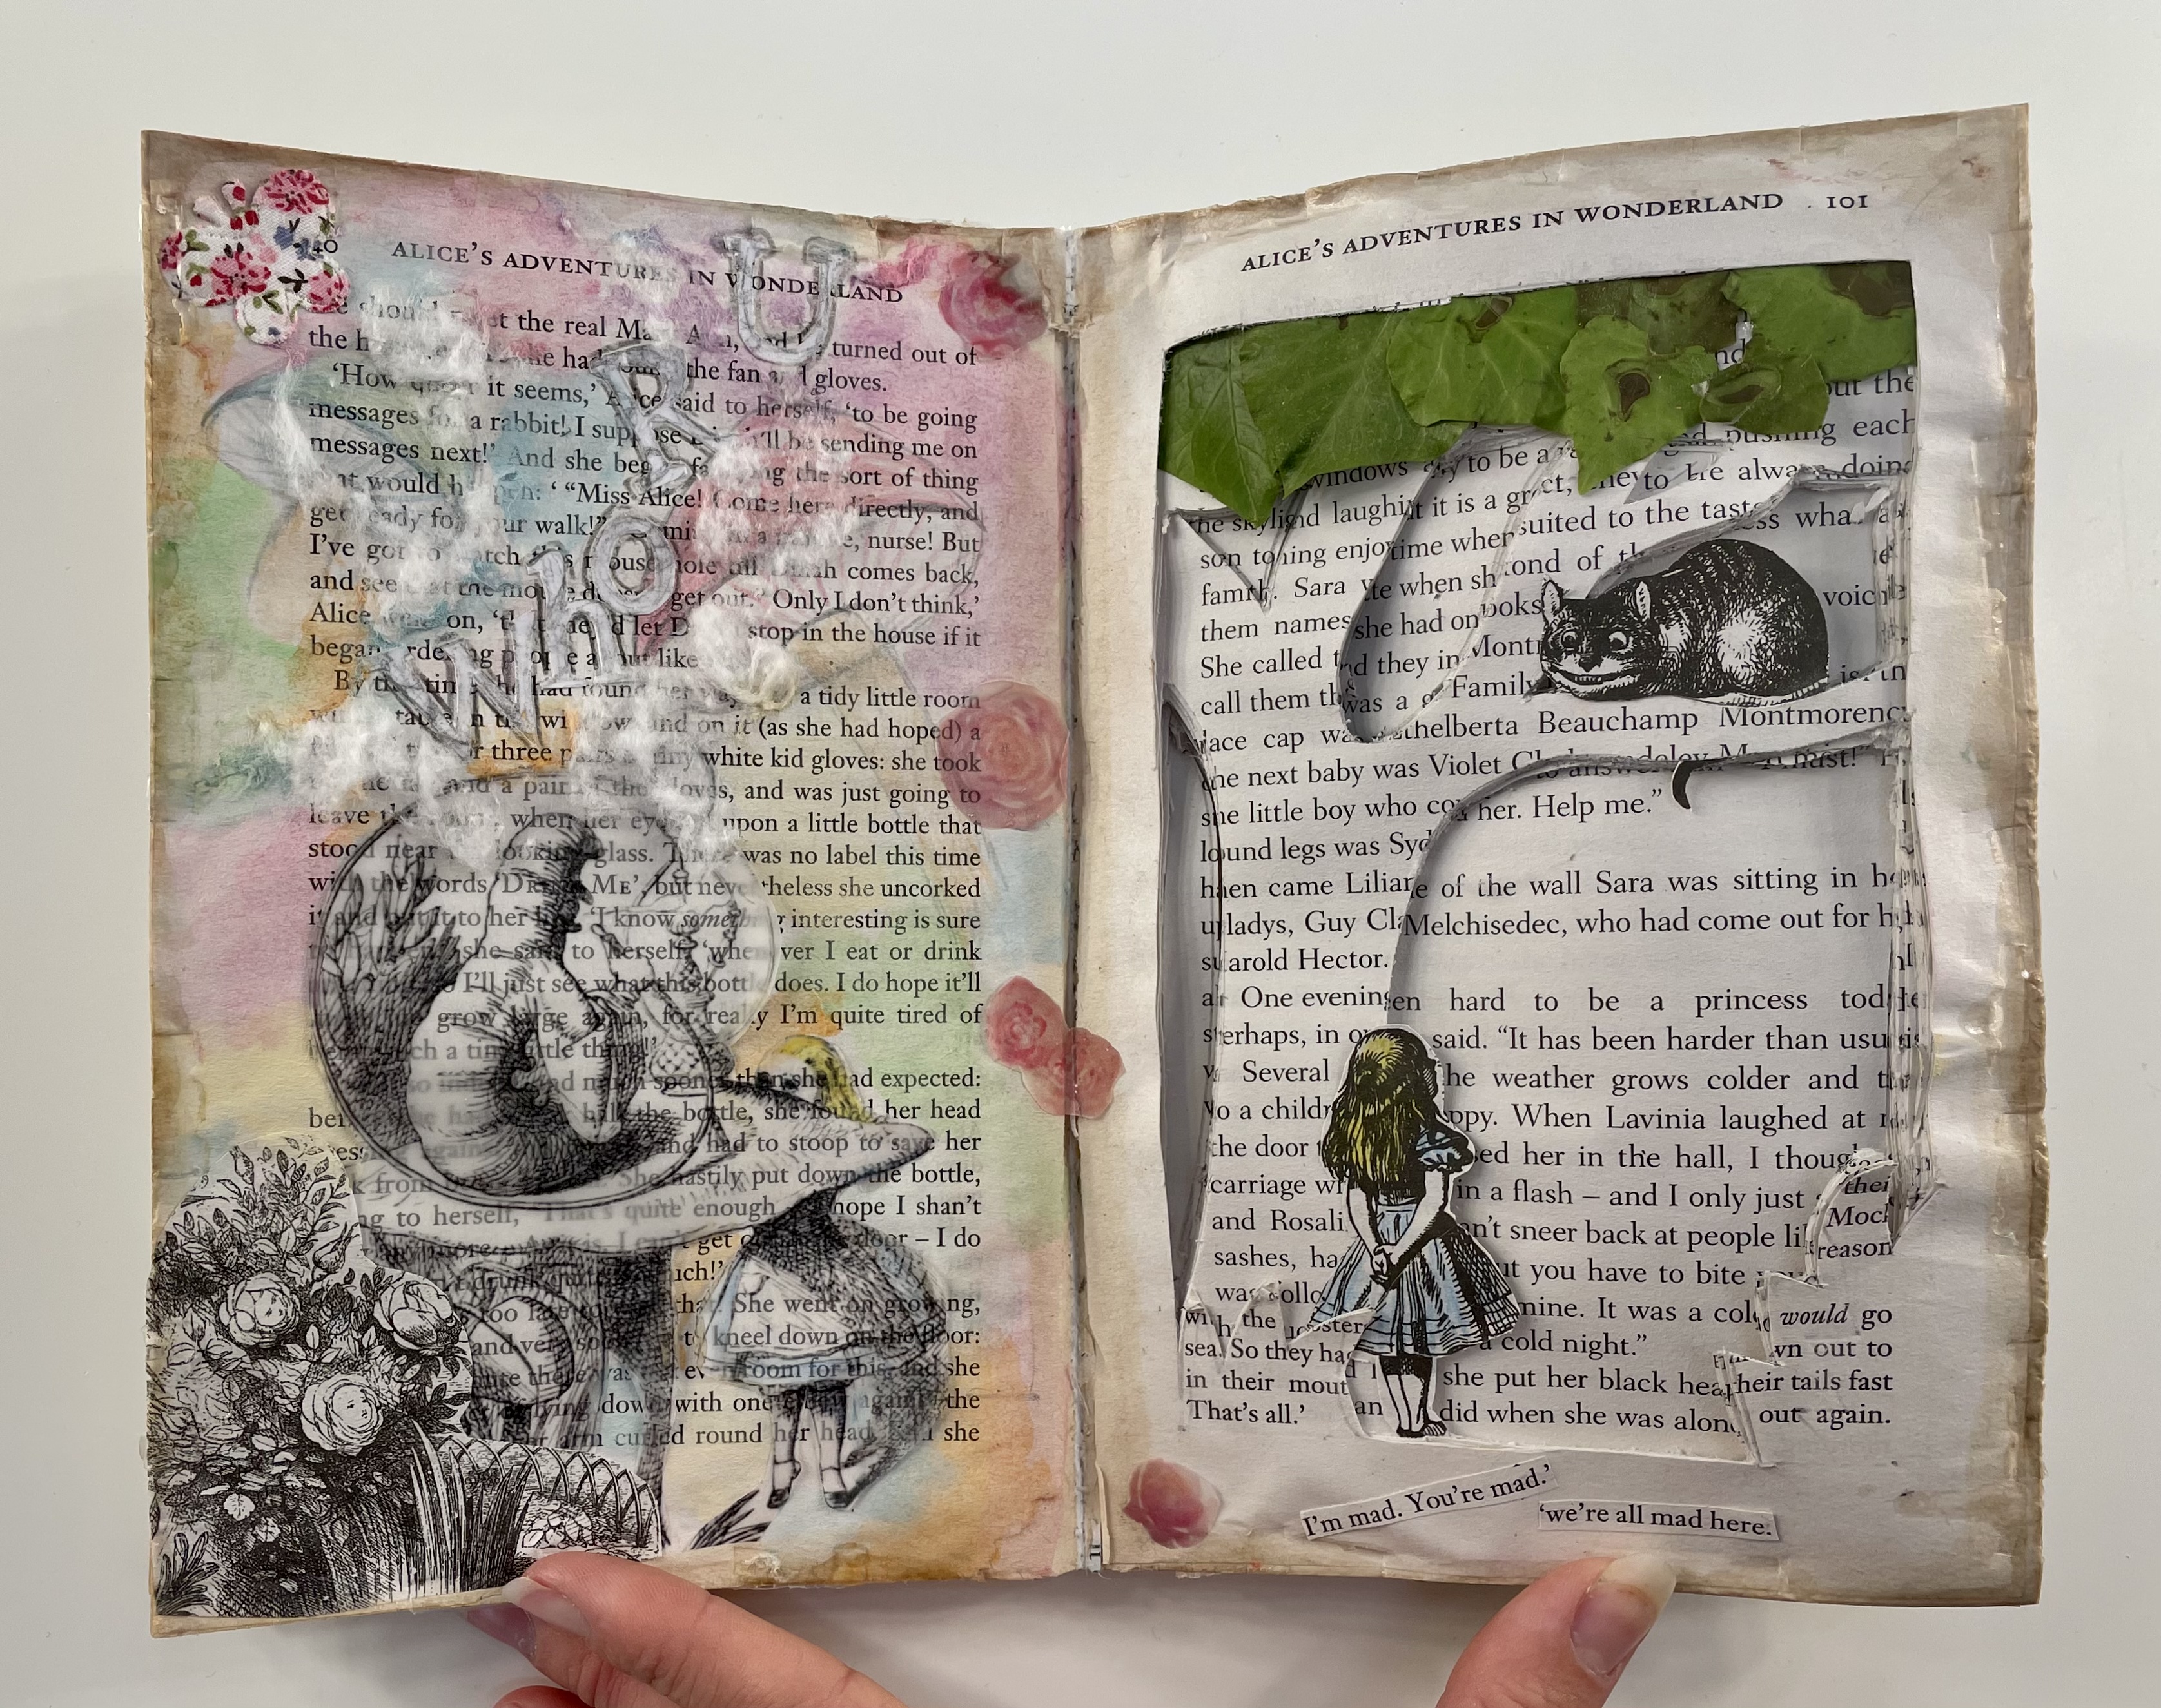
Caterpillar page – I had a rough idea for what I wanted this page to consist of however I wanted to be experimental with materials and with the overall look. The caterpillar is known for smoking a hookah so I wanted to emphasise on this along with one of his well known lines of blowing letters into Alice’s face asking ‘who are you?’. My first experiment didn’t quite go to plan, I originally wanted to spell the words out using ova glue and cotton wool to represent smoke however the letters were only achievable at too large of a scale compared to the room I had To play with. Instead I opted to sketch out a serif font and simply added cotton wool webs around the letters to give the illusion of smoke. I added Multicolour watercolour paint to the background to add to the psychedelic vibe which the caterpillar gives and also enlarging the illustration and printing this on tracing paper.
Cheshire Cat – I wanted to experiment with a 3D design for this page for the scene of when Alice meets the Cheshire Cat perched upon the tree. Firstly I attempted to screw up pages of the book to form a tree however this would make it awkward for the book to be closed. Looking at the amount of pages I have in between each section I thought it would be creative to cut the tree from the pages, this was a huge success and makes a really effective page, I carefully removed the cat from the tree illustration in the book and placed this on the branch along with the sketch of Alice standing at the bottom. I felt the page looked effective but plain so to add interesting elements I’ve added real leafs coated in pva as the leafs of the tree.
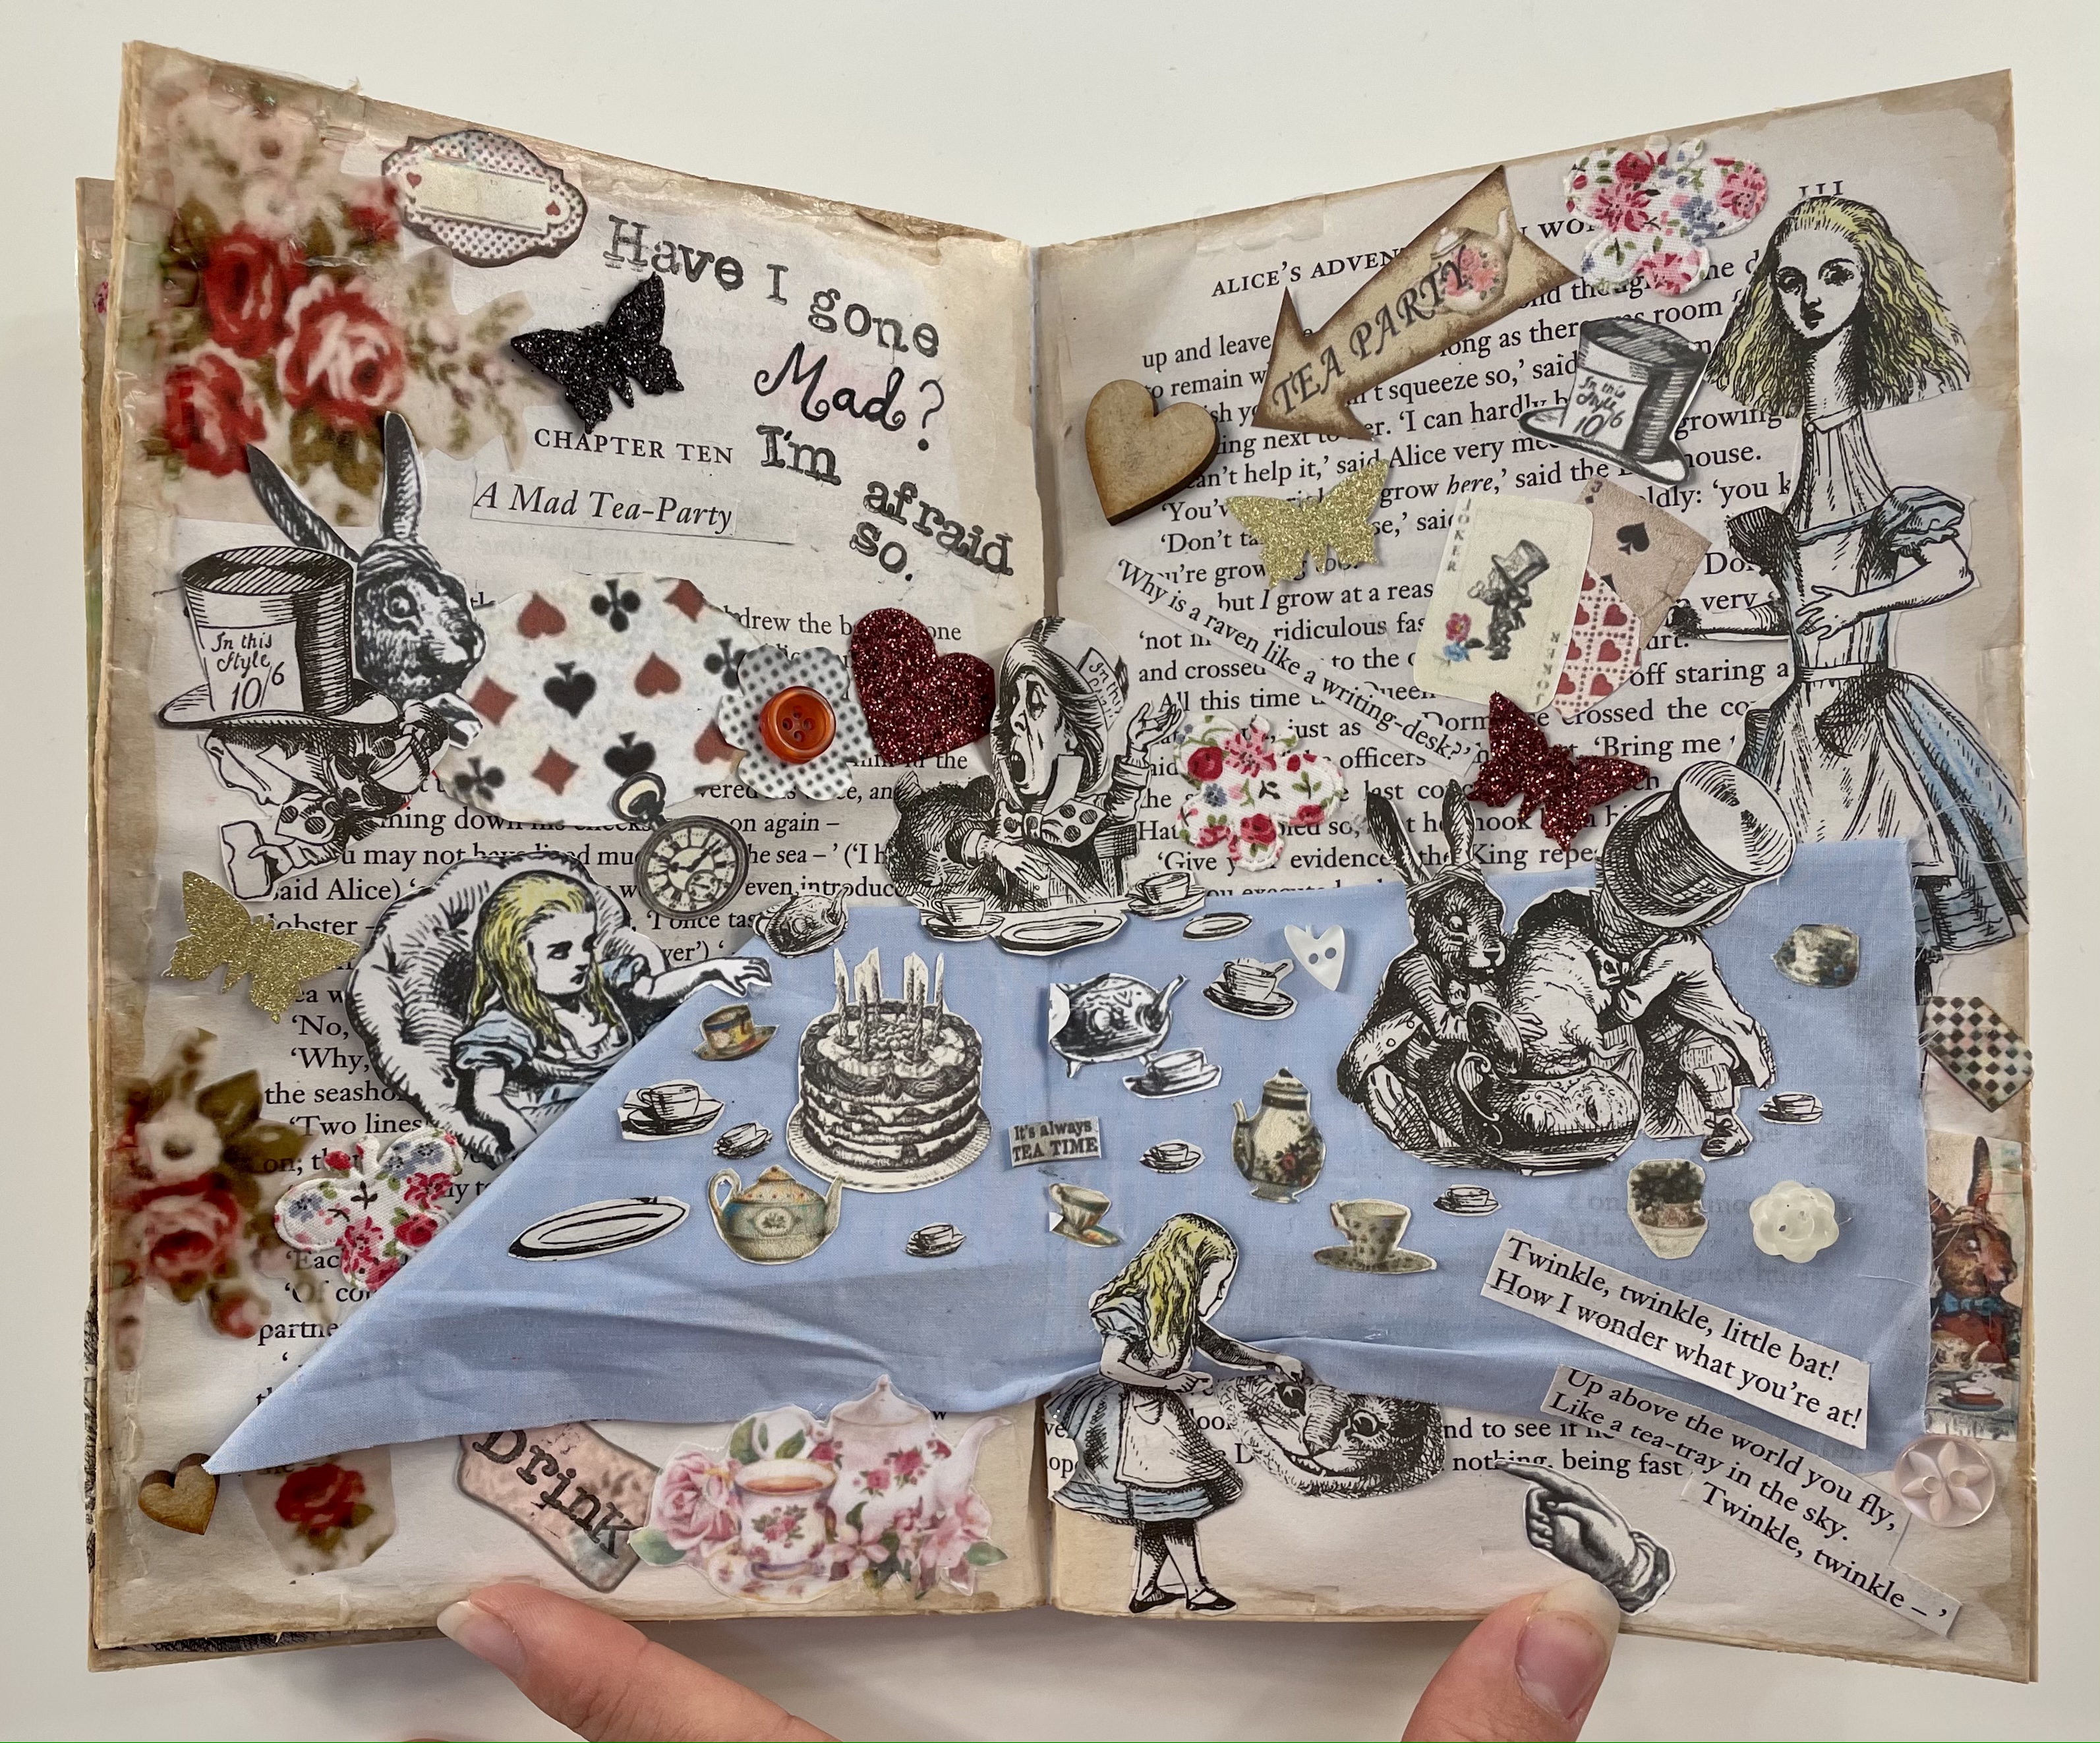
Mad hatters tea party – I wanted this page to be crazy and busy as that’s what the scene is all about. I decided to have this double page spread featuring the tea party table, I decided to use a piece of blue material to use as the table cloth which creates a focal point on the page, I carefully cut out tea cups and pots to scatter across the table along with adding the mad hatter and the March hare. Similar to the rabbit hole page I have added vintage looking embellishments and cut out Appropriate quotes from the book.
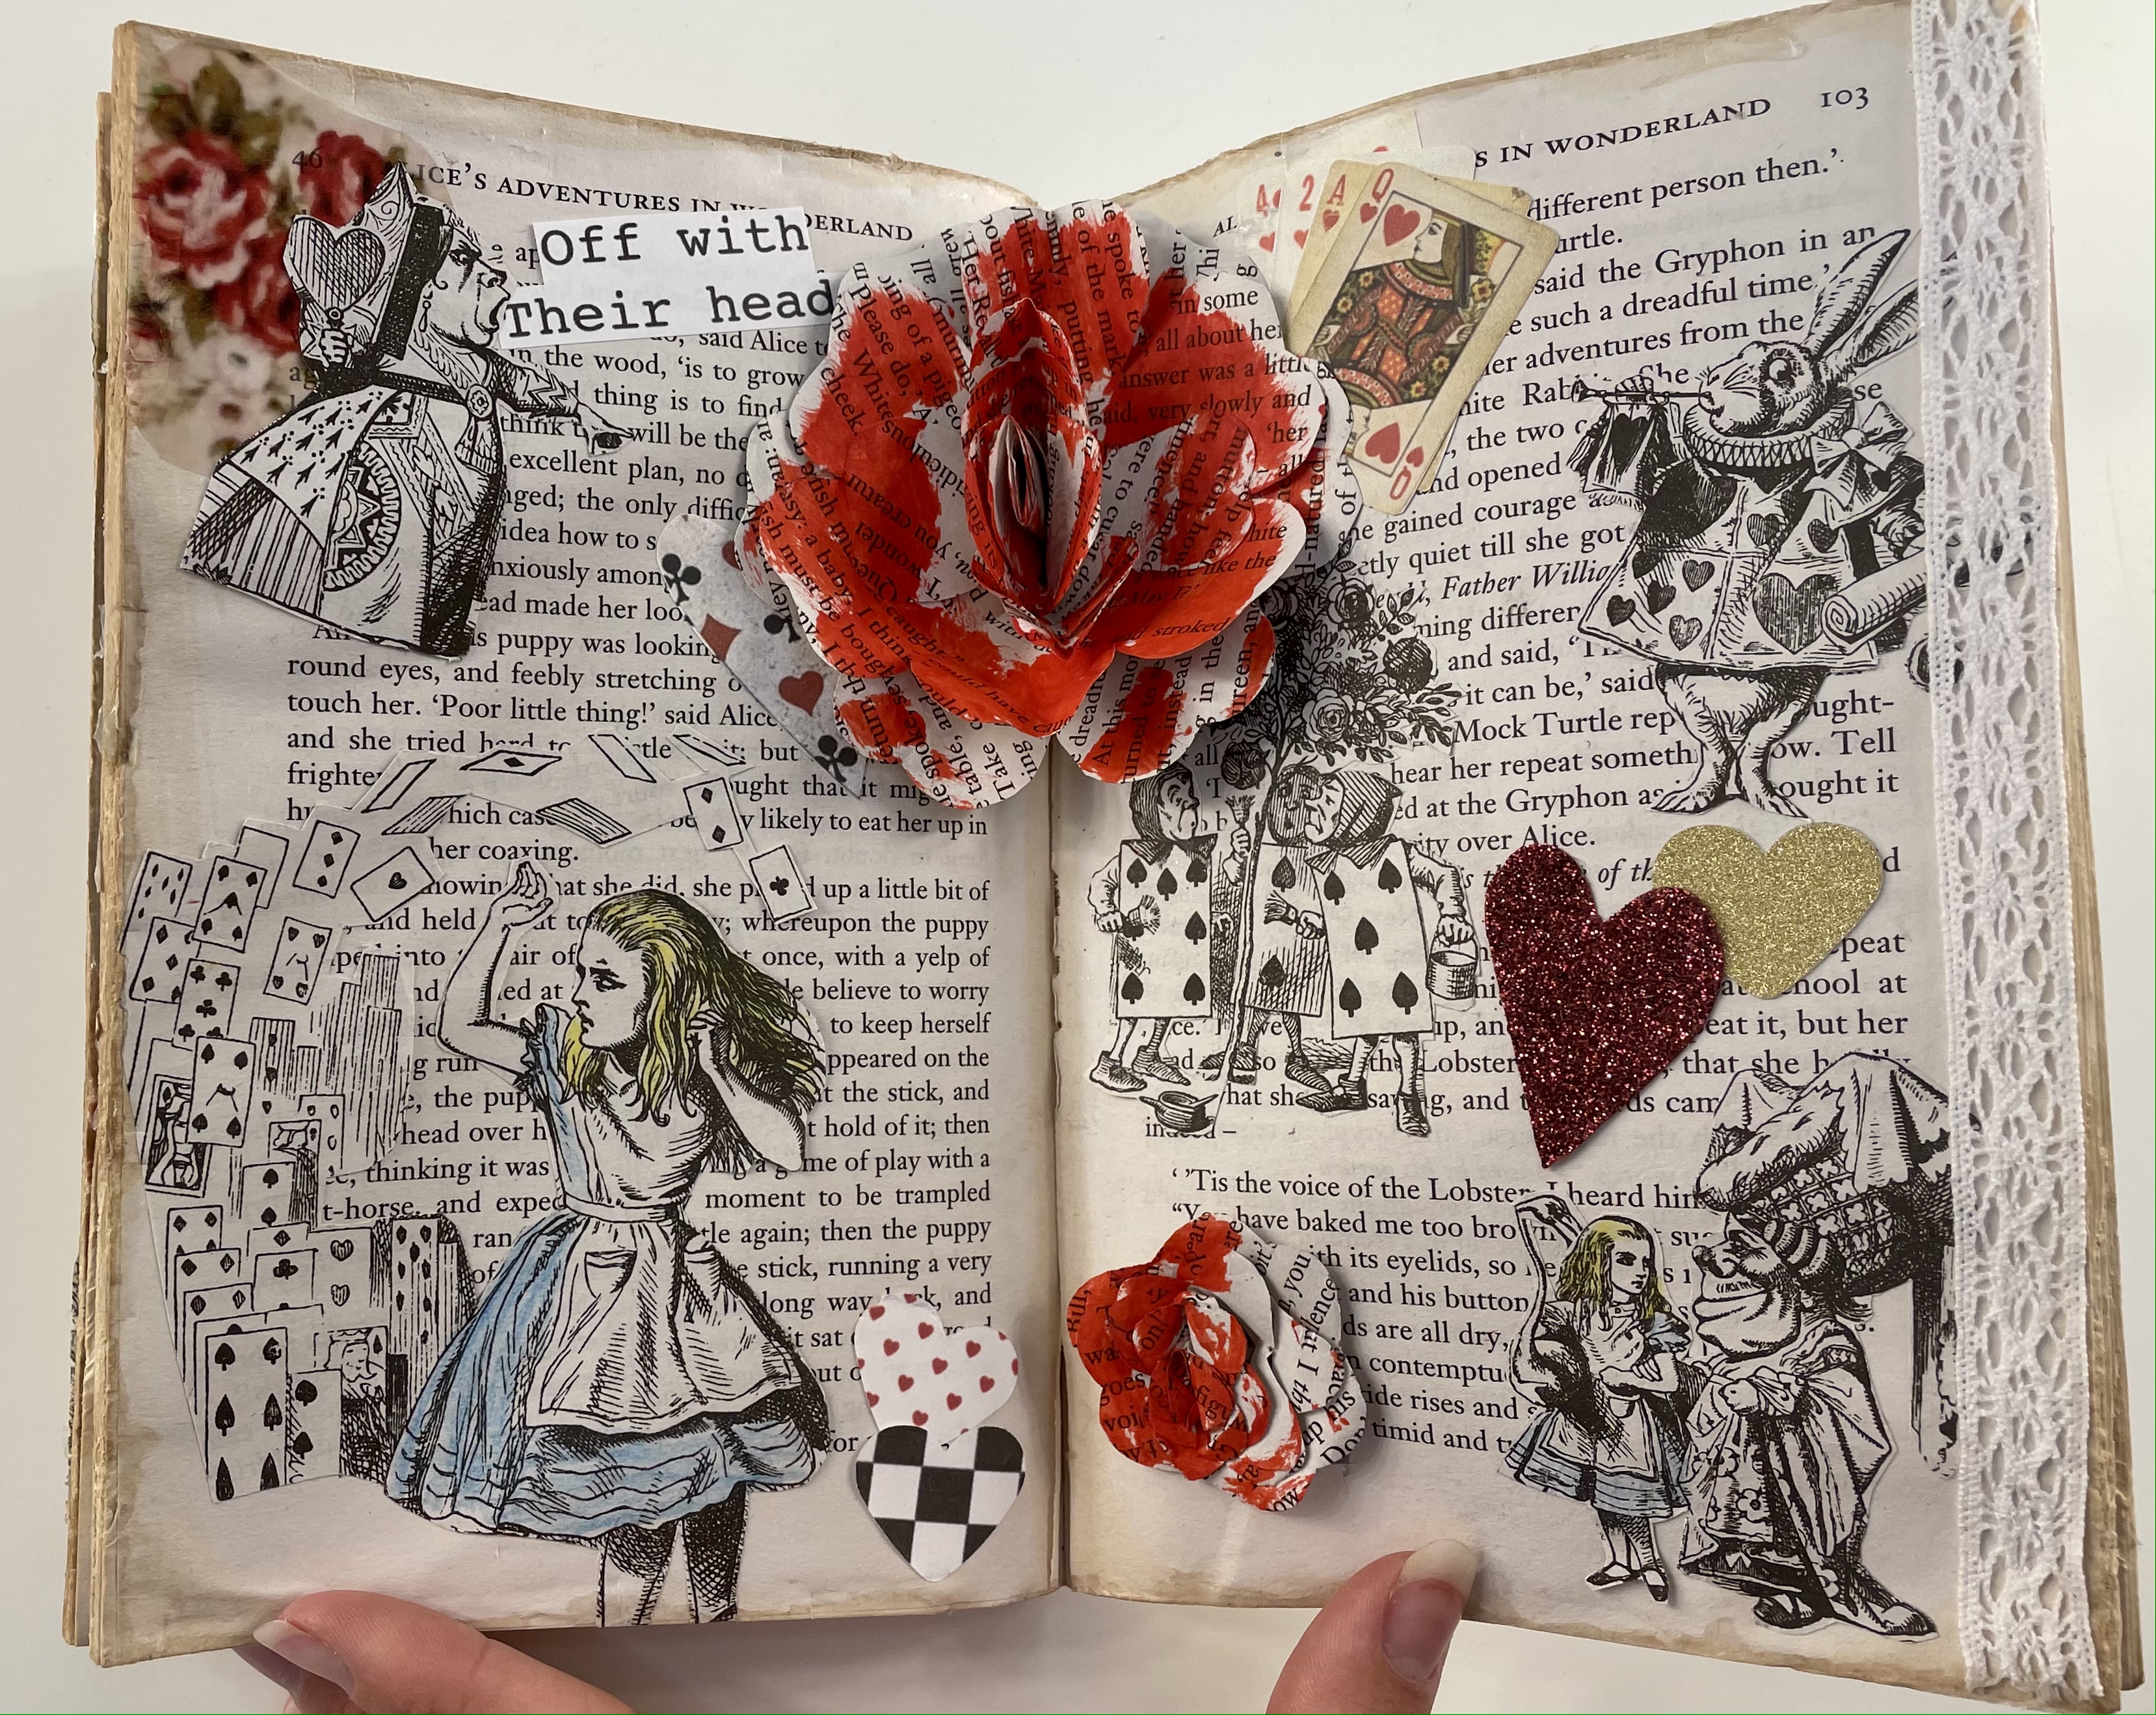
Queen of hearts – One part of Alice meeting the queen which is memorable for me is ‘Painting the roses red’ I decided to experiment with adding a pop up rose for this page, I assembled this from pages of the book folded the rose in half and lined this up with the fold in the book creating a pop up when opened. I roughly painted this red to show it had been painted like soldiers in the film, I decided to add my practice rose onto the page too as I was happy how the smaller one came out. This page is mainly book illustration based, I wanted to keep this page less busy than the previous.
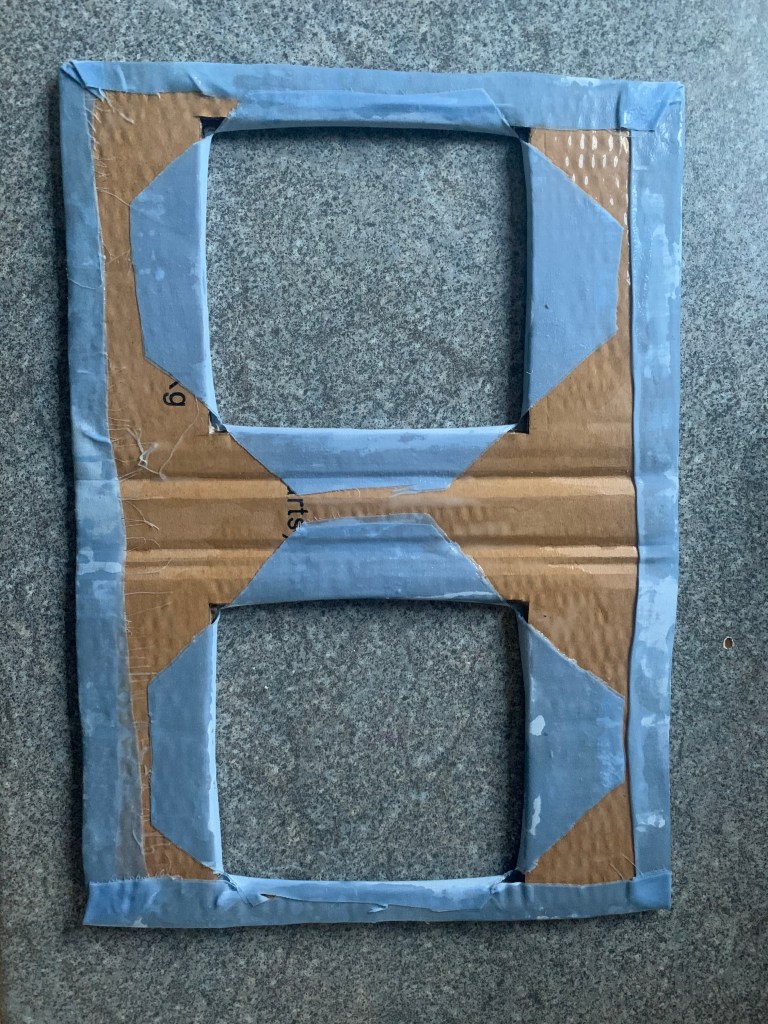
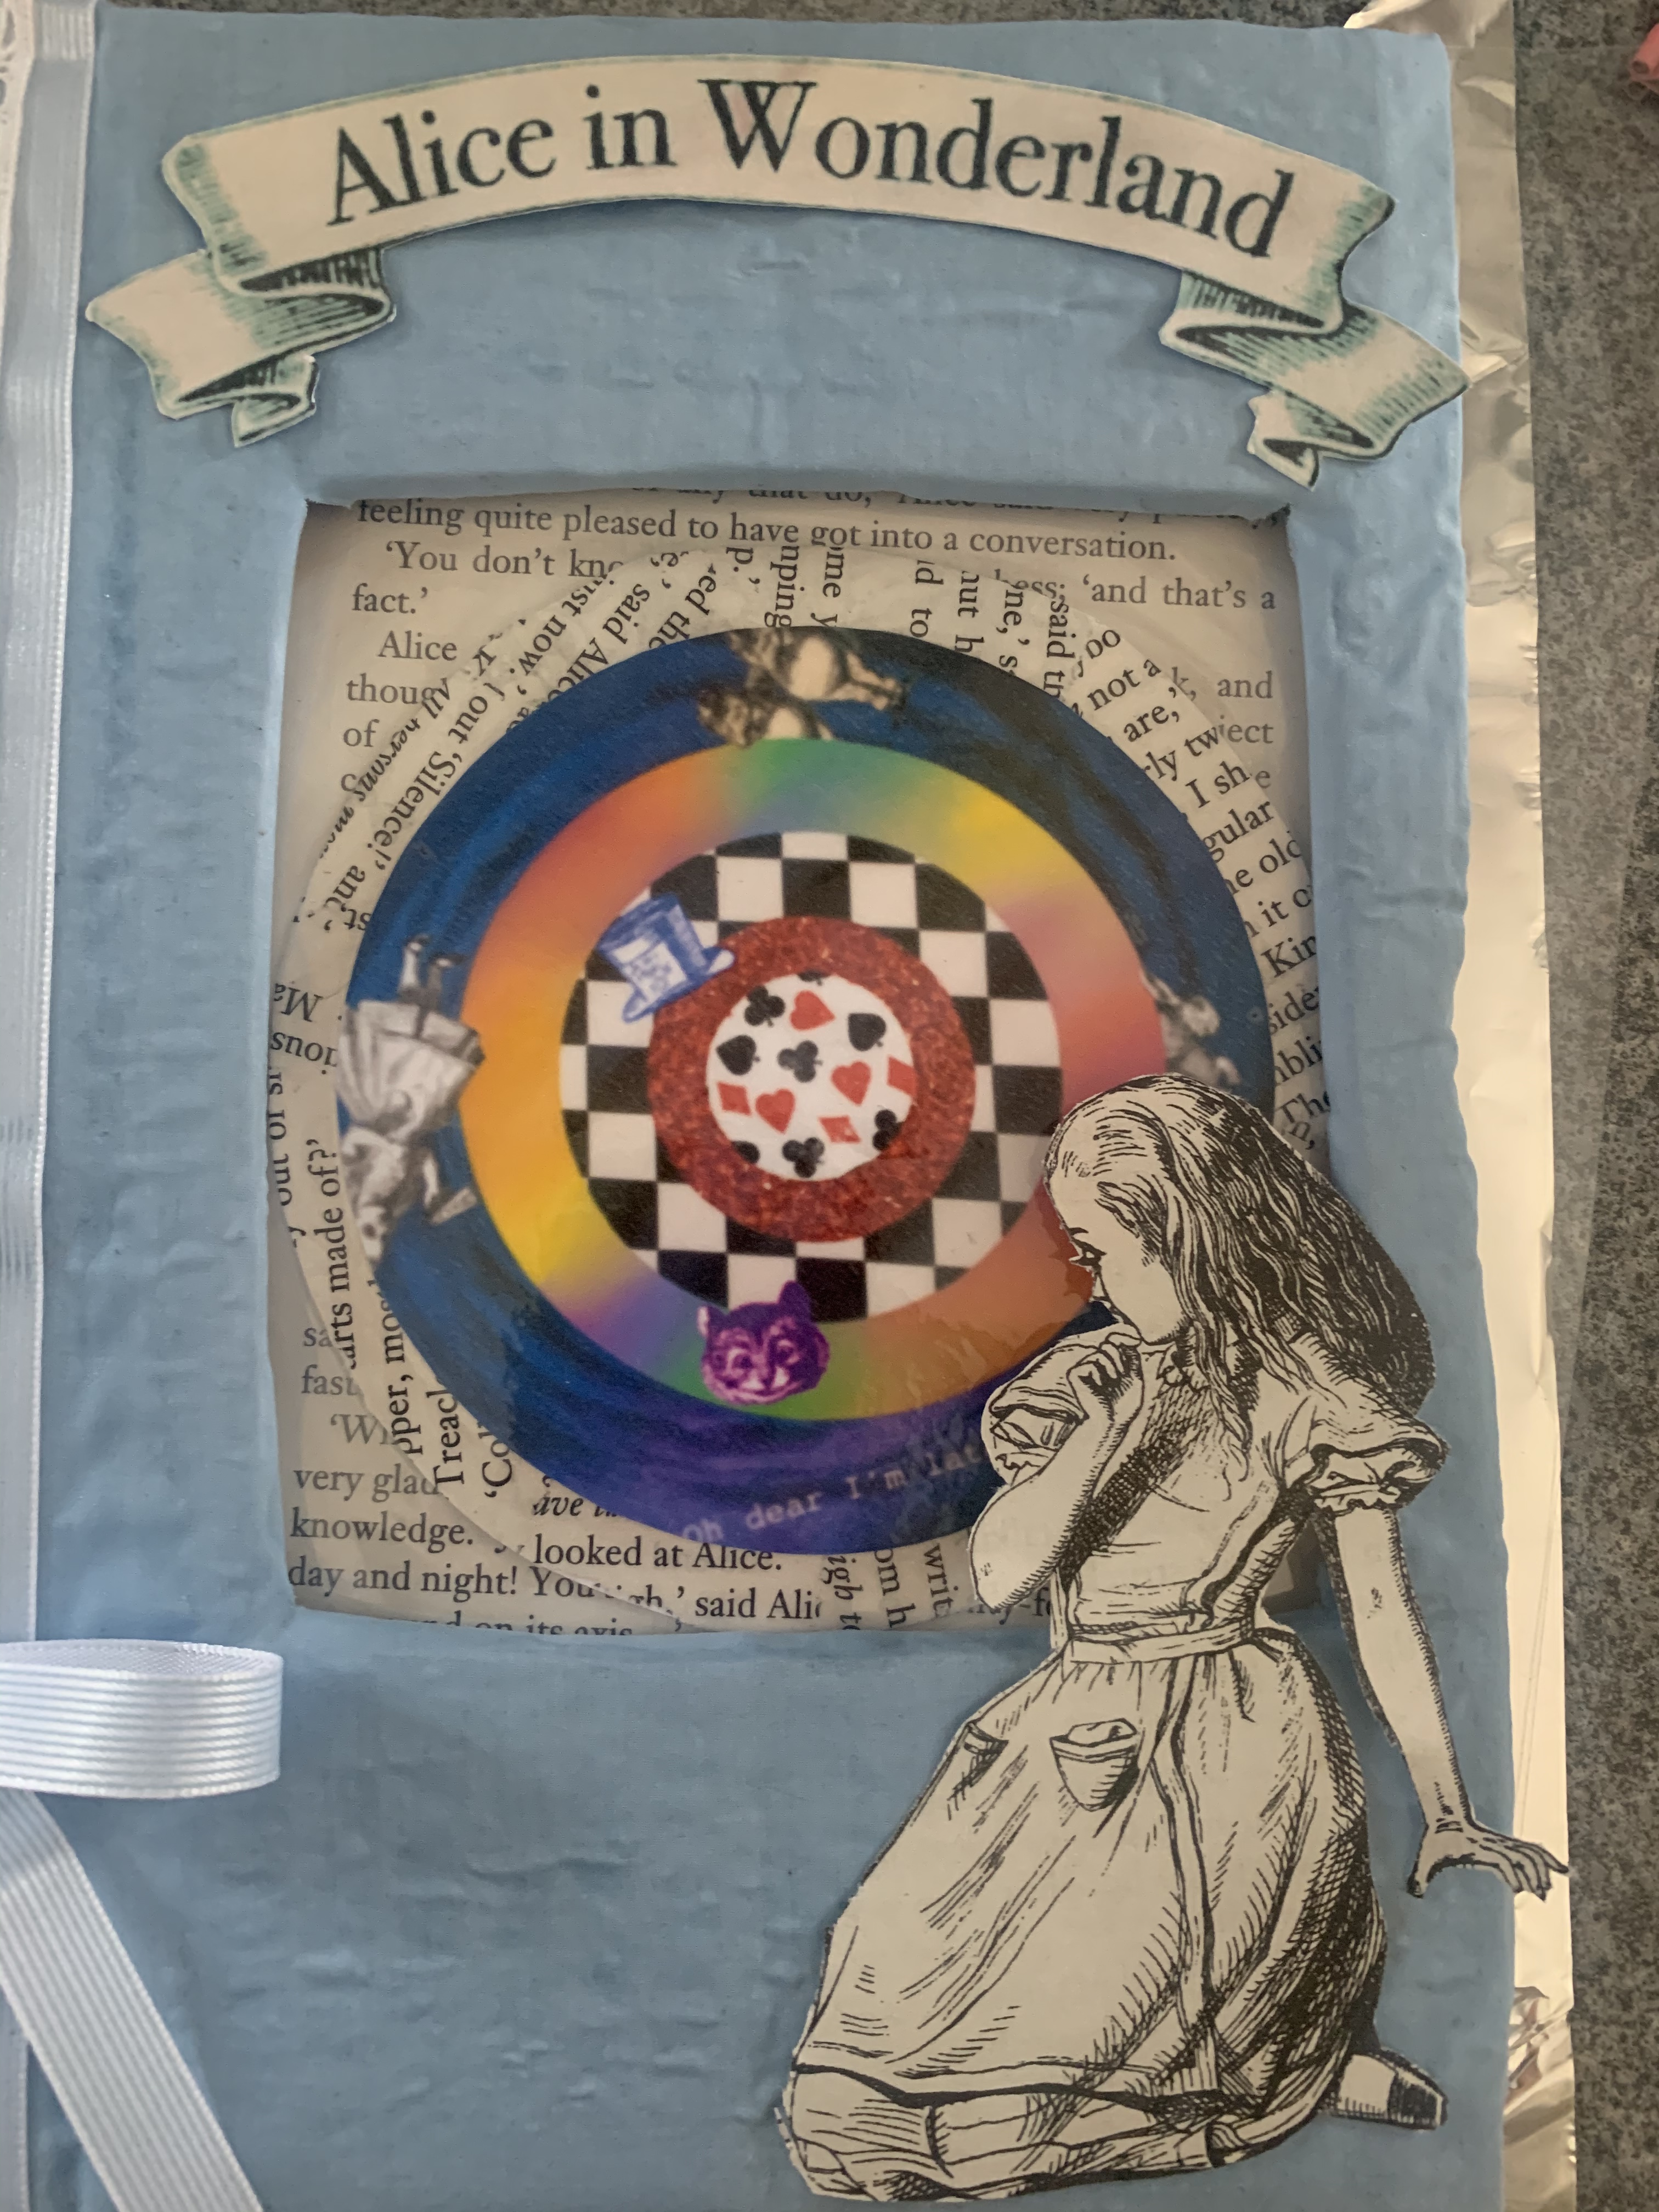
Cover – For the cover I wanted to transfer this book into a hardback and to cut a window through the middle to help tie in the second part of the book ‘through the looking glass’. I decided to cover the book in blue cotton material (no access to linen unfortunately) I measured the book and cut the cover out of cardboard, I then measured the correct size for the windows and cut these out. I ended up being very experimental with the cover as something just didn’t sit right with me. I wasn’t happy with the way the material had dried with the glue as it contained many air bubbles! After all of this I decided to scrap this idea as I felt it ended up looking very cheap and unprofessional – but this is all part of the learning process! So on with the next!…
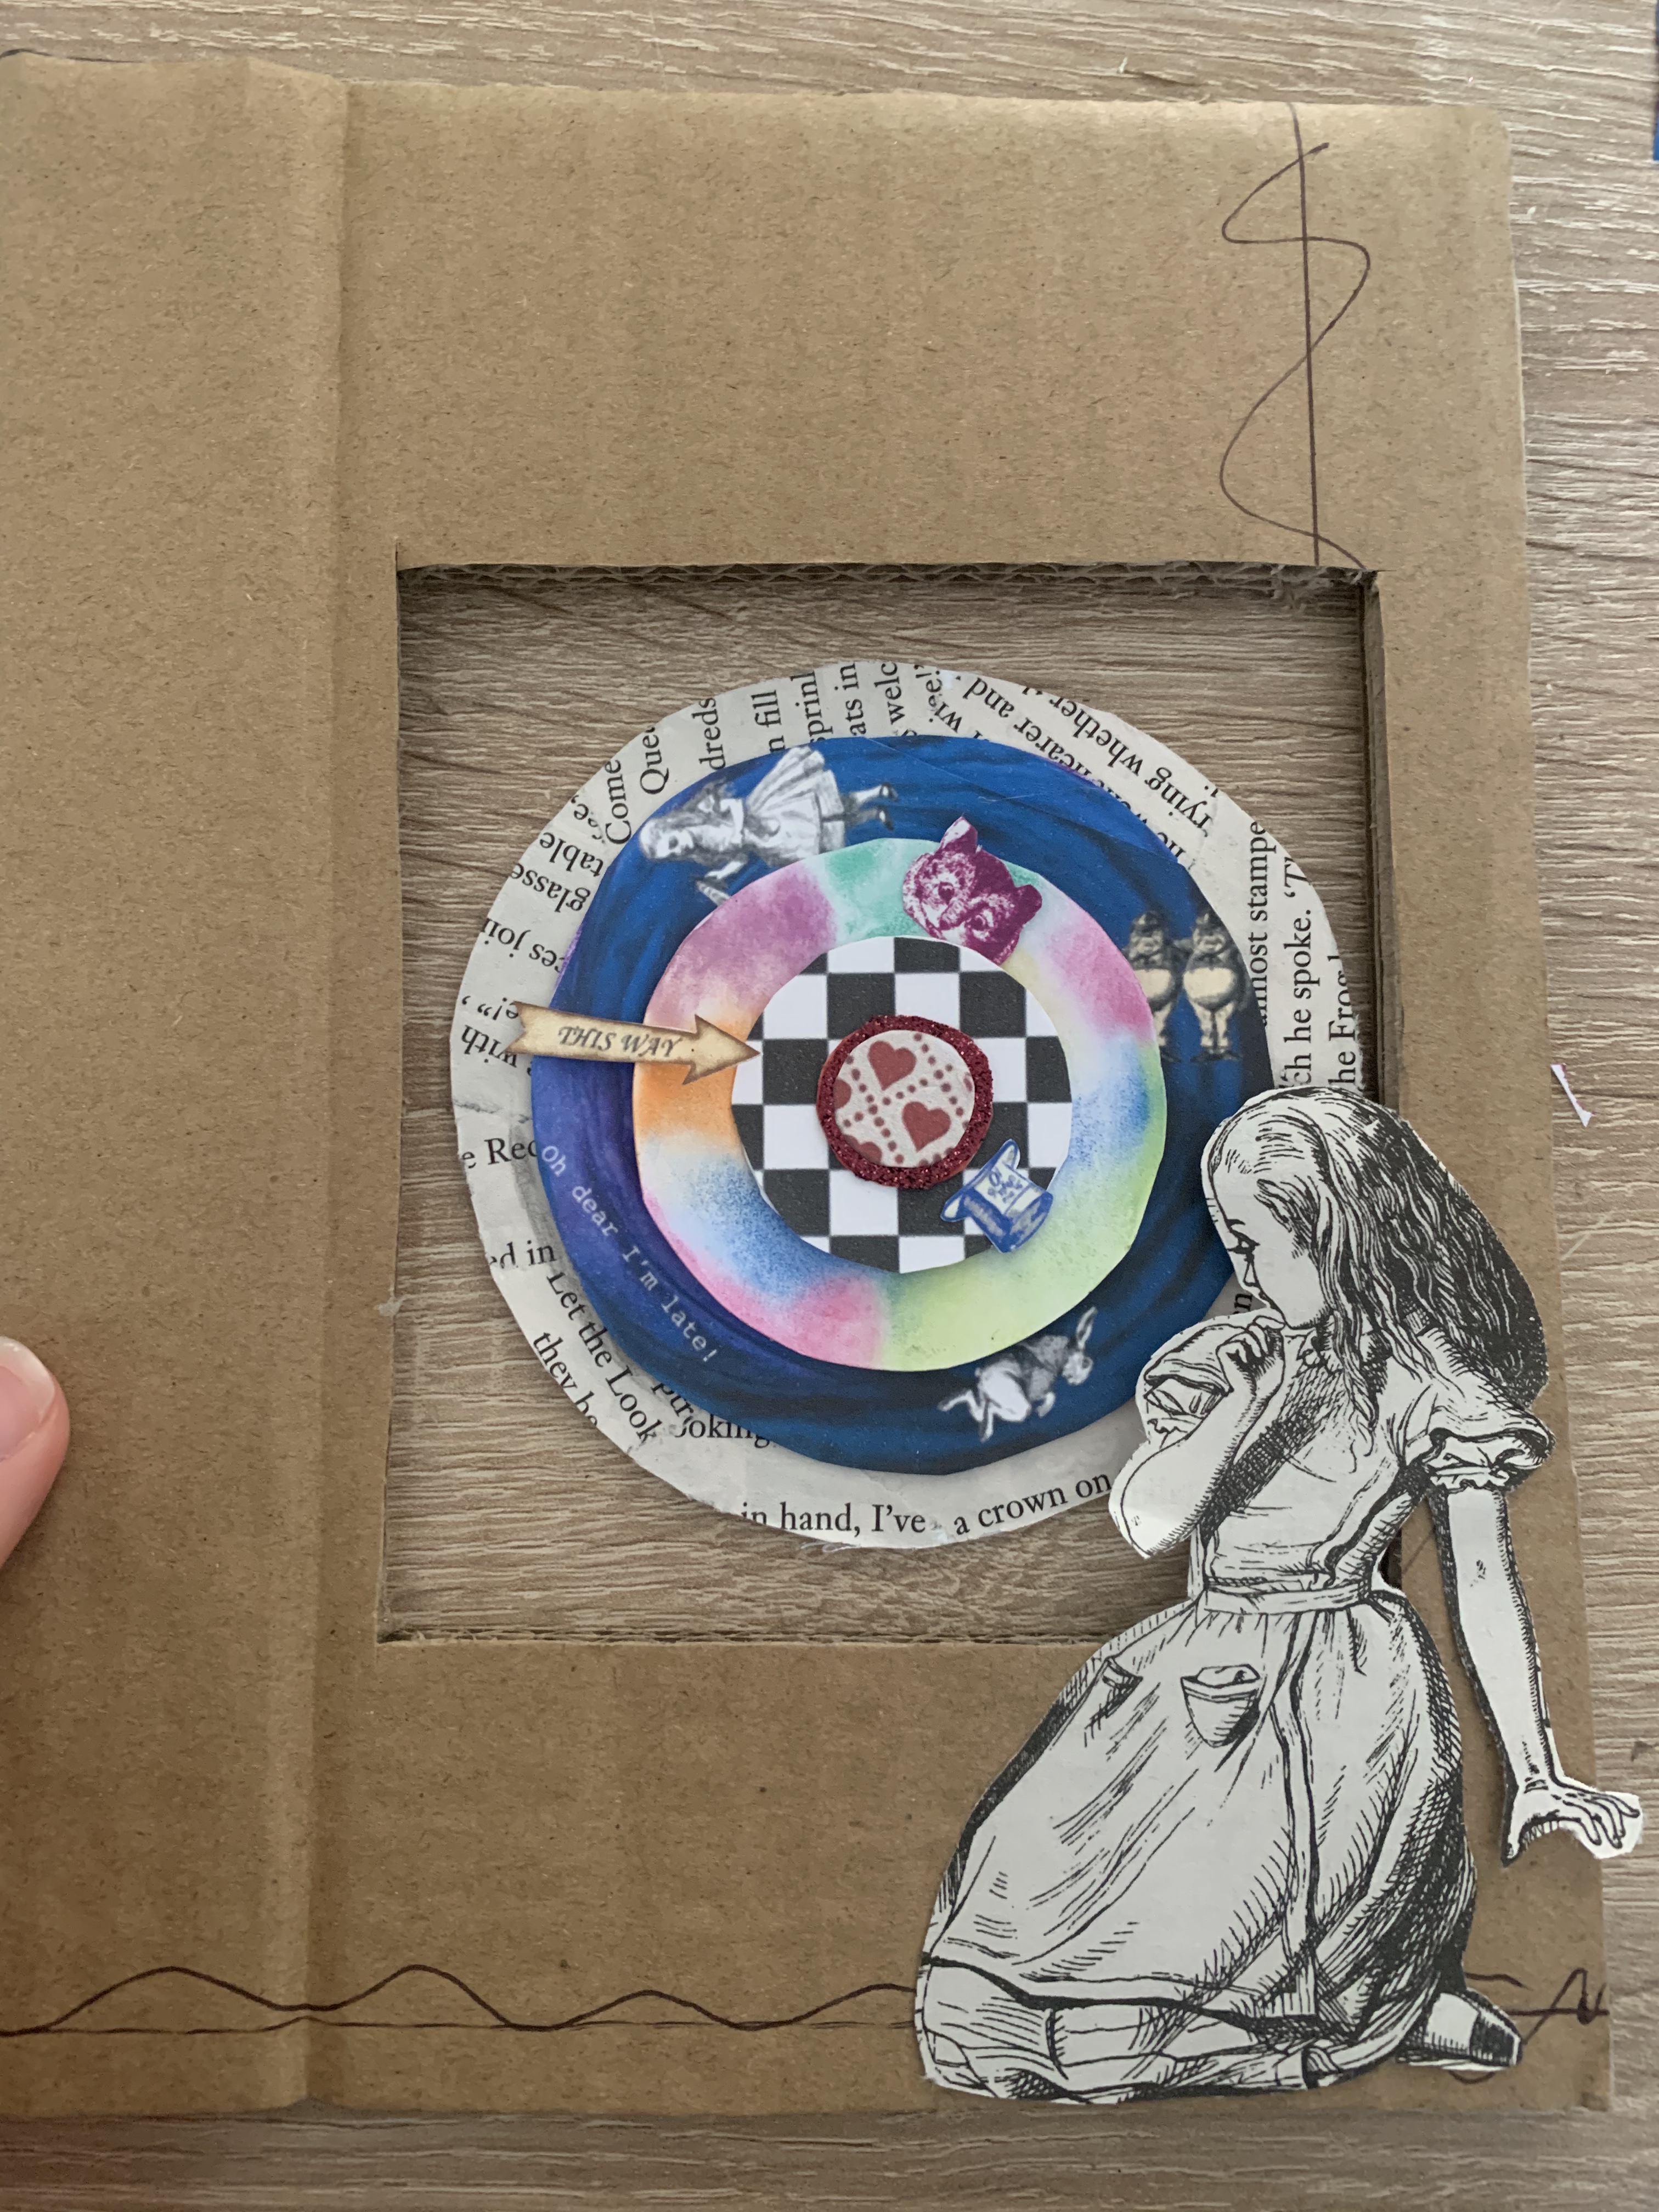
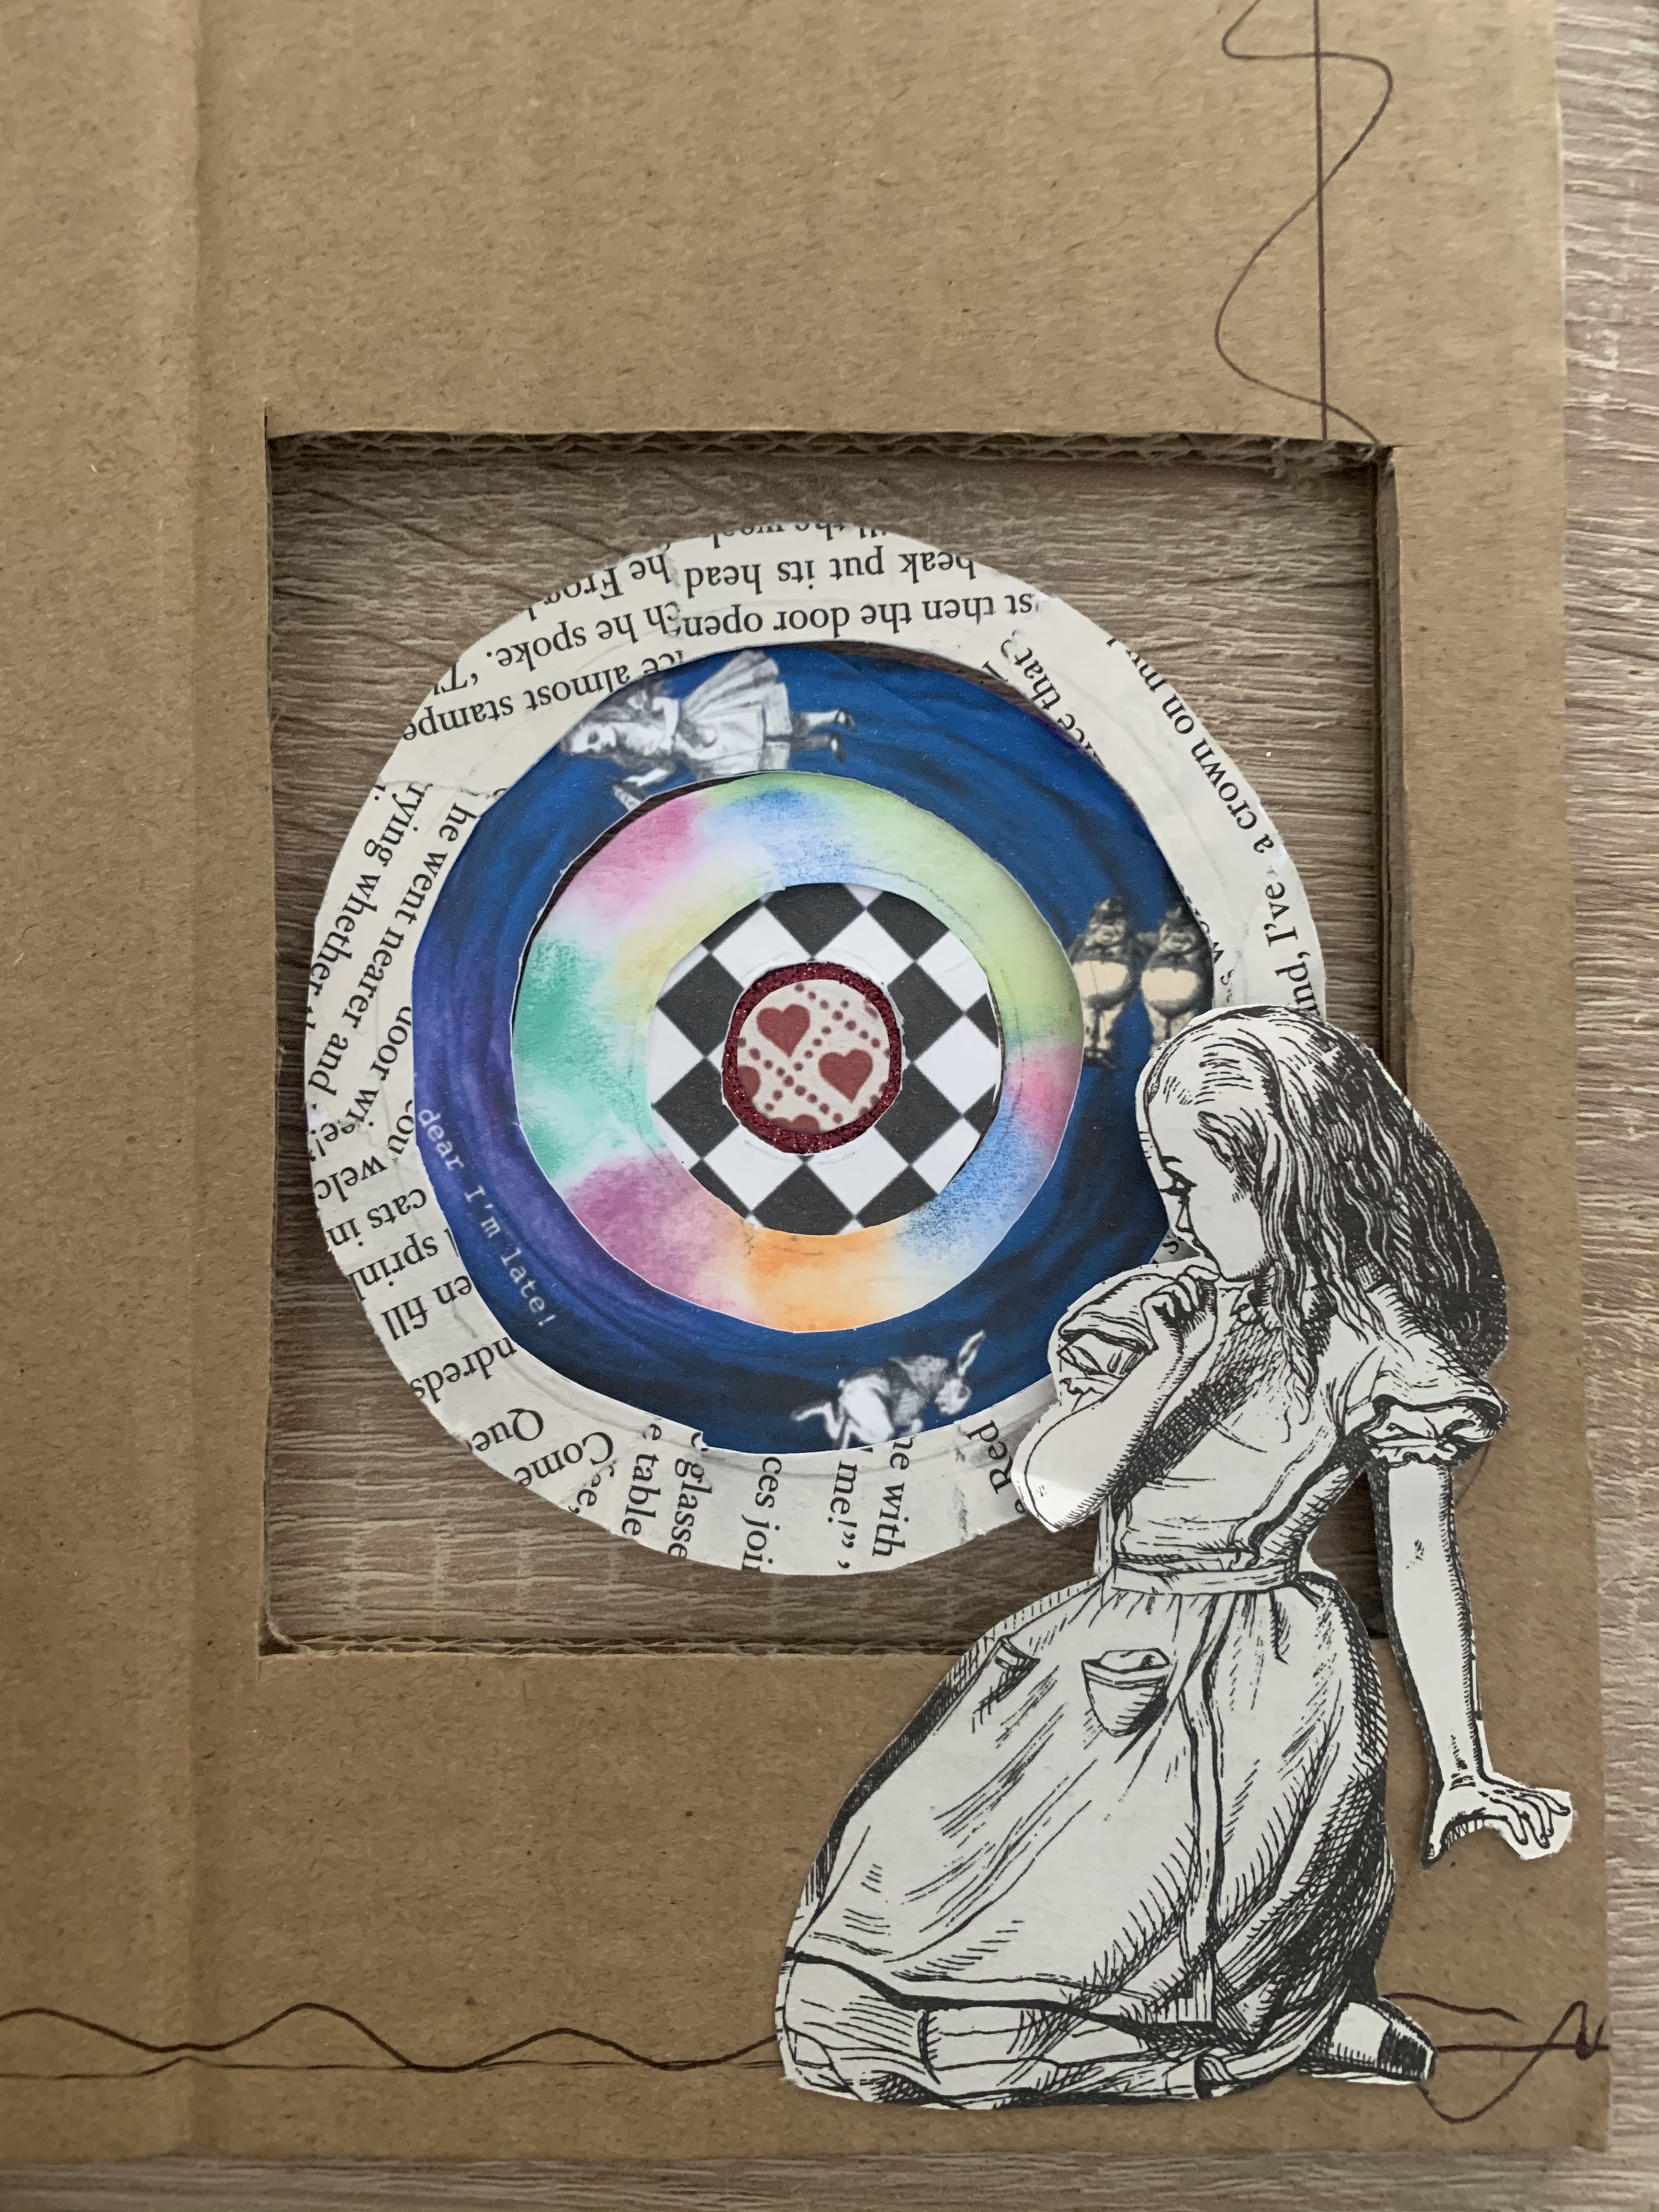

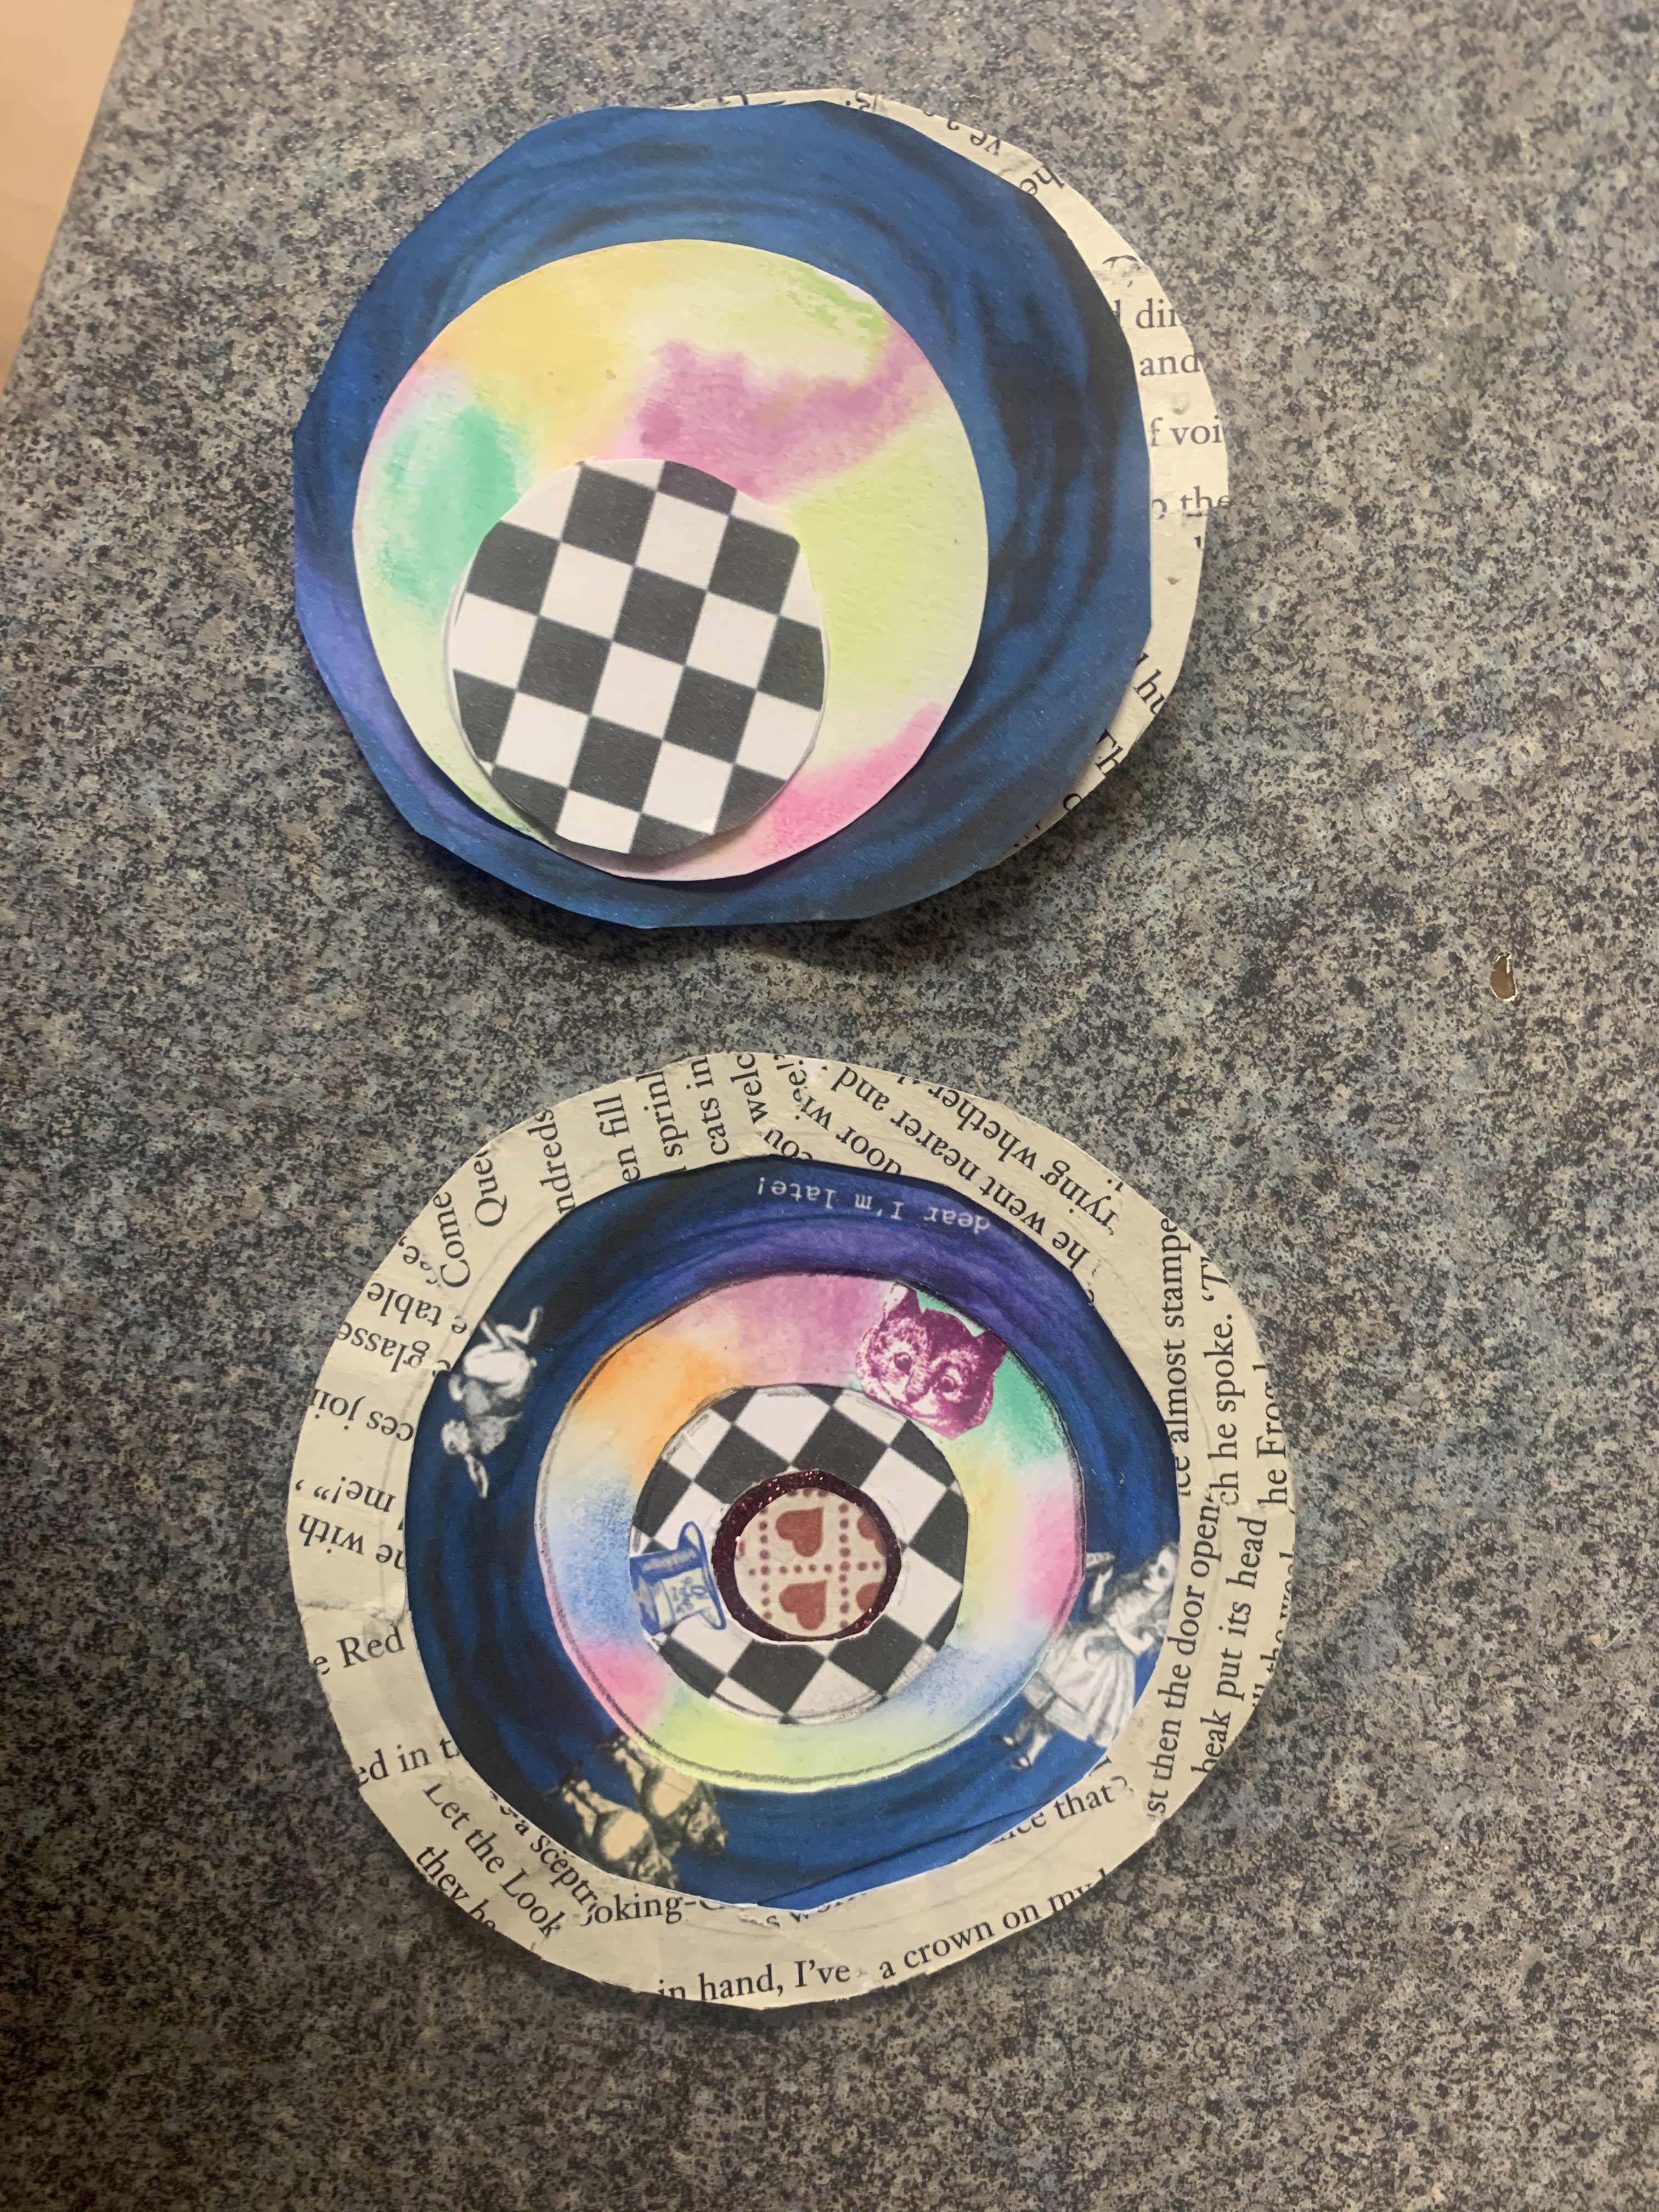
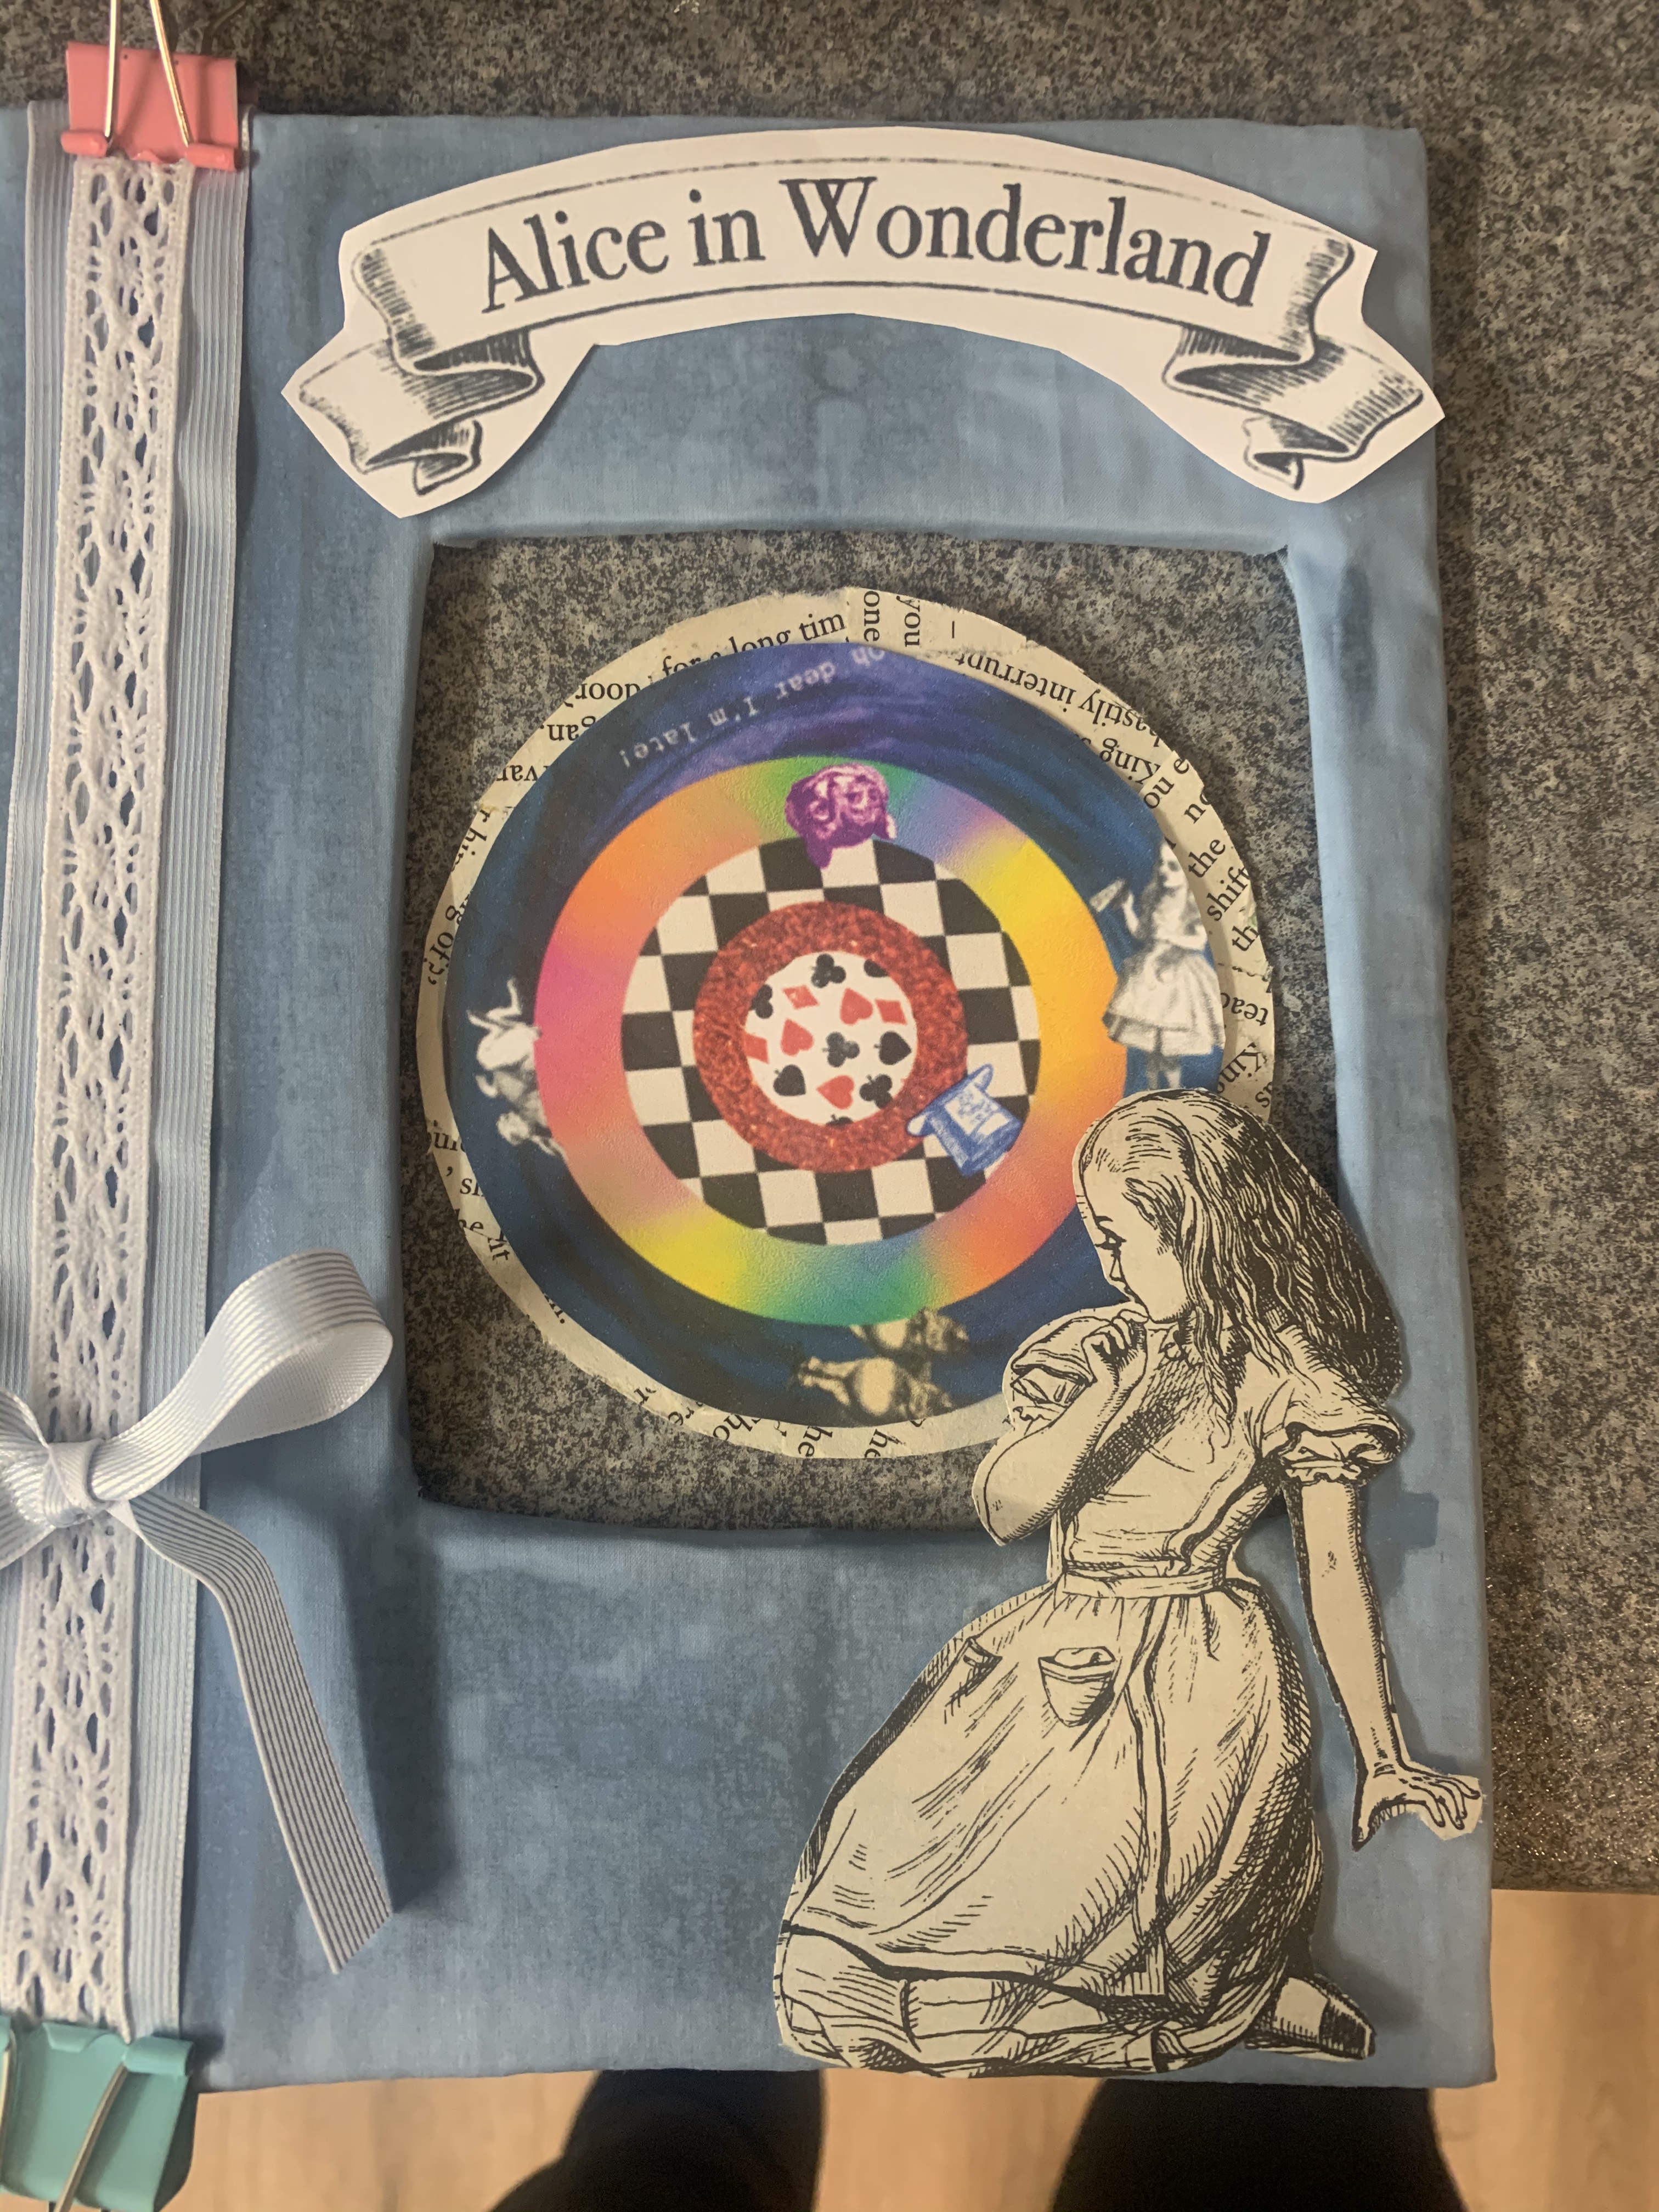
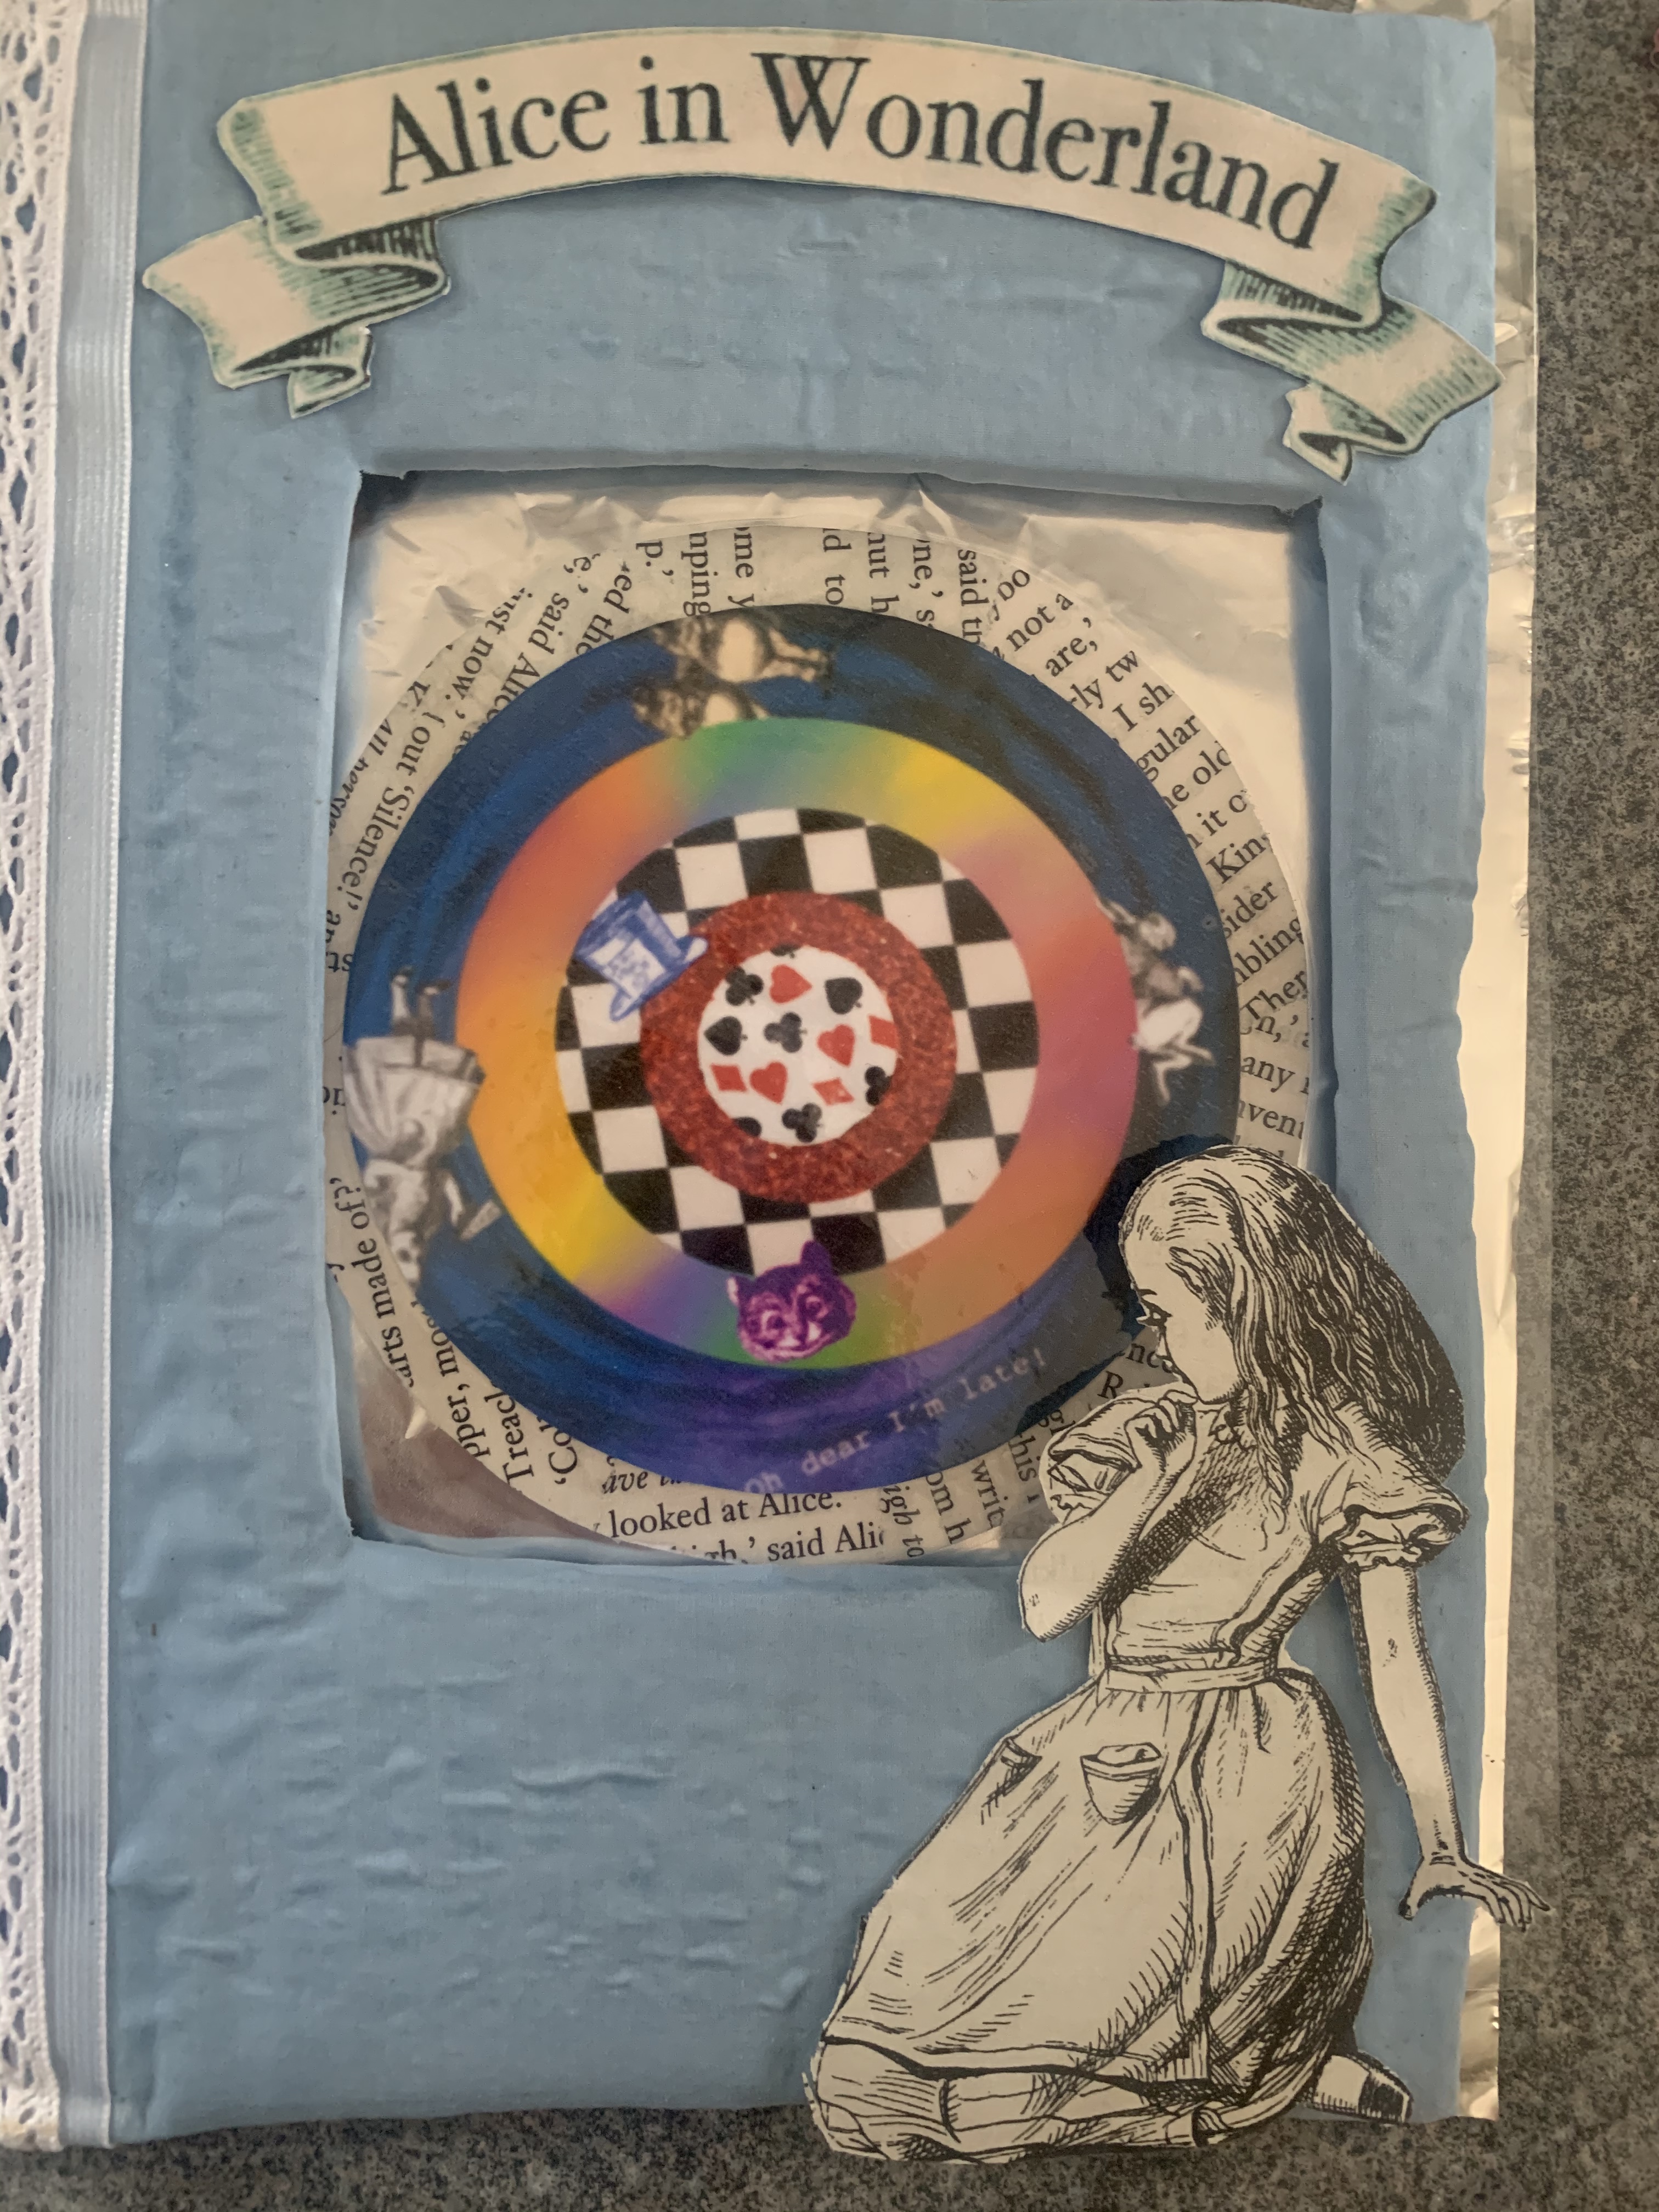
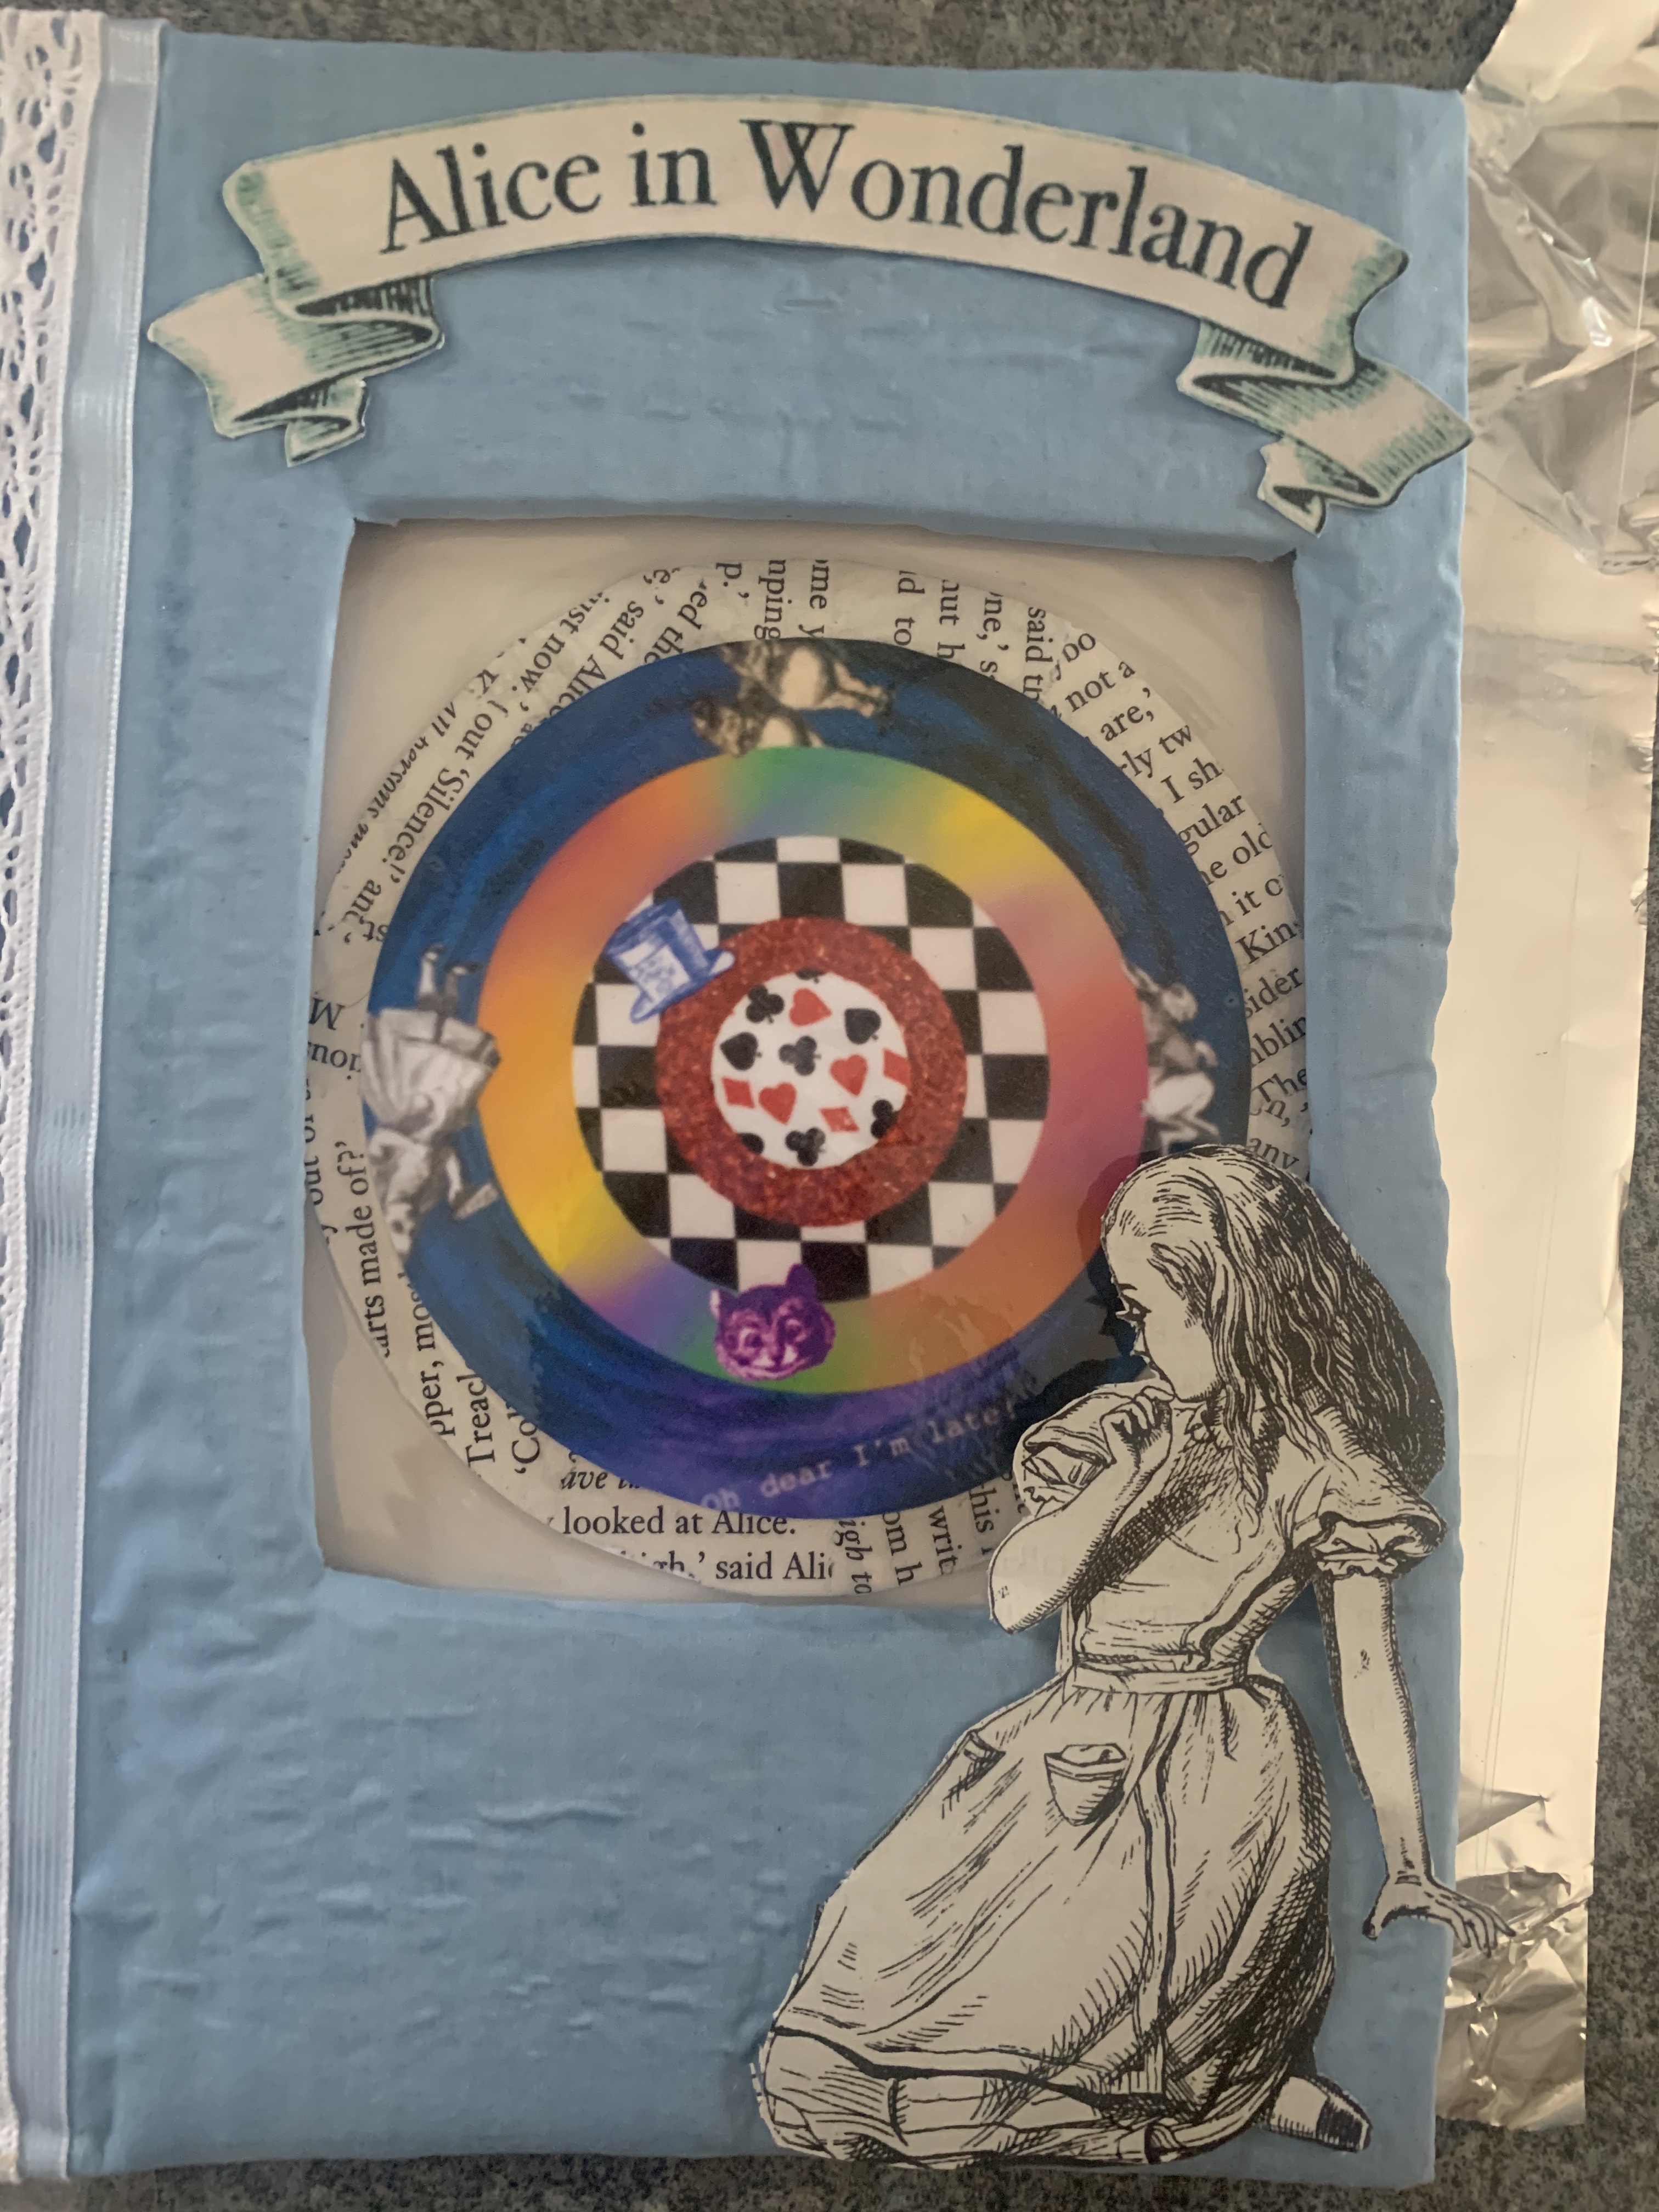
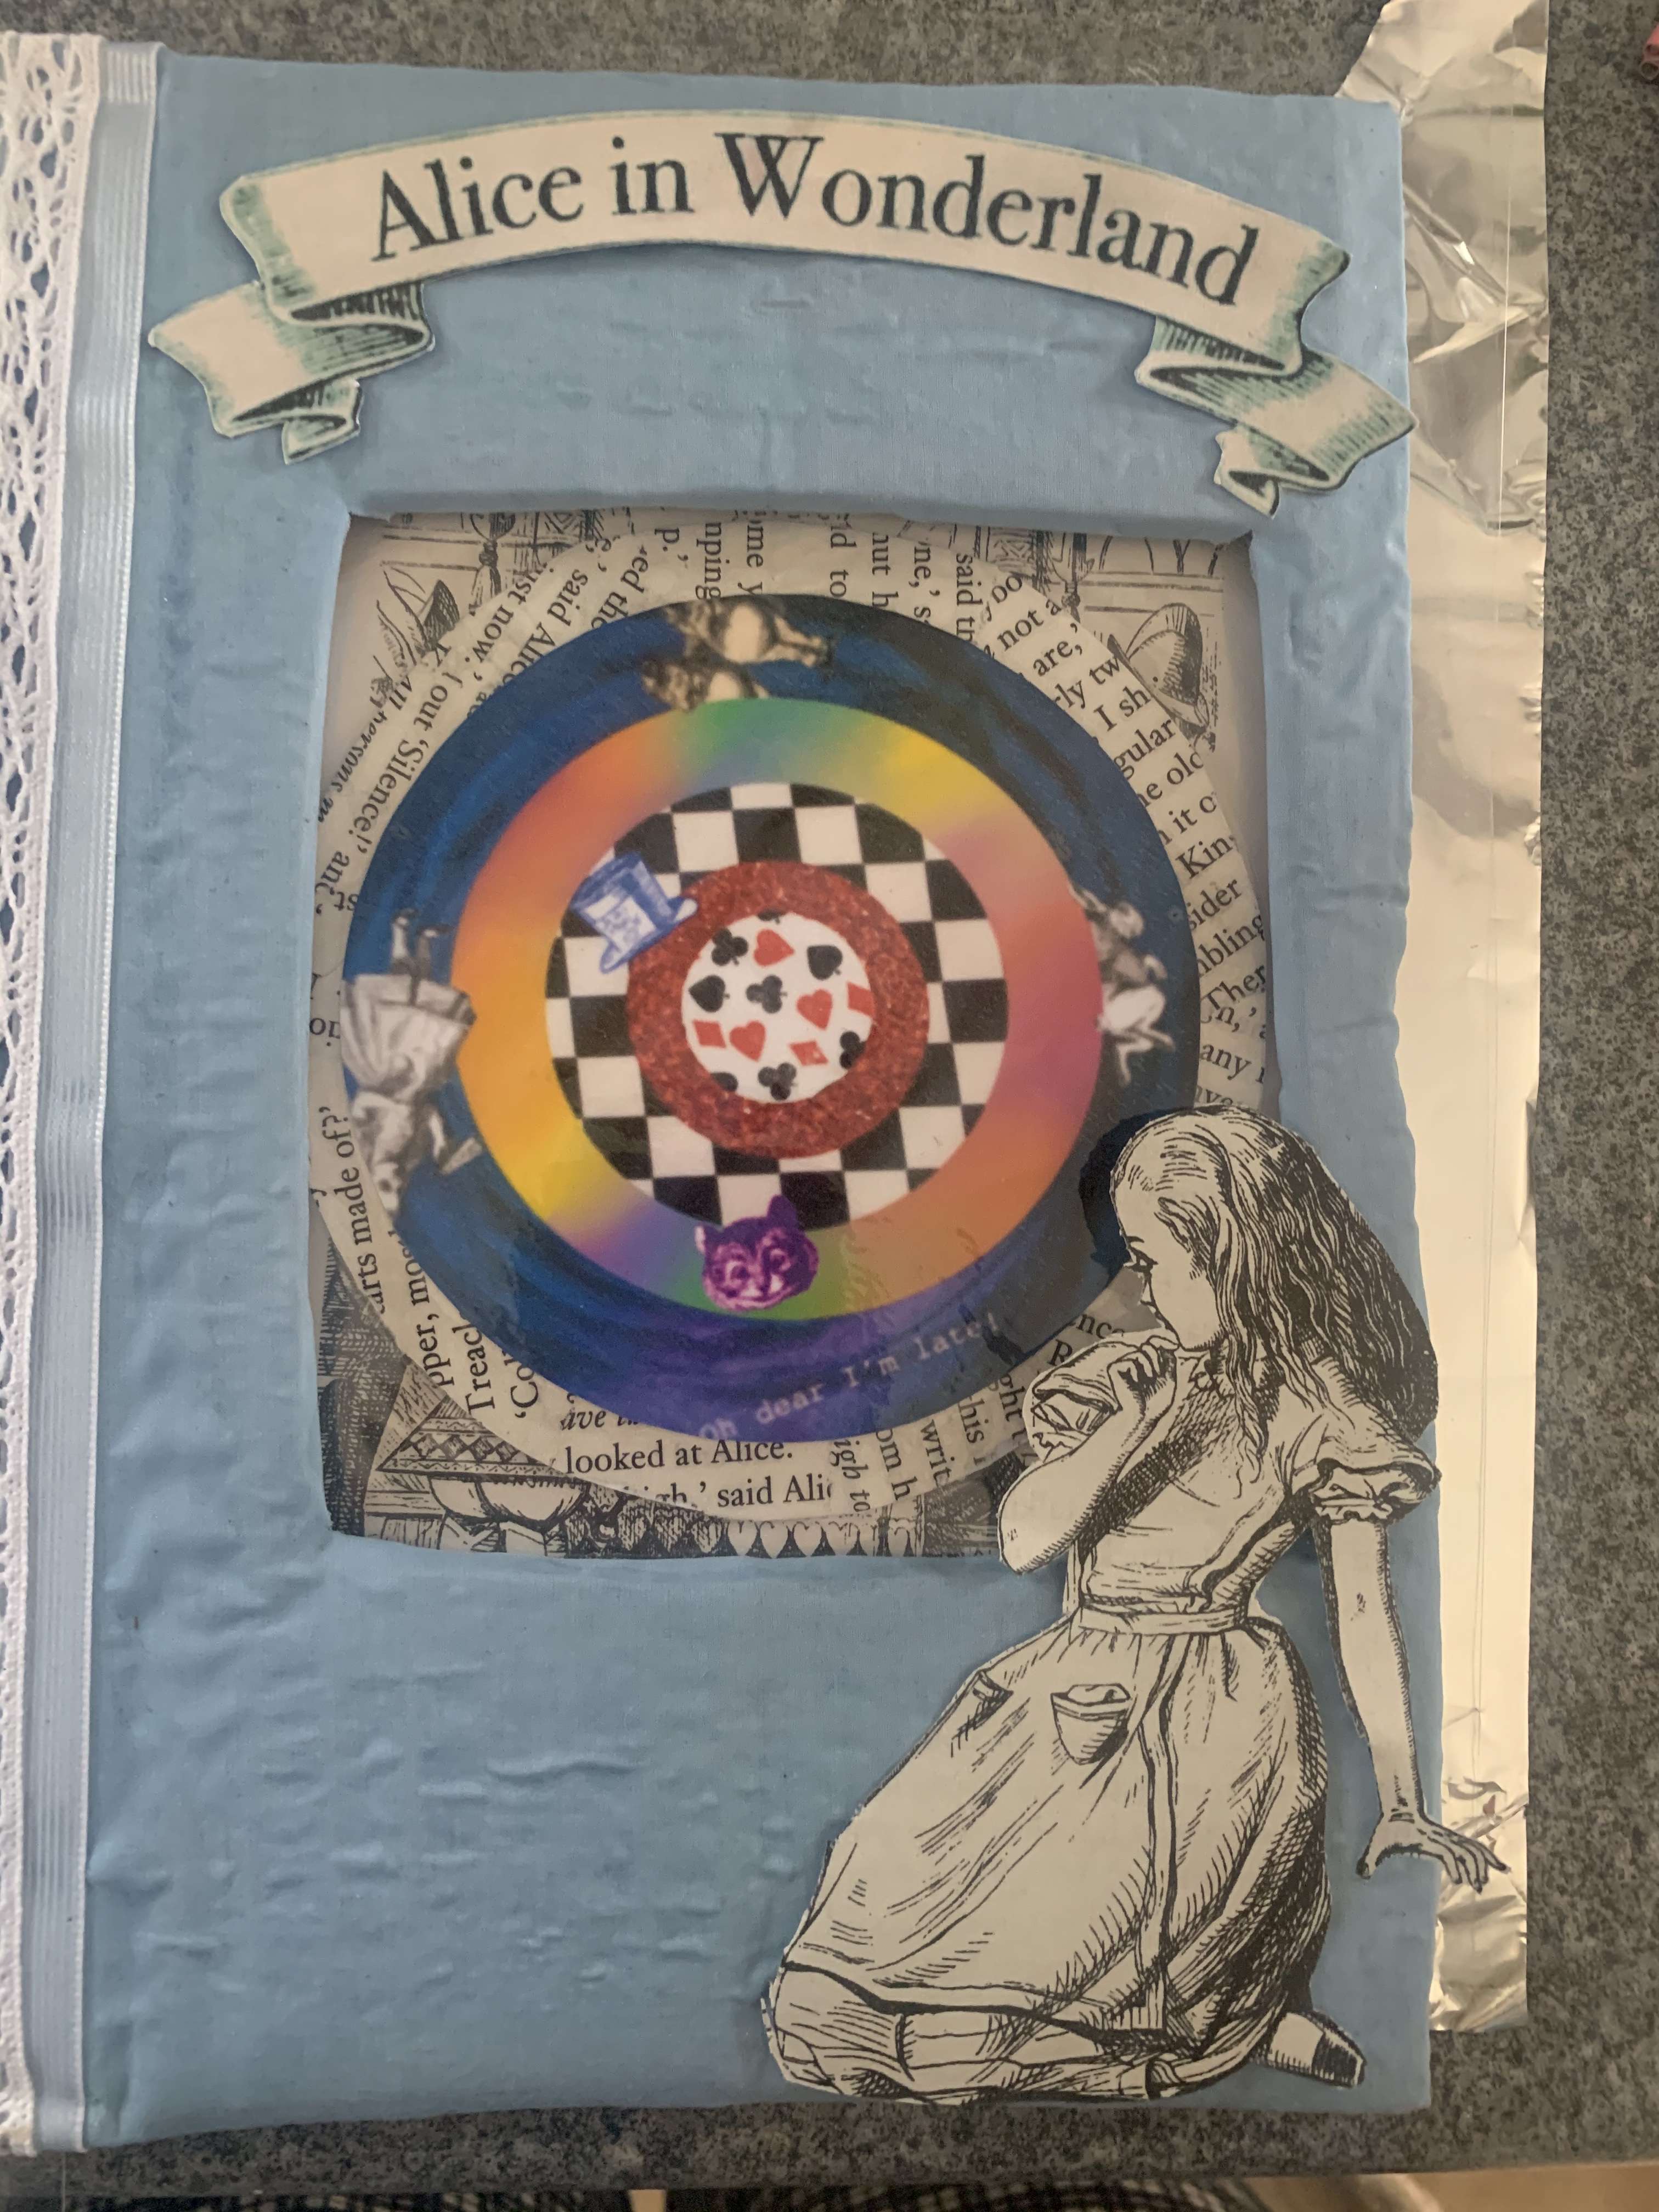
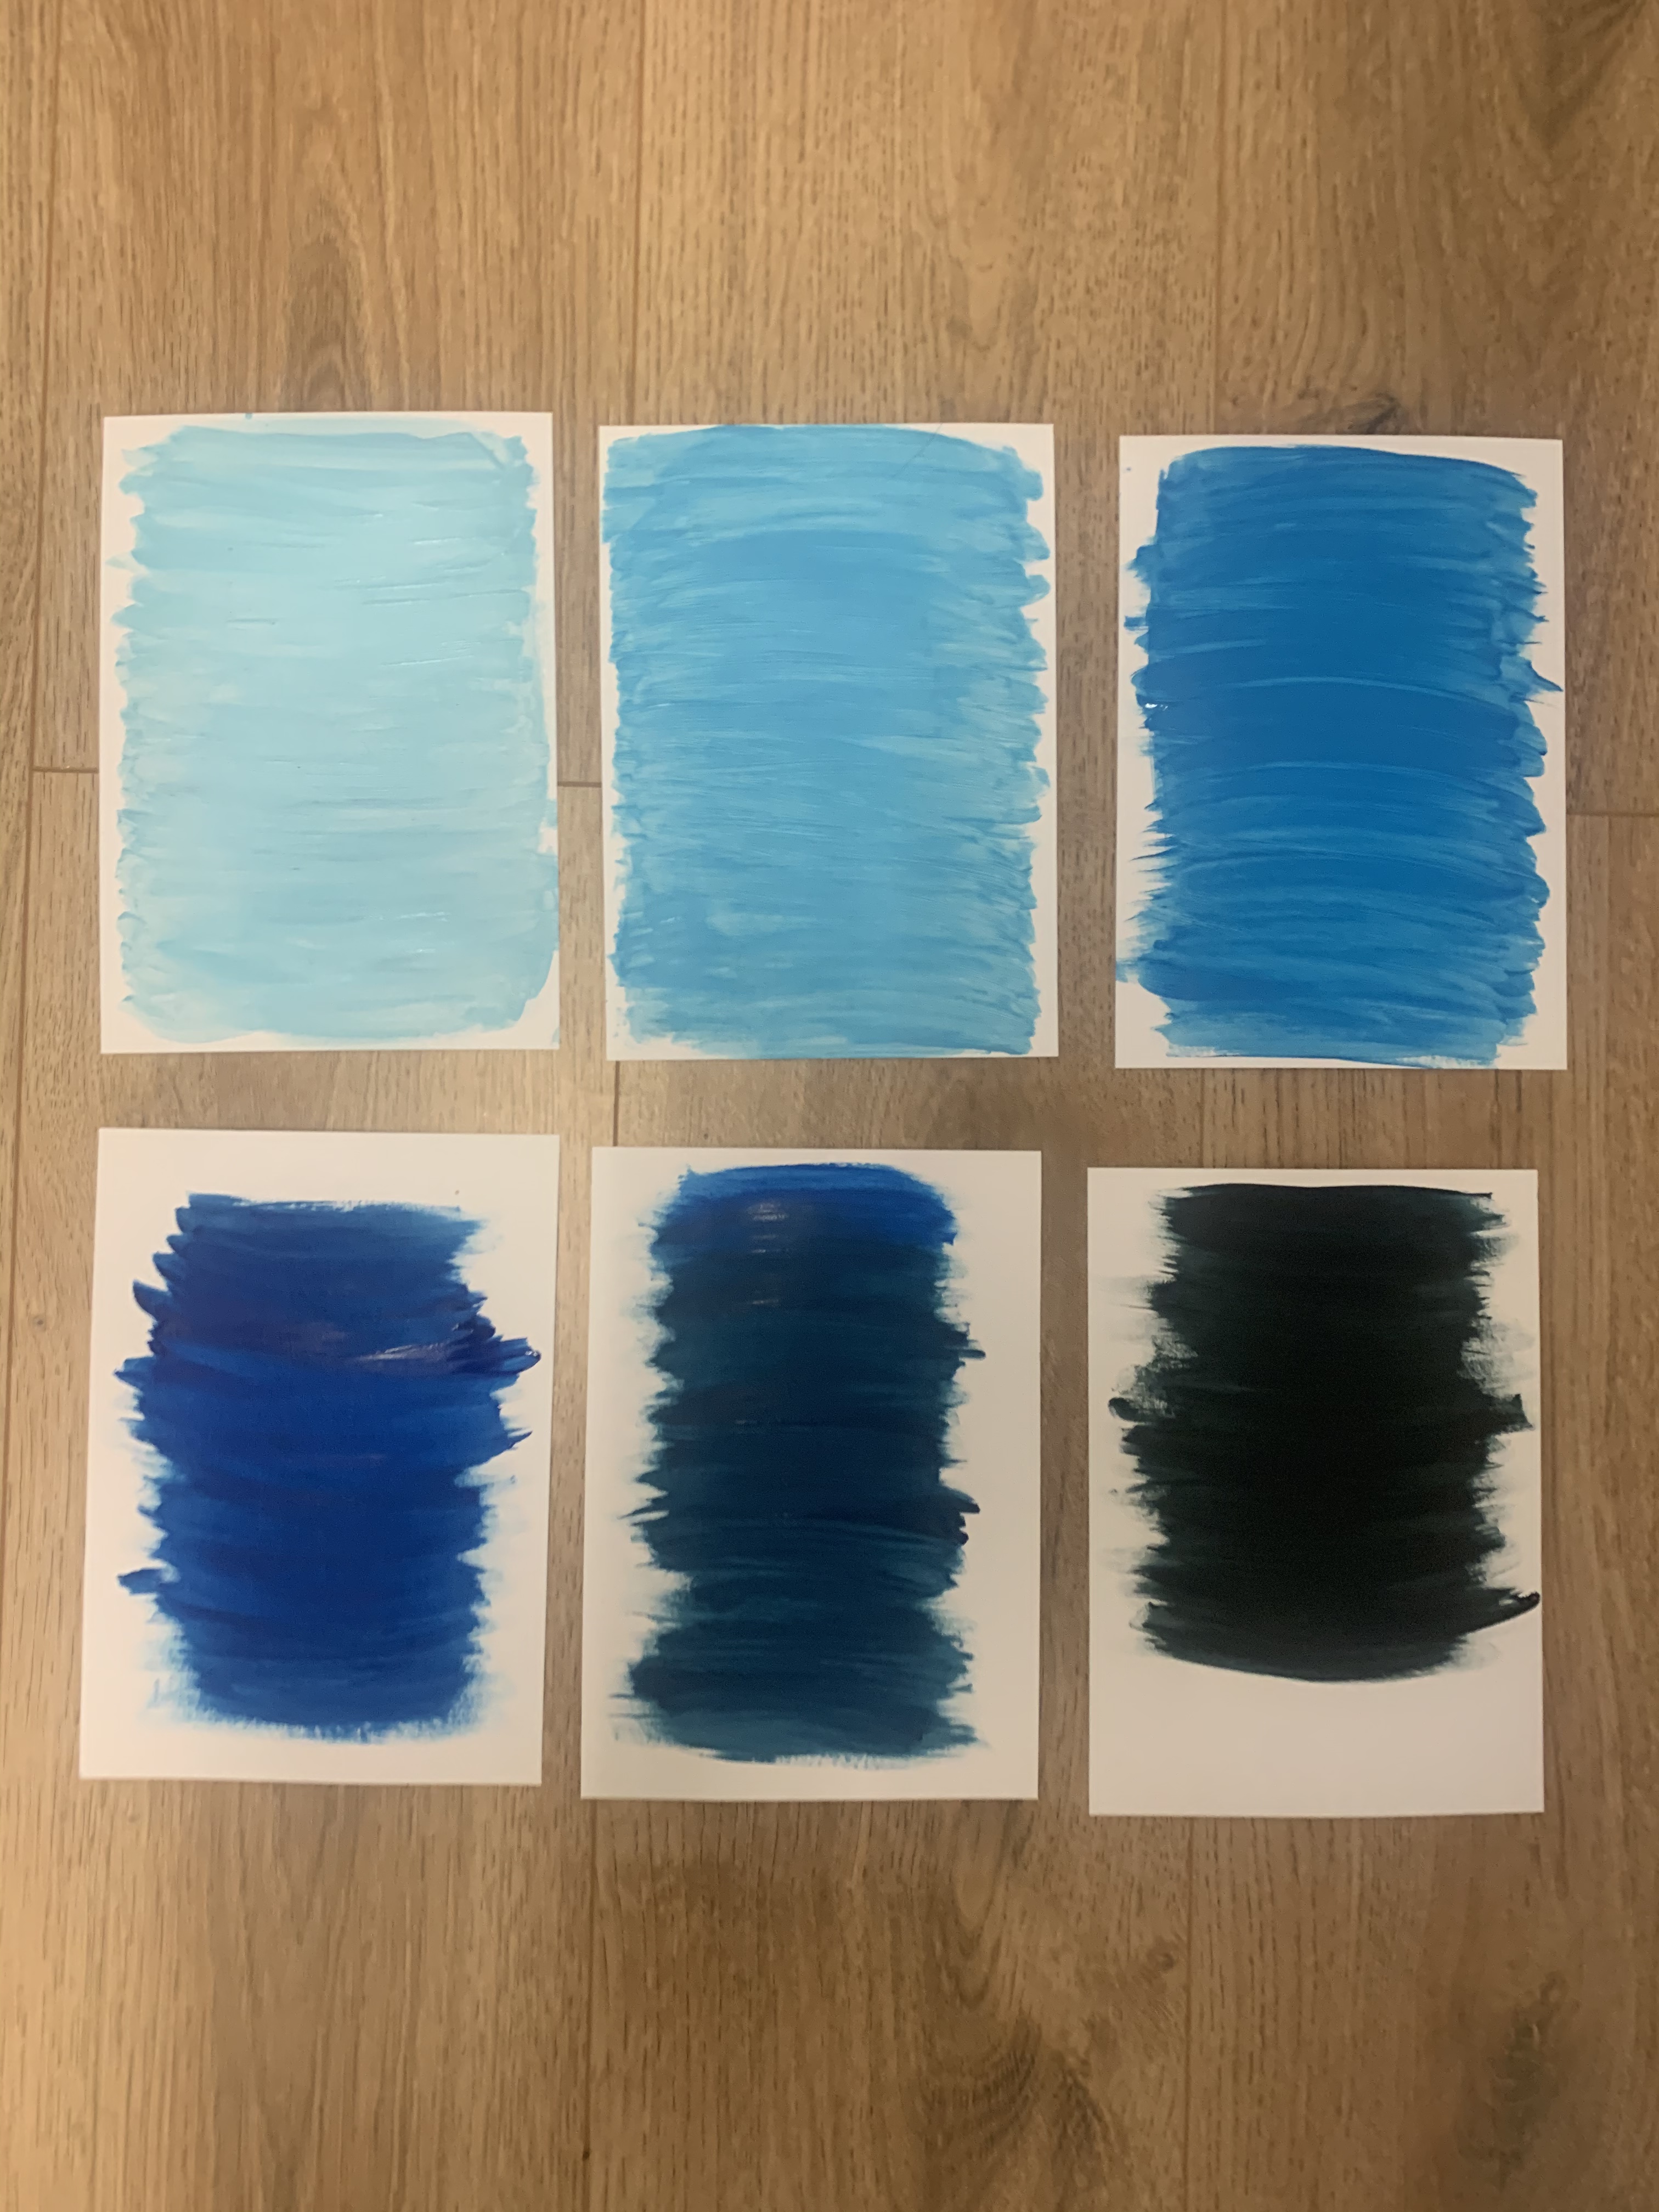
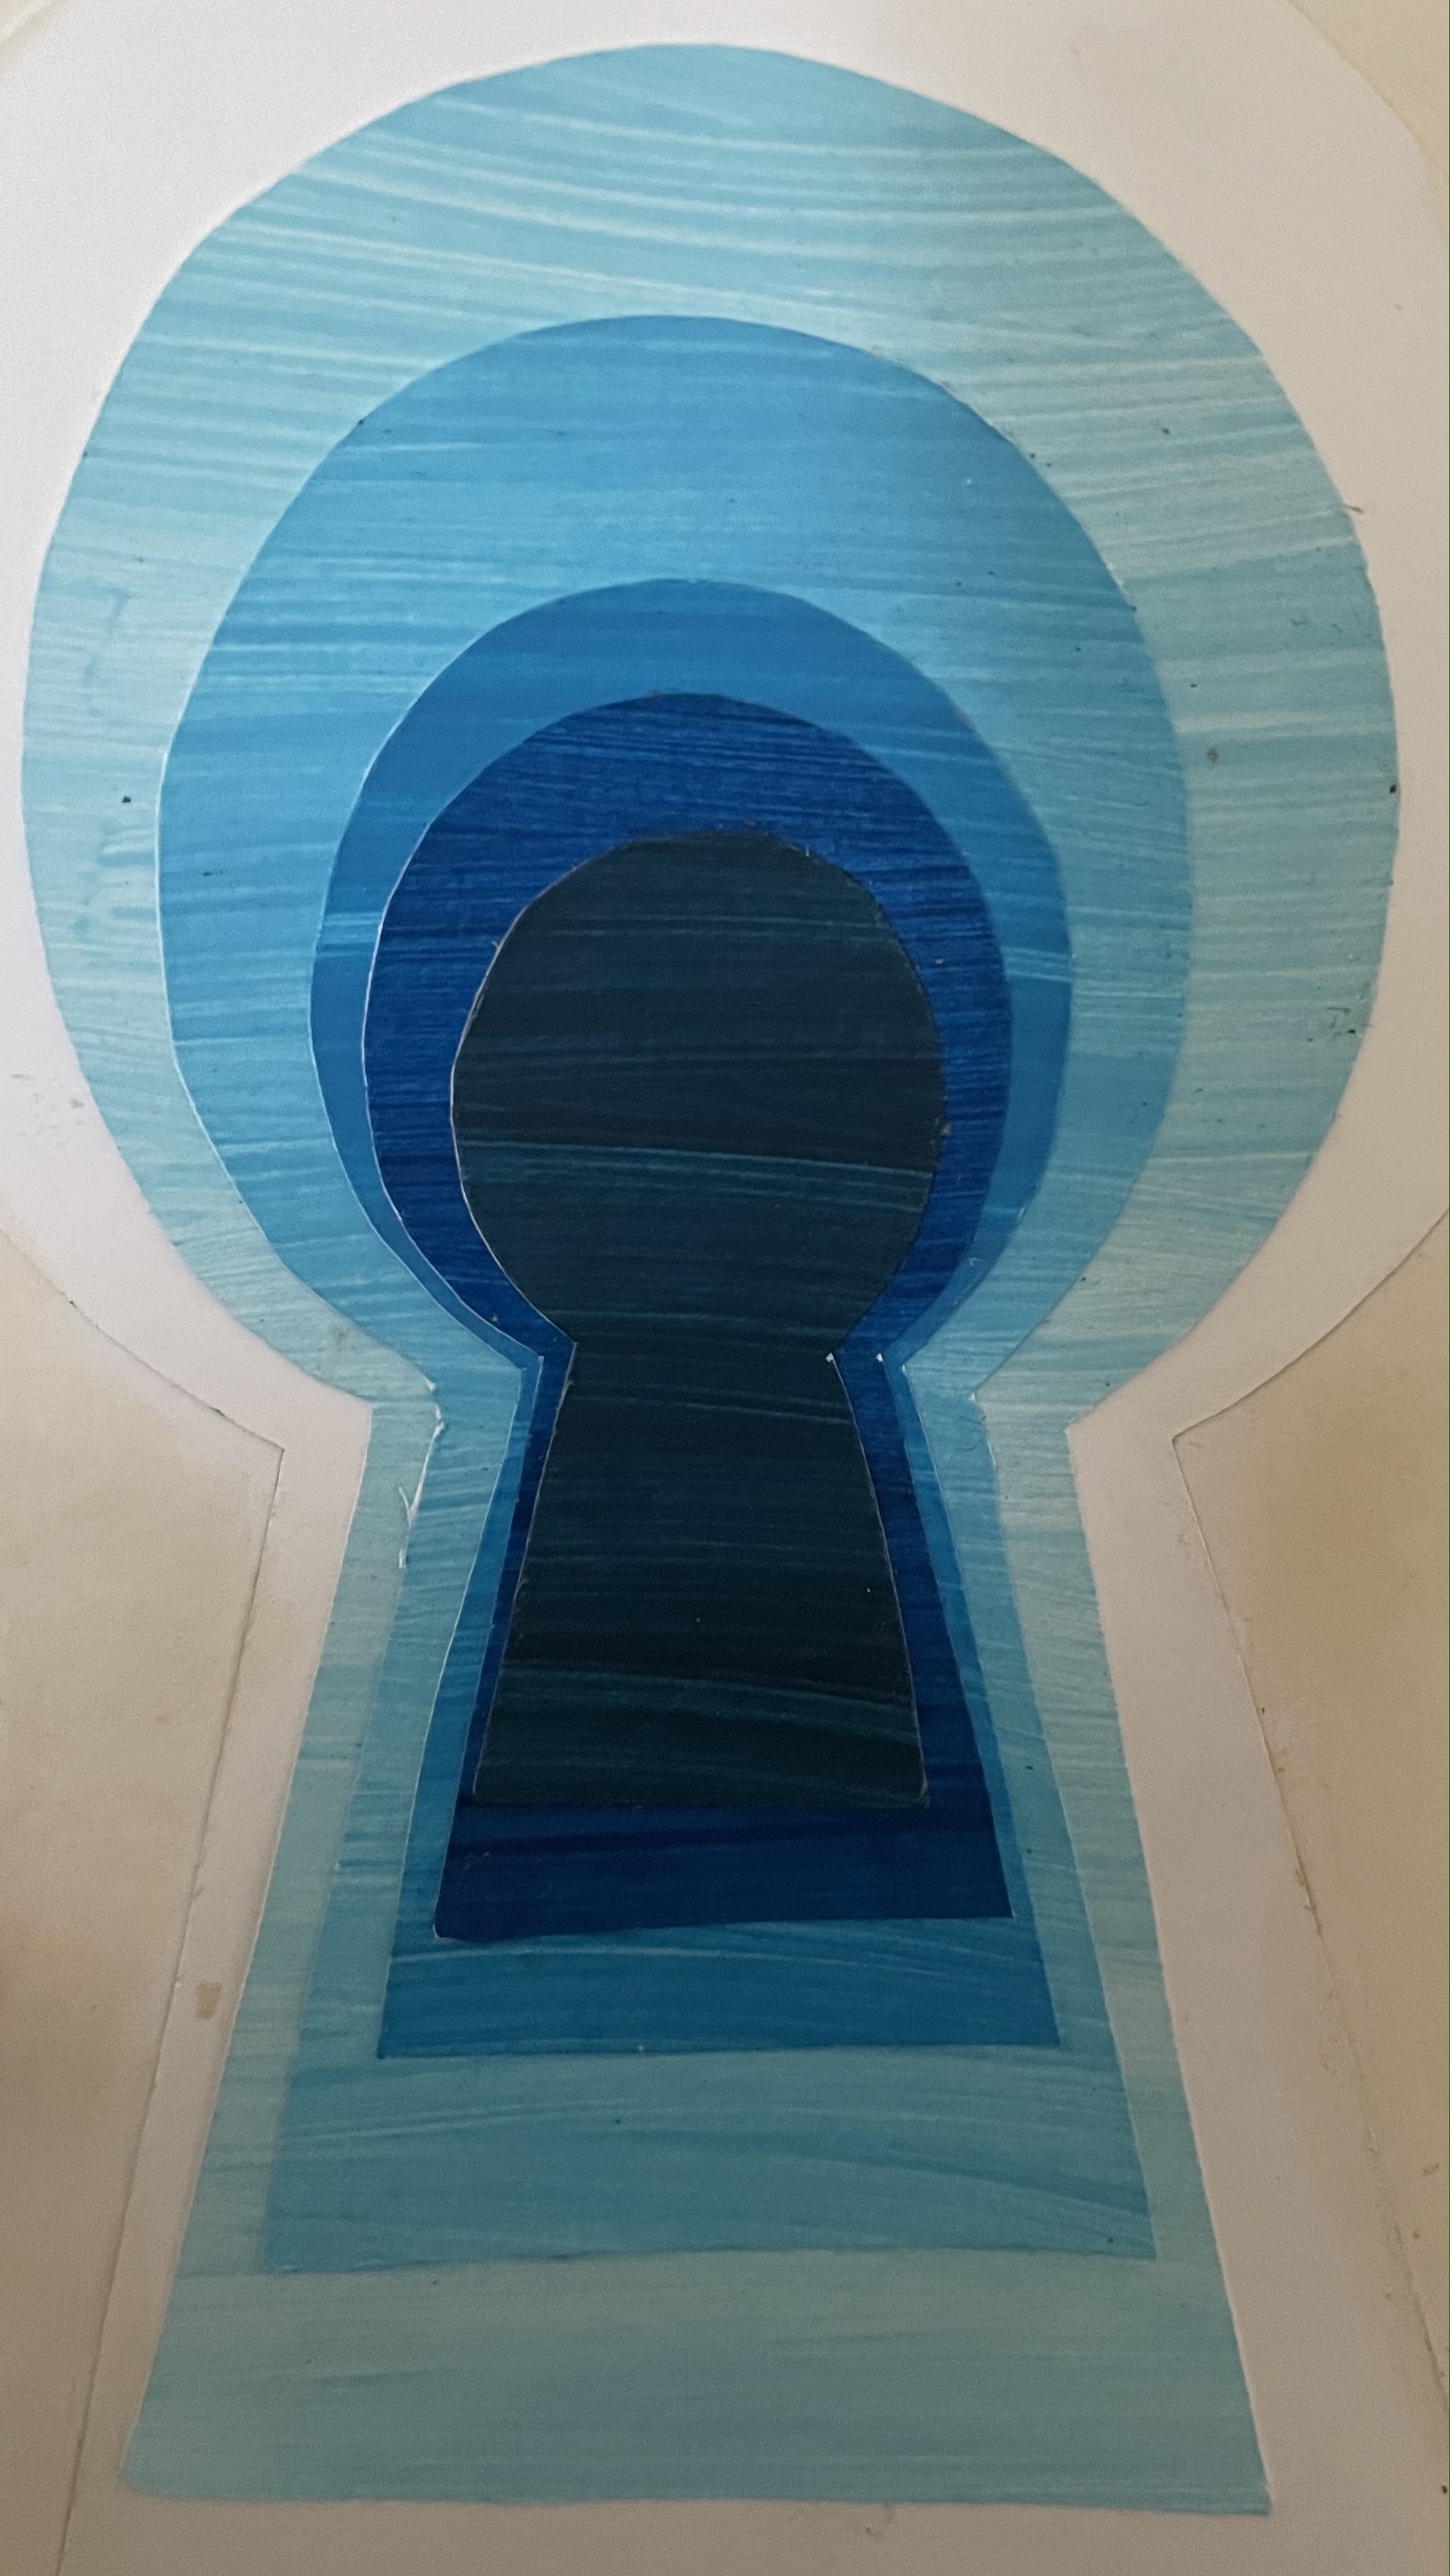
My next thought was to create a layered keyhole for the cover so I started off by painting pieces of paper different shades of blue, gradually getting darker to emphasise with a 3D tunnel effect. I simply cut out different sized keyholes and used these as a guide whilst cutting out the painted paper. I decided to add an image of Alice from the book scanned it into the computer and enlarged it slightly, I plan on having Alice standing in front of the keyholes.
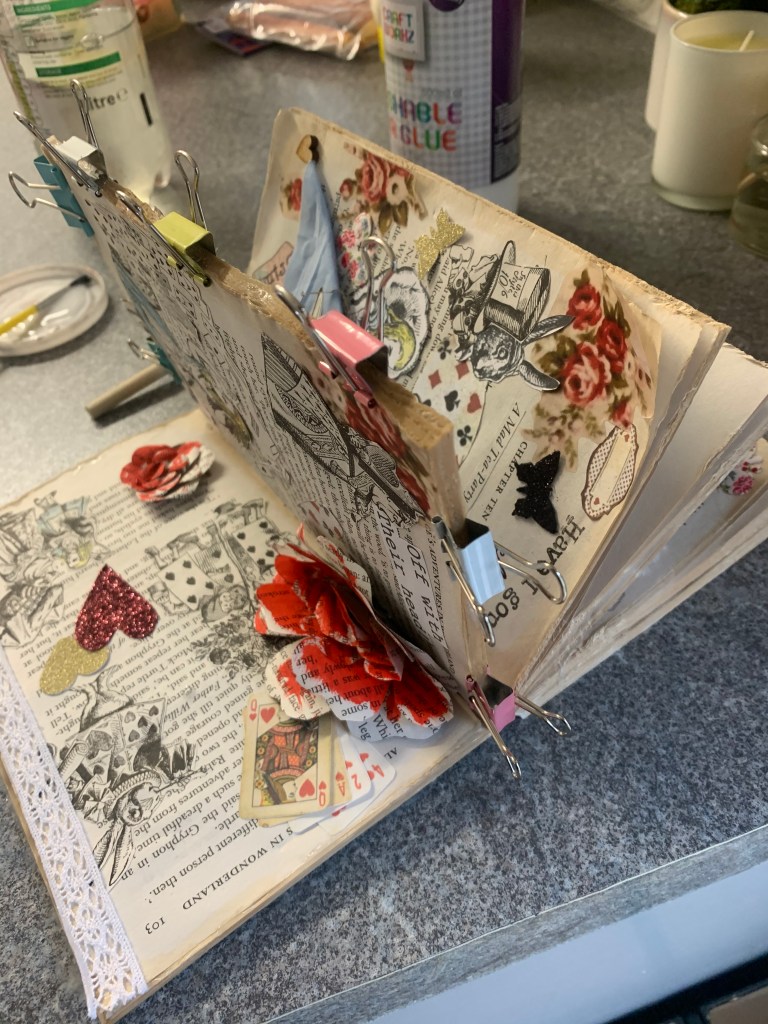
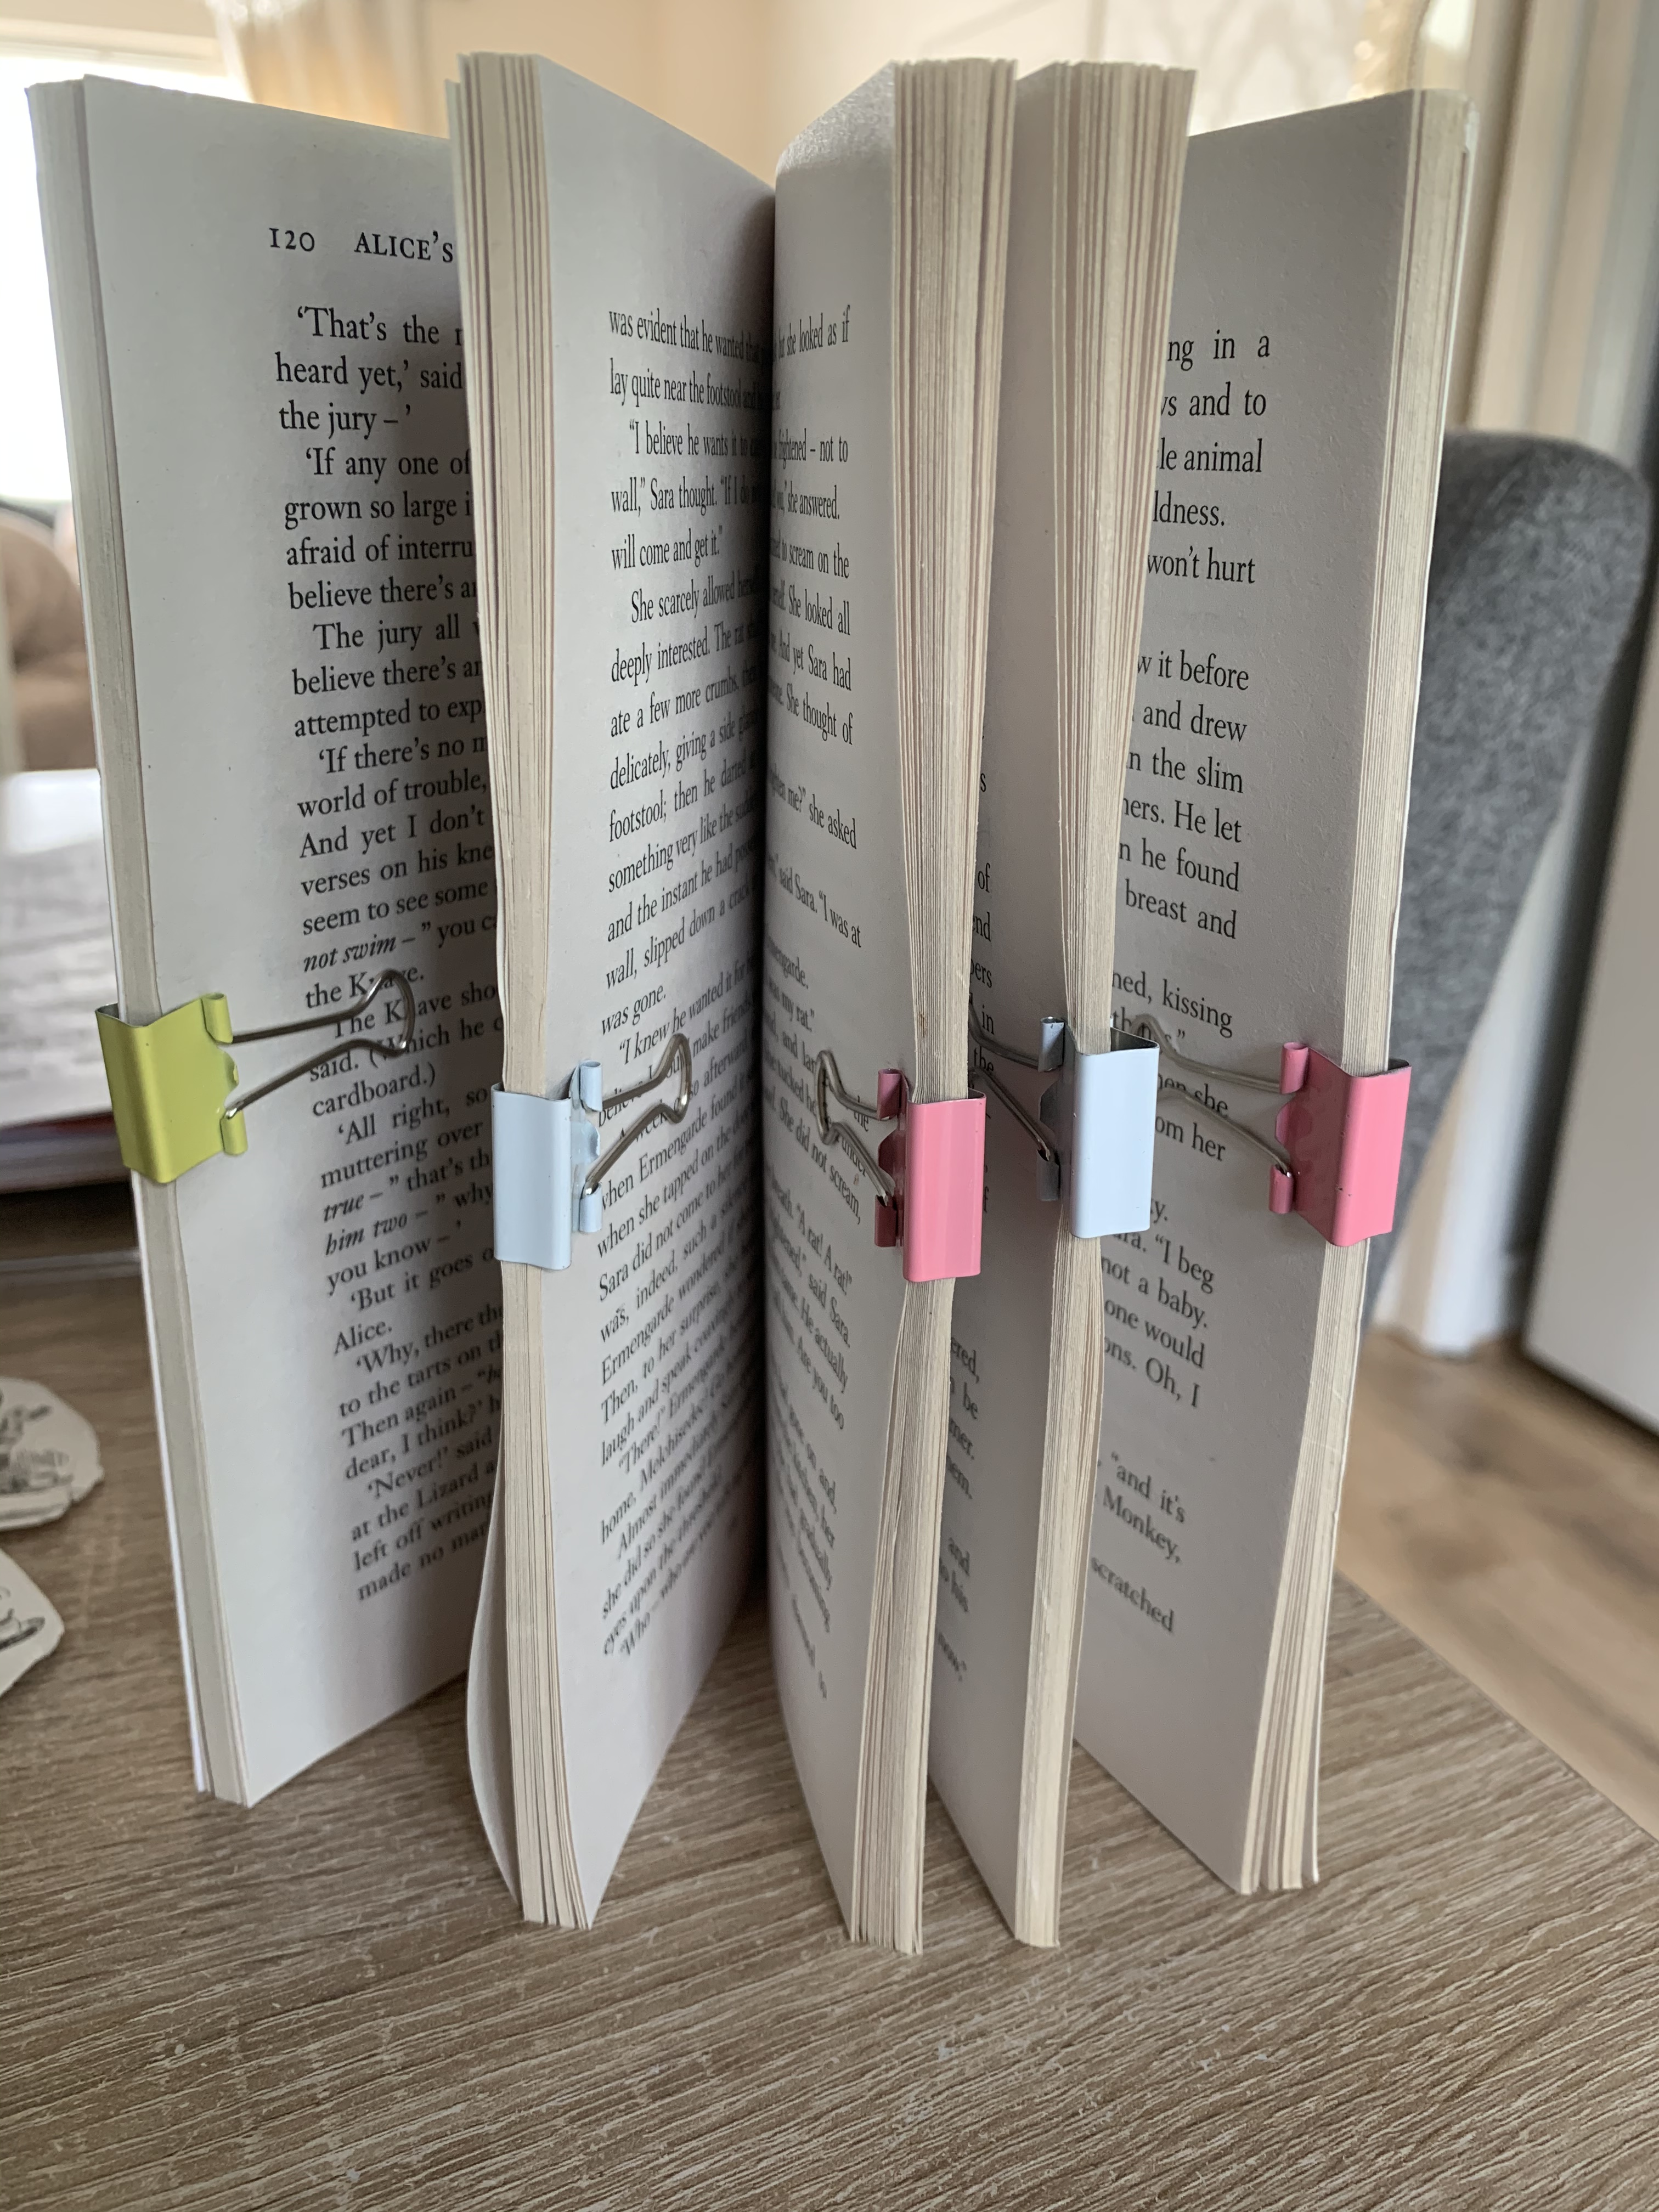
To finish my book I decided to glue the edges of the book in the style of the perfect binding technique so that it became easier to navigate through the book. I worked with one section at a time to ensure I had enough clips to hold the pages in place whilst drying. I did experiment with stitching some of the pages of another book however this would of interfered with the designs on the Pages so I felt that gluing would be the best, the only downfall to this is that the pages are now slightly stiff.
Results Of Finished Altered Book

Reflection
Seeing my altered book come to life has been very rewarding, Ive loved this assignment! I like to be hands on and to experiment with different materials and to become creative. Ive had a few changed along the way with things which didn’t quite go to plan, I also have a minor regret with my cover – I felt the bright white cover didn’t fit in with the rest of my vintage inspired book so I tea stained the cover however I wish I had done this before printing on as the title has slightly smudged and where I placed the book down on the worktop to glue It has marked very slightly on the back, however this is all part of the learning process and may be something I amend at a later date when I have slightly more time.
I hope my tutor enjoys viewing my altered book as much as I enjoyed making it!
